Welcome! I’m Carolyn Dube – This colorful journey is all about the freedom of play!
Search My Blog
Search by Category
The Fine Print
Some of the links on this blog are affiliate links and I receive a small percentage. It doesn't cost you anything extra and helps keep all the free tutorials and videos coming! It's a win-win!
The website is copyright Carolyn Dube, and that is kinda common sense since this is my site.
As an Amazon Associate I earn from qualifying purchases.
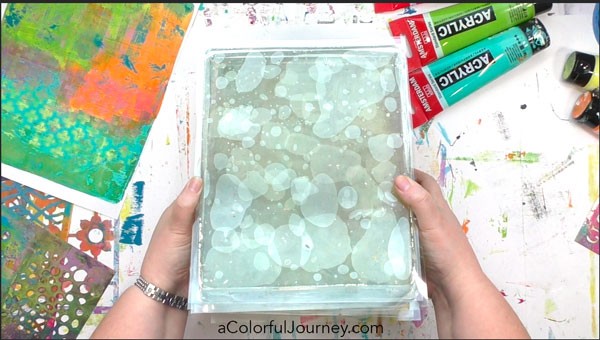
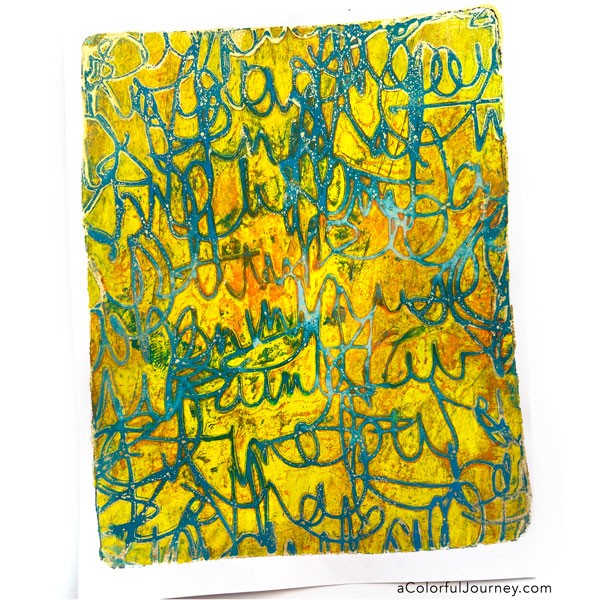
Why do air bubbles happen to most gel plates? Because air gets trapped between a layer, like a plastic protector, and the plate. It can leave little indentations in the plate. Does this “ruin” the plate? Nope. This happens to most gel plates and in this video, I’m sharing what works for me to and my Gel Press plates to keep the bubbles from showing up in prints and also how to remove them from the plate.
***The links on this page are affiliate links and I receive a small percentage. It doesn’t cost you anything extra and helps keep all the free tutorials and videos coming! Thank you for your support***
I’ve stored my plates stacked in the plastic protectors for years and never had an issue with air bubbles. I would get some but they’d be small and not show up in the prints. But this year, it was Bubble-palooza on my stack of plates.
What is the best way to store your plate? Well, there is no world wide consensus about that. What I’ve tried and what I’ve learned I’ve put into another video all about storing a gel plate to help you as you decide on the best way for you to store yours.
Why did it happen now? My theory is it had to do with heat. My old studio was in a basement, so it was always cool there. My new studio is on the second floor and this summer, the storage closet got really hot. I suspect the heat made the air expand and create great big air bubbles. These were so big they were showing up in my prints.
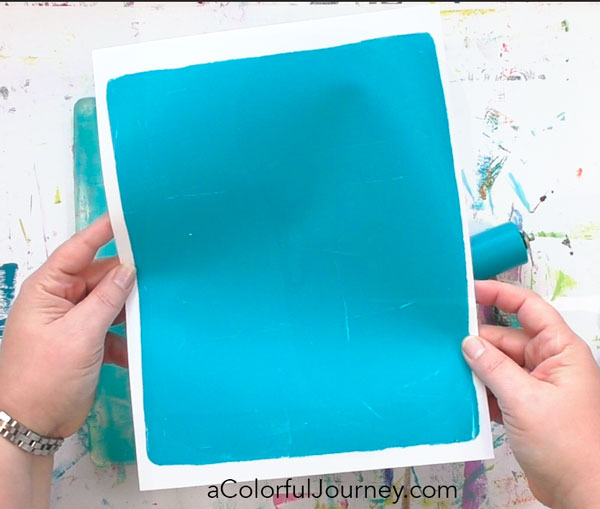
There are two ways to fix this. The first is by using a thick paint and firm pressure when you take a pull. In the video, you’ll see how that makes a big difference. The paint I’m using is Amsterdam.
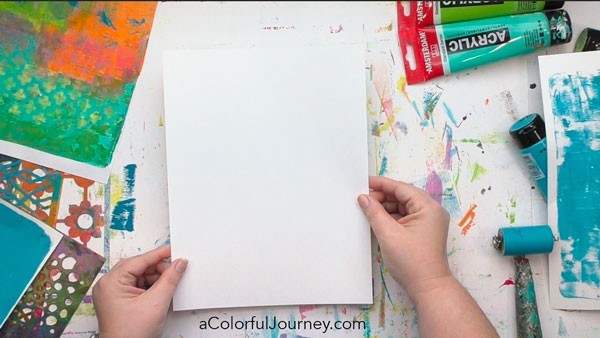
The other way is by cleaning the plate thoroughly and then putting a piece of cardstock on the plate overnight. This will pull out the indentations from the air bubbles. This the gist of it and the video goes into more depth about the process.
If you’ve found it helpful to understand the why of what’s happening with air bubbles, then I bet you’ll enjoy my gel printing workshops too. You can check out the current ones on my workshop page.
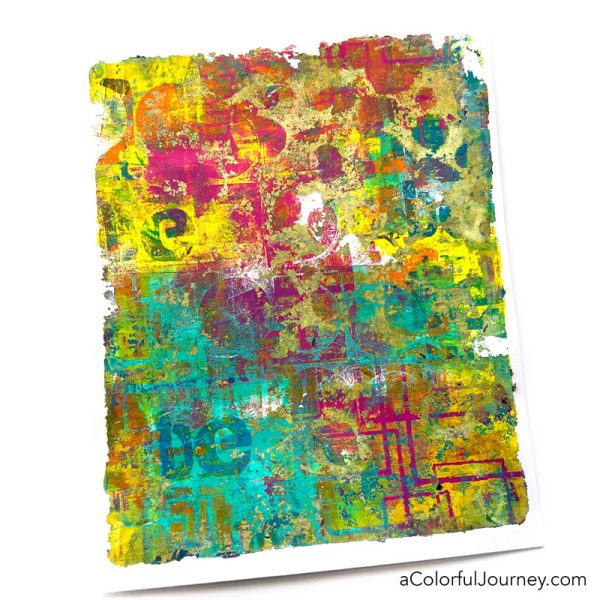
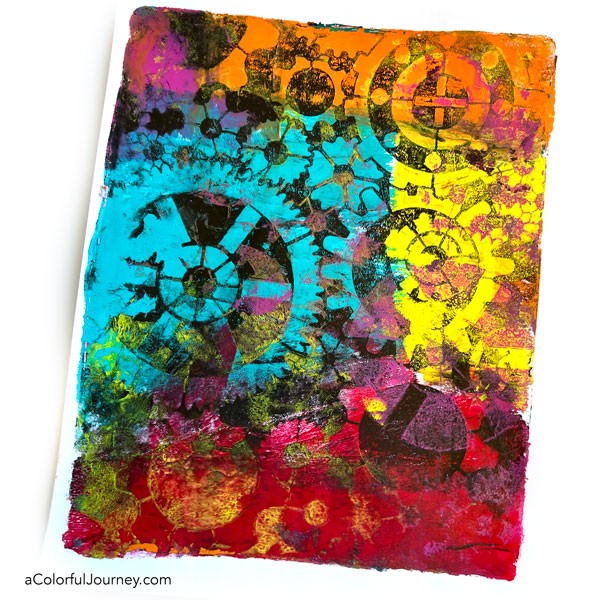
What’s the secret to getting gel prints full of pattern with colors that pop? Magic? Random Luck? Nope, but it can feel like that when you don’t know the process. Anyone, including you, can make prints like these when you understand how stencils interact with paint and color on a gel plate. After all, there are just three factors to keep an eye on. It’s almost like following a recipe.
So is it a recipe you follow? Yes and no. Let me share something I learned from my grandmother, and yes, this will relate to gel printing. She was a fantastic cook and I never saw her use a recipe book. She used her magical grandma powers to create scrumptious meals, or at least that is how it looked to me as a kid.
When I tried to cook like her, it did not go well. At all. Something as basic as gravy was horrifically inedible when I made it even though I used all the same ingredients I saw her use.
The difference was Grandma understood how to thicken with cornstarch. Yes, I learned the hard way you don’t just add a full cup of cornstarch powder to a pan of runny warm gravy. She understood when to add more seasoning. Not because she was all knowing but because she tasted it. I was just guessing when I dumped in tablespoons of pepper. Like I said, horrifically inedible and I’m not exaggerating.
Once Grandma gave me the recipe along with an explanation of how to use the ingredients effectively, suddenly, I could make gravy my parents could eat. Just like Grandma, after making gravy a few times with the recipe, I no longer needed it.
So what does making gravy and my grandma have to do with gel printing? Recipes make cooking easier because you’ve got a step-by-step process to follow. That’s what this workshop is, a step-by-step process for you to easily create complex prints.
If you know what ingredients to use (paint, stencils, a gel plate) and in what order to use them you can create amazing gel prints on command.
After following the recipe a few times, you’ll build a solid understanding of how it all works together so that you can intentionally create the kinds of prints you want!
“Carolyn has given me confidence. Now enjoying my play so much more on my gel plate and other media too!”- Jo Ann M.
No matter where you are on your gel printing journey, this workshop can help you take your prints to the next level.
That’s a bold claim. After all, how can it really do that for both absolute beginners and experienced printers at the same time? That’s the power of understanding why and how. Making great prints consistently isn’t intuition or guessing- it’s simply understanding the key factors.
“In my other role as former teacher, I so appreciate your thorough but concise and interesting way of presenting and the fact we can see, hear, and read your lessons. You are a master instructor.” – Suzanne Ford
If you’re brand new to gel printing, I’ve got you covered. You’ve got immediate access to The Basics of Gel Printing, a mini workshop. It breaks down everything you need to know to make your very first print.
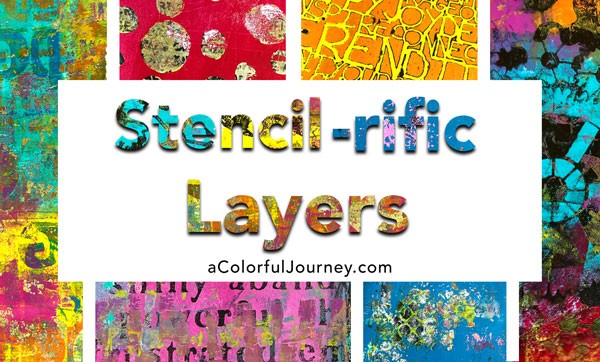
Along with the step-by-step techniques inside Stencil-rific Layers, you’ll deepen your understanding of stencils and gel printing by discovering:
What makes your colors pop and avoid the trap of layers that end up sort of muddy.
How to get that grungy look on command.
The steps to create an intentional composition.
How to know the right amount of paint to use.
The quick trick to avoiding paint leakage so it won’t ooze under your stencil.
How to know immediately which layer will show paint and which won’t because what you see isn’t always what you get.
And much, much more including 3 BONUSES!
BONUSES
Yes indeed, there are bonuses for you! Three of them actually!
Freedom and Getting Loose
This bonus video is about freedom, that rush of creating loosely and fully letting go. Great words, but how do you actually do that? I’m sharing my number one strategy that can shift you into that place of printing with abandon, the kind of freedom that rejuvenates the soul and sparks creativity. This simple strategy was taught to me by a master of letting go, a little kid.
Rescuing Ugly Prints
I’d love to tell you that every single print is going to be a show stopper but that’s not how it goes. We all have ugly prints, it’s part of the process. But I get excited when I have an ugly print. Why? Those often become some of the most exciting prints in the end! In your second bonus video, Rescuing the Ugly Prints, I’m sharing ways to turn around those blah, ho-hum, and downright ugly prints.
What to Really Worry About
Over the years teaching gel printing, I’ve noticed that people worry about the wrong things for two big reasons. One is they don’t know the key factors to keep their eye on while printing. Throughout this workshop, you’ll get carefully chosen techniques that build your understanding of these factors step-by-step.
The other reason is perfectionism. Perfectionism can suck the fun out of gel printing but it doesn’t have to. If you’ve battled those critical voices and are ready to quiet them down and have more fun printing, you’ll love your third bonus video, The Antidote to Perfection Paralysis.
What I Haven’t Mentioned
But there’s one big thing I haven’t mentioned yet. It’s the entire reason I started gel printing and haven’t stopped. The FUN! It’s exciting to lift a print and see something you can’t believe you made on there!
If you’re ready to let go of random guessing when you’re making prints so you can have even more fun then join me for Stencil-rific Layers!
“I had been playing around with gelli plates, watching a you tube video now and then, never really understanding what I was doing, so I have ALOT of ugly prints.Thank you for giving me a much better understanding of the process and inspiring me to play!” – Celeste R.
When does the workshop start? The moment you register, you’ve got access to the getting started section and the first official lesson. Then, each day, you’ll get a new video for 19 days (basically, just under three weeks).
Since you have lifetime access, you have the flexibility to watch them the way that fits you best. Watch them the second they are available each day or if you like to binge watch an entire week of the workshop Netflix style, then just let a few build up and watch them at once.
Lessons in this Workshop:
Getting Crisp Prints
Wax on Wax Off
Avoiding Muddy Layers
Letting Loose with a Brayer
Slapping Stencils
Never Ending Technique
All in One Pull
Should You Put the Stencil or Paint First?
Intentional Compositions
Glorious Grunge Prints
What Layers Will Show
Making Compositional Choices
When to Make a Plan
Stacking Stencils
Getting Surgical with the Paint
Maximizing the Ghost Pull
Where to Build Up Your Layers
When to Stop Adding Layers
What’s included:
19 day online workshop that starts the moment you register
Money back guarantee. You’ve got nothing to lose and so much fun to gain because there is aNo-Hassle 14 Day Money Back Guarantee. Join the workshop, try it all out for 14 days and if for any reason it’s not for you, just send me a one line email letting me know you’d like a refund. It’s really that simple.
F.A.Q.
When does the workshop begin?
As soon as you register the workshop begins. Then exactly every 24 hours, you’ll get a new video each day of the workshop (a total of 19 days). You have lifetime access to the workshop once you’ve registered.
Do the videos have closed captions?
Yes, all the videos have closed captions. The videos and captions are all in English.
What supplies do I need?
I encourage you to substitute with whatever you have on hand or prefer! In the classroom, I have a detailed list of all the supplies I’ll be using but here’s the Cliff Notes version.
You’ll need at least one gel plate. I’ll be using primarily the 8×10 size. If you happen to have two plates, you’ll find that very handy but not required.
All the stencils I’ll be using are from StencilGirlProducts.com They are a wonderful family run business and I’m honored to be one of their many designers.
As for paint, you’ll want acrylic paint in any colors you love plus white and black and a metallic paint (gold or silver or any color you like).
How long do I have access to the workshop?
Lifetime. This workshop is all about having fun making prints and deadlines take the fun out of it! So there is no deadline or time limit. You can watch them whenever you want, as many times as you want.
Can I download the videos?
You bet! The videos are all downloadable! You can also watch them on mobile devices, tablets, laptops and desktop computers.
How long is each video?
Each lesson averages 15 minutes. Some are a little longer, some a little shorter. The videos are edited, which means you don’t have to watch paint dry or me search for supplies so you can get to the play faster!
How does the 14 day money back guarantee work?
This is a no hassle 14 day 100% money back guarantee. Check out the workshop for 14 days, watch the videos and see if it’s right for you. If it’s not just send me a one line email saying you’d like a refund. It’s really that simple.
What if I’ve never made a gel print before?
Along with this workshop, you also get access to the mini workshop, The Basics of Gel Printing. This covers everything you need to know to get started with gel printing! In Stencil-rific Layers, the techniques are broken down step-by-step so no prior experience is needed! Truly!
What kind of internet do I need for this?
This is an online workshop, so you’ll need access to the internet. The videos are hosted on Vimeo and you can watch them on your mobile device, a tablet, laptop or desktop computer. If you’ve got really slow internet service, you’ll find it easier to download the videos and watch them off line.
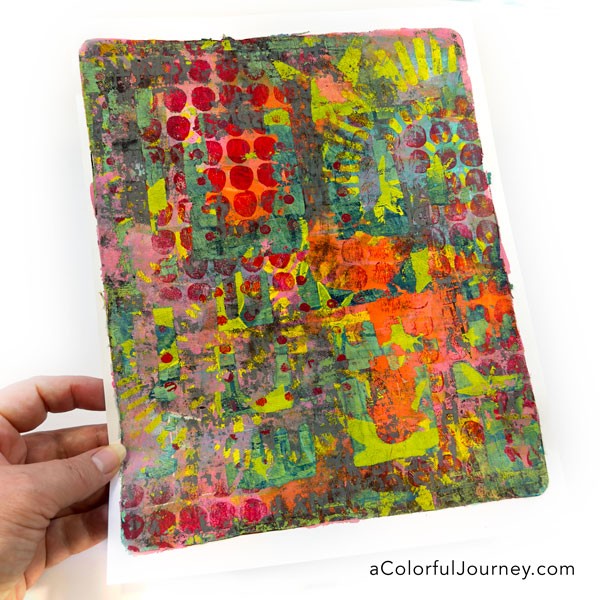
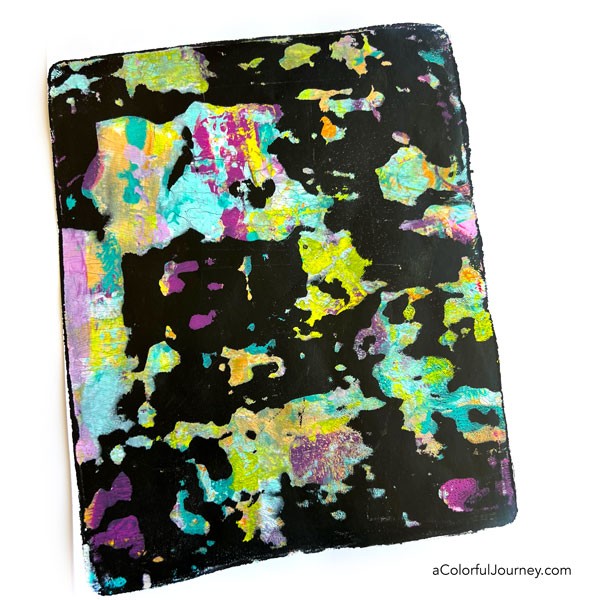
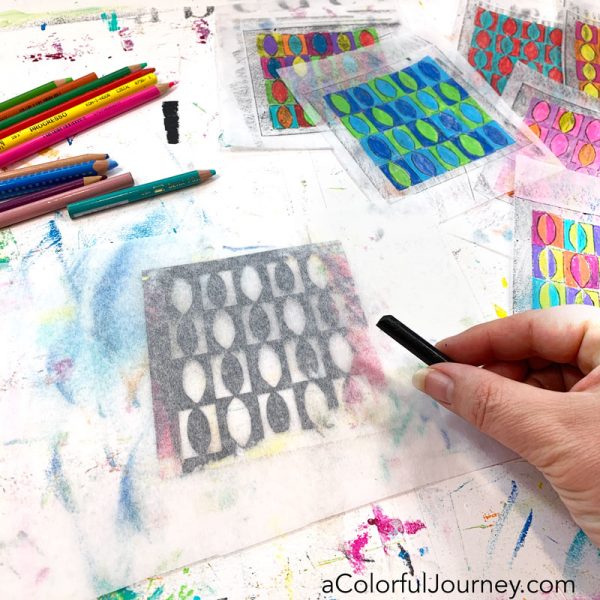
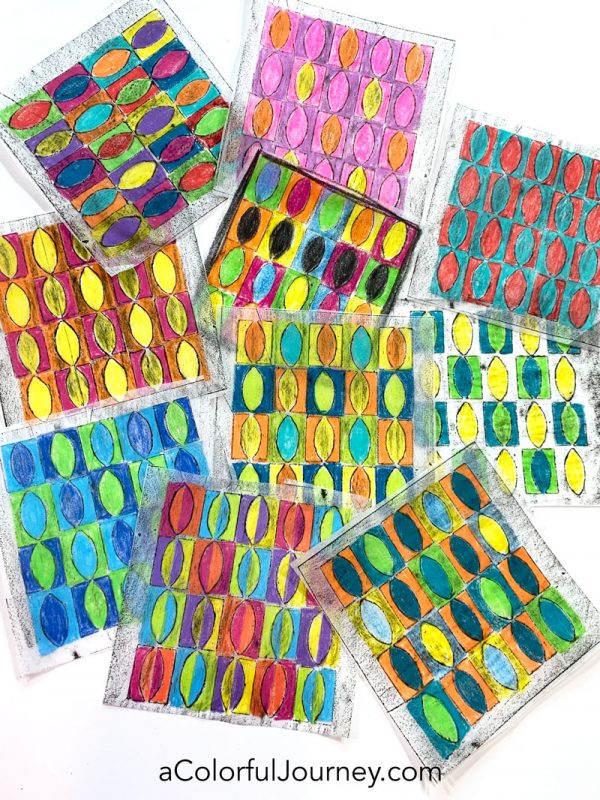
Crayon rubbings aren’t just for leaves! They work with stencils too! After making the rubbings, they are great for playing with color patterns. But, you’ll see how I get myself into a bit of pattern pickle and what I do about it! O.O.P.S.!
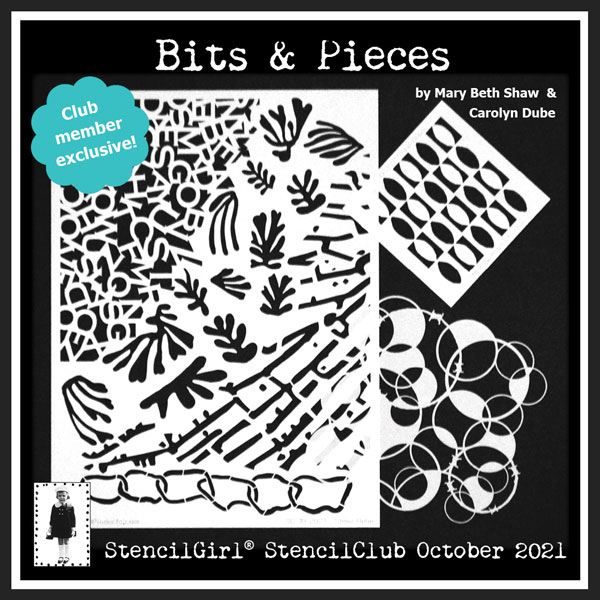
This stencil is a part of this month’s StencilClub offering! Mary Beth Shaw, the founder of StencilGirl, and I have created a mash up set- and I can’t wait to see what you create with them! Along with the stencils, one of the other perks (and there are several of them so read about them all here) is an exclusive members only video.
On October 15th, 2021 these stencils ship and the video gets released to members! So get ready to have some fun because as I shared techniques on one side of the screen, you can see Mary Beth working in real time on the other side. She’s a brave soul because she had zero idea of what we’d be doing, just told her to have her Gel Press plate ready!
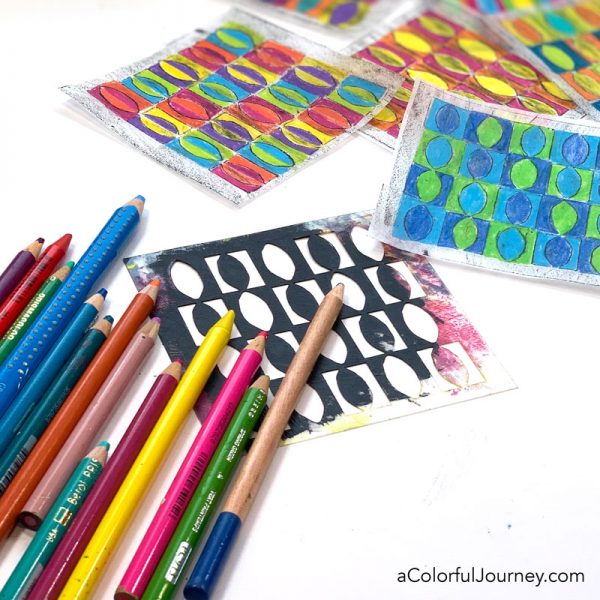
Place a thin piece of paper, like tissue paper, on top of your stencil. Then rub an unwrapped crayon on it. The hardest part of this process is the unwrapping of the crayon!
Longer crayons, as opposed to broken bits, are easier to get the crispest, finest detail. In the video, you can see the difference the pressure makes too.
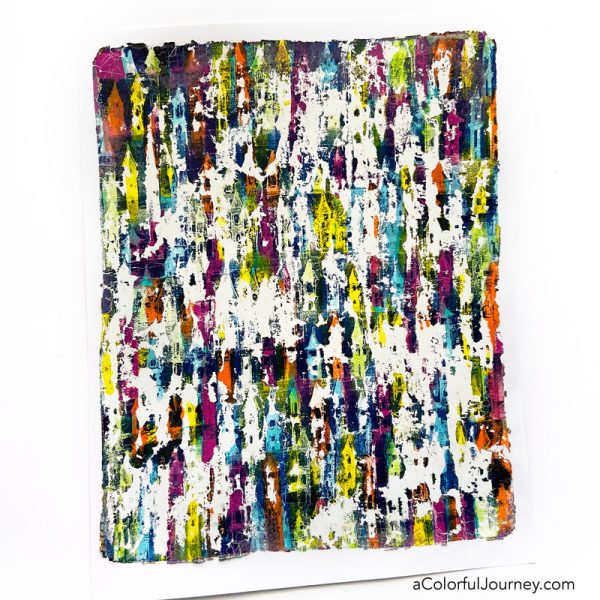
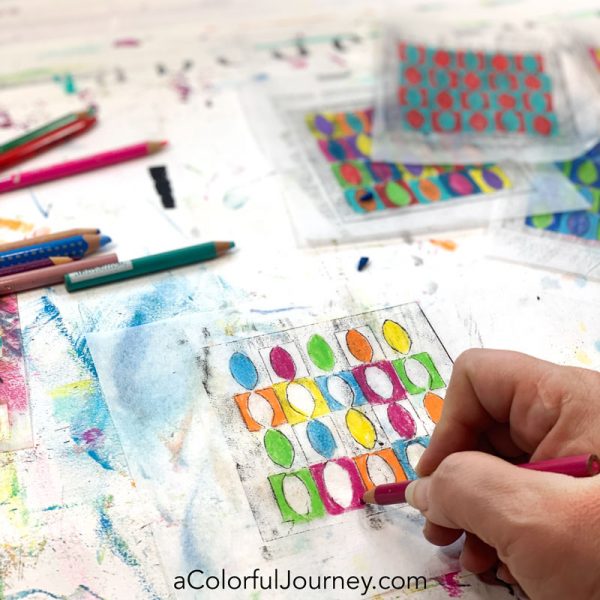
Color in any area of the pattern with any colors you want! I’m using a hodge podge of colored pencils to do this. This is a great thing to do when watching videos or if you’re stuck on a long Zoom call.
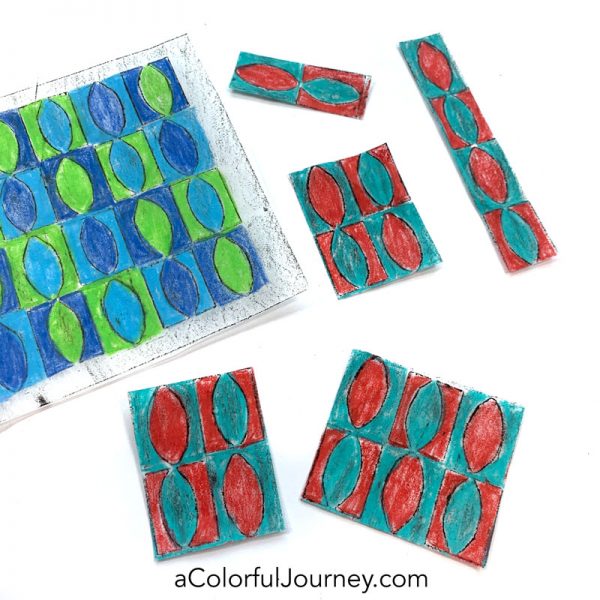
By cutting apart some of the blocks, you can get a totally different look. I can’t wait to use that long skinny row of them in my play!
When you’re creating your patterns, you can leave some areas uncolored, use just two colors, use three colors, use ten colors, color the ovals half and half, and much much more! How much more? Keep reading!
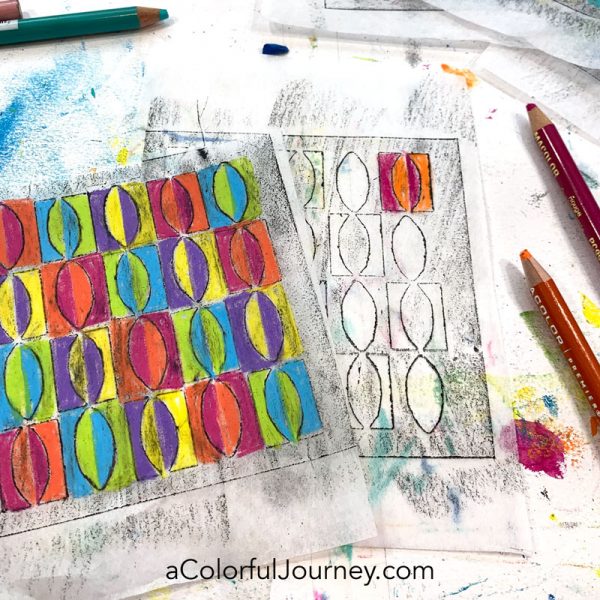
How many different patterns can you create? Well, I decided I wanted to put a number on it. An actual number. So I dusted off my memory of permutations in math class and gave it a try!
The colors can repeat that means this a permutation with repetition ( nr). Since each box or oval can be colored separately, I am going to consider each of these a pattern making unit so that’s 40 for the size of the permutation (r). Then I had to figure out the number of possible outcomes or choices for each of those (n). I decided to go simple and just say 10 colors (not even taking into account the option of coloring two colors in one oval or box).
So it’s a whopping 1040 or 10,000,000,000,000,000,000,000,000,000,000,000,000,000 possible patterns. That’s a lot of possibilities! Am I sure my math is correct here? Nope, it’s been years and years since I’ve had a math class so I’m open to anyone who is more knowledgable correcting me!
I love having options and for all practical purposes, there are limitless pattern possibilities for you! And this is just one of the three stencils included in this month’s StencilClub set.
This website uses cookies to improve your experience while you navigate through the website. Out of these cookies, the cookies that are categorized as necessary are stored on your browser as they are essential for the working of basic functionalities of the website. We also use third-party cookies that help us analyze and understand how you use this website. These cookies will be stored in your browser only with your consent. You also have the option to opt-out of these cookies. But opting out of some of these cookies may have an effect on your browsing experience.
Necessary cookies are absolutely essential for the website to function properly. This category only includes cookies that ensures basic functionalities and security features of the website. These cookies do not store any personal information.
Any cookies that may not be particularly necessary for the website to function and is used specifically to collect user personal data via analytics, ads, other embedded contents are termed as non-necessary cookies. It is mandatory to procure user consent prior to running these cookies on your website.