Welcome! I’m Carolyn Dube – This colorful journey is all about the freedom of play!
Search My Blog
Search by Category
The Fine Print
Some of the links on this blog are affiliate links and I receive a small percentage. It doesn't cost you anything extra and helps keep all the free tutorials and videos coming! It's a win-win!
The website is copyright Carolyn Dube, and that is kinda common sense since this is my site.
As an Amazon Associate I earn from qualifying purchases.
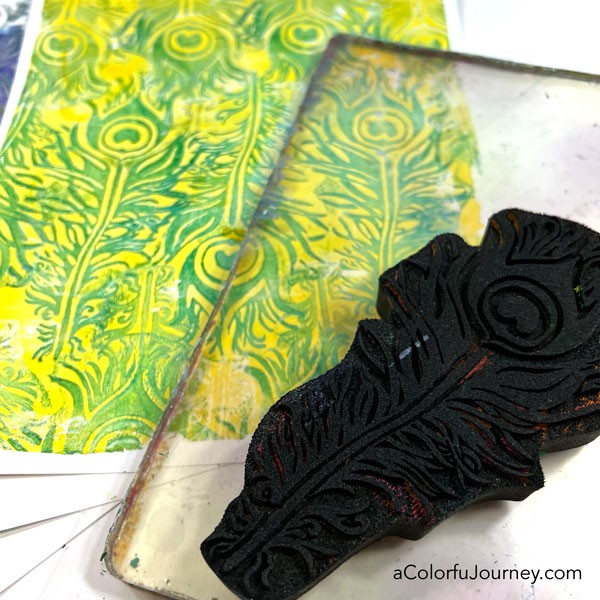
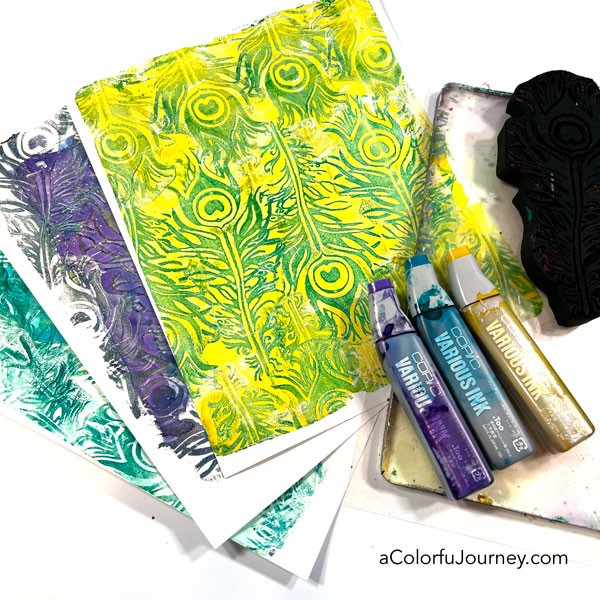
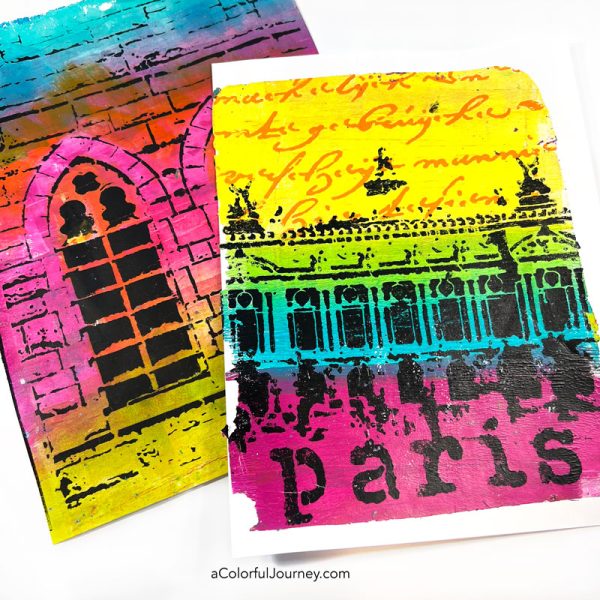
Stamping with ArtFoamies and alcohol inks was almost like using self inking stamps! See what I mean in the video as you see how these gel prints were made from start to finish!
The ArtFoamies stamp I’m using here is Peacock Feather, the alcohol inks are a refill for Copic markers, and of course, the plate is a Gel Press plate. I say of course it’s a Gel Press plate because they have the magical squish factor that is so important for printing!
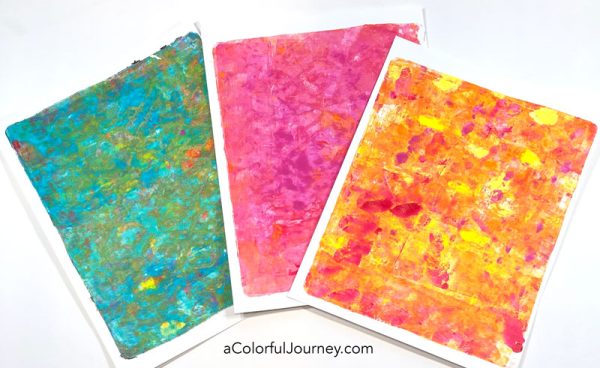
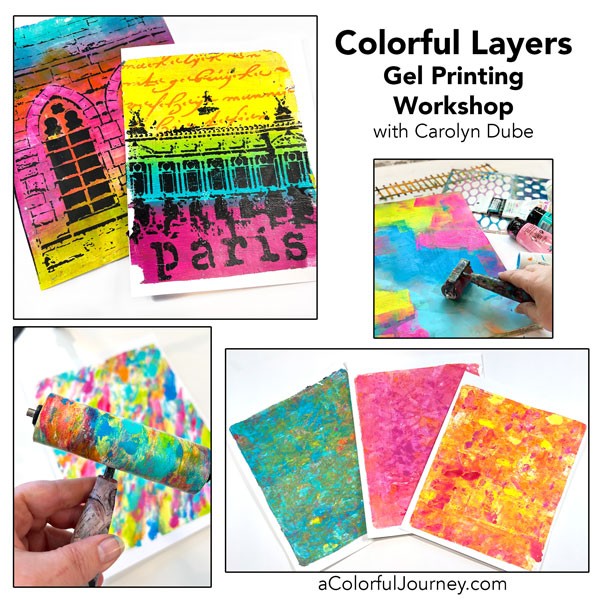
When I’m gel printing and I want to subtly blend colors, in an almost Impressionistic style, there’s a medium I mix with the paint. This allows acrylic paint to behave differently and create a wide variety of levels of color blending.
This is something I haven’t taught before. Not online or in person until now. I’m sharing how to use it to take your gel prints to the next level at the in person workshop, Colorful Layers at Ephemera Paducah.
I’ve been refining the techniques, choosing which ones will give you a solid understanding of blending and how to apply that both subtly or boldly, depending on the look you want.
This is just the first step of the workshop. The foundational layer. Then we’re building on it by combining techniques so you can steer your prints in the direction you want. That’s a key part of my in person workshops, you getting prints that you want.
During your hands-on work time, I’m walking around answering your questions as you’re printing. This means you’ve got access to my years of experience so you can skip a whole lot guessing and get right to the understanding!
So if you like grungy layers full of depth and touches of pattern popping, you’ll know how to do it! If you like to create colorful blends, you’ll know how to do that too!
By the way, all of the prints you see here were done in one single pull.
All you need to bring is paint and an apron. What kind of paint? Any acrylic paint you like to use in black, titanium white, and 10 colors you love! I use medium to thick paints. Examples of this are Liquitex Basics, Amsterdam Standard, Liquitex Heavy Body, or Golden Heavy Body.
That’s really all you need to bring! I’m packing up a van load of supplies including the Gel Press plates, brayers, paper, StencilGirl stencils, medium to mix with your paints, and everything else you’ll need to explore and play!
Ready to get the most out of your gel plate and spend two days laughing and having fun with other creatives? Then join me March 4-5, 2022 at Ephemera Paducah in Paducah, KY!
If you’ve never been to Ephemera Paducah you’re in a for a treat. Kristin is an amazing host and in the video below, you can see the chat we had recently as we talk about the workshop. She pummels me with a speed round of questions at the end. There was one that stumped me about my art crush- it was a really tough one to pick just one! But I did!
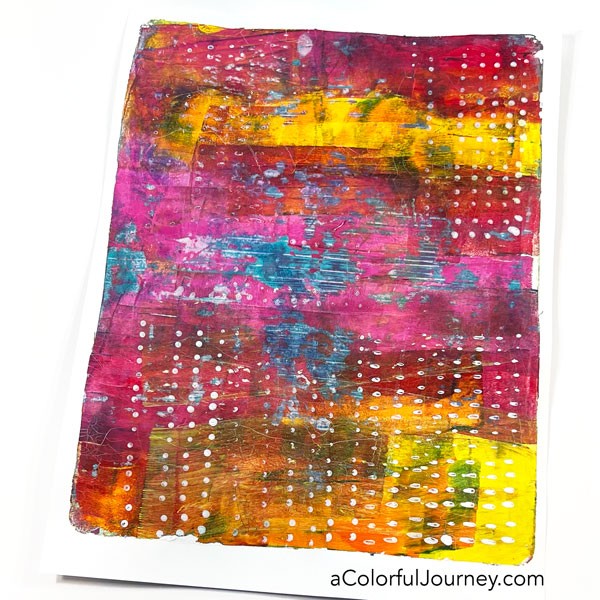
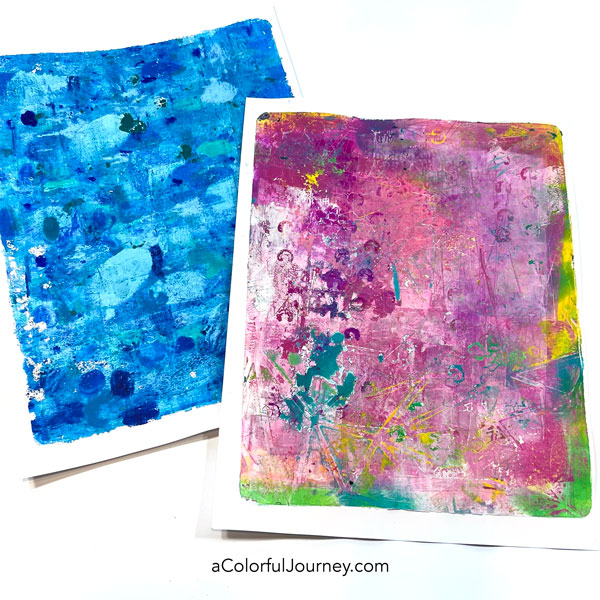
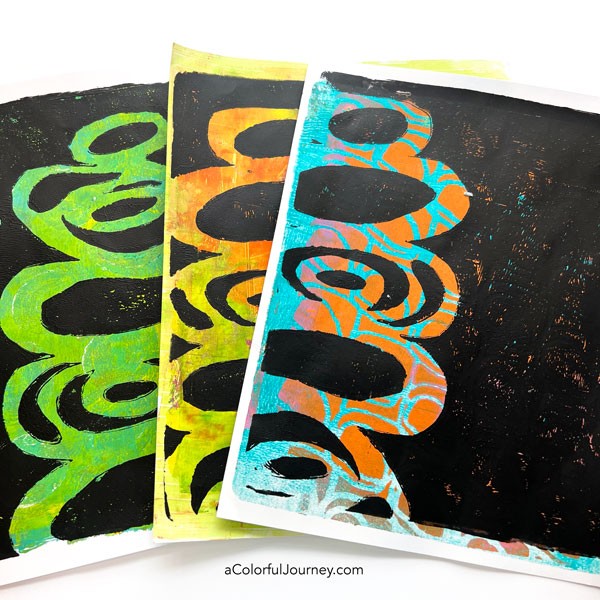
What can you do with gel prints from your stash that don’t feel finished but you’re not sure what to add next? Use a mask to add a layer! In this video, you’ll see how the prints change dramatically in just a single layer.
Whether your print has a lot going on (like my patterned one below) or a lot less (like the other two) it can work with a mask. This mask is by Martice Smith – you can see all her masks at StencilGirl!
Want more gel printing ideas, tutorials, and ways to use your prints? Then check out my page of gel printing resources.
Here are the supplies used. Some of these links may be affiliate links which means I get a small percentage and it doesn’t cost you anything extra! It doesn’t cost you anything extra and you get a really good feeling knowing that you are helping keep the free tutorials coming!
This website uses cookies to improve your experience while you navigate through the website. Out of these cookies, the cookies that are categorized as necessary are stored on your browser as they are essential for the working of basic functionalities of the website. We also use third-party cookies that help us analyze and understand how you use this website. These cookies will be stored in your browser only with your consent. You also have the option to opt-out of these cookies. But opting out of some of these cookies may have an effect on your browsing experience.
Necessary cookies are absolutely essential for the website to function properly. This category only includes cookies that ensures basic functionalities and security features of the website. These cookies do not store any personal information.
Any cookies that may not be particularly necessary for the website to function and is used specifically to collect user personal data via analytics, ads, other embedded contents are termed as non-necessary cookies. It is mandatory to procure user consent prior to running these cookies on your website.