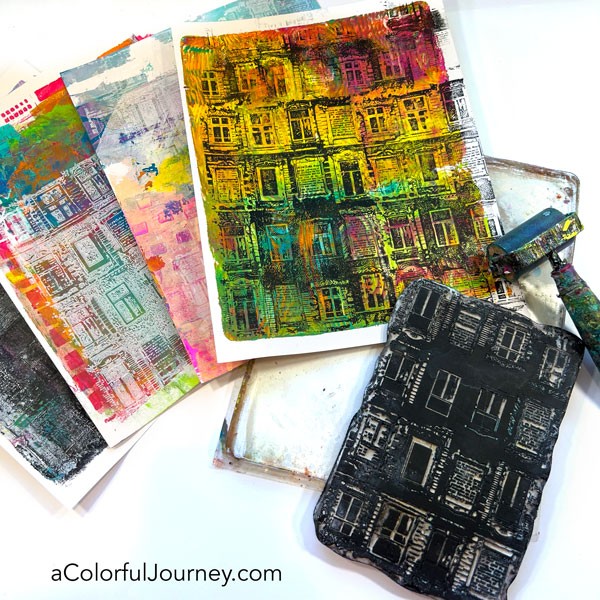
Ever have a gel print that you really like but you know it needs more? That’s where I was with this print. That pink area was calling to me, so to get focal image there I used the InkAid image transfer process.
Before starting, the paint on this print was completely and thoroughly dry. How’d I make the print? Using a doily and a Gel Press plate.
On the InkAid Transfer Film, I printed a photo I took in Austin, Texas. The photo is not the exact shape or size of the pink area and you’ll see why that isn’t a problem.
The Transfer Film works with inkjet printers that use pigment ink. What does that all mean? How do you find out if your printer uses pigment inks? I’ve got all that in a video showing you the entire process from start to finish of doing an InkAid image transfer.
Now that I know where the image will go, it’s time to add the Transferiez solution (made with 91% isopropyl alcohol and Transferiez concentrate). How to mix it is also in the InkAid process video.
I only added it on the pink area, so that’s the only area where the image will transfer.
Once you’ve got the Transferiez solution on there you put the image on it, printed side down. You can tell which side it’s printed by touching it. The printed side has a rougher feel to it.
Gently press the image into the solution. You can use your fingers or a brayer. I’m very inconsistent when I use my hands, so I prefer to very gently use a brayer.
Set a timer for 2 minutes and wait.
When your timer goes off, slowly and gently lift off the Transfer Film. Without any measuring, any careful thought, the image was only in the pink.
Why? Because that is the only place where the Transferiez solution was.
What about the part of the image that wasn’t used? You bet I’m saving that and will use that in a future something. I will use every bit of the Transfer Film.
Another perk of image transfer that I take full advantage of is the ability to audition images. Before I added the solution, I placed the Transfer Film with the script writing on gel print to see if I liked how it looked. I did, so I added the solution and did the transfer.
Happily, I liked how it looked. But the nice part is that if I don’t like how an audition goes, I can simply grab another image before committing.
Once you’re peeled back the Transfer Film it will take few minutes for it to dry.
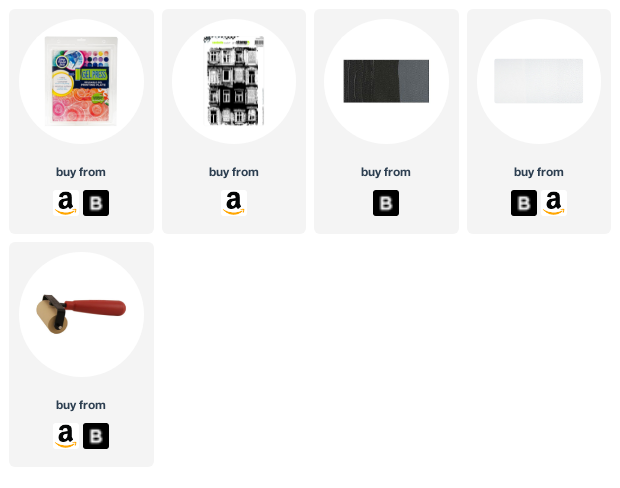
If you’re wondering what to print on the Transfer film, I’ve got a free sheet of images I can email to you. If you’re curious about the InkAid image transfer process, they’ve got a Starter pack so you can give it a try. And you can do this process on more than just paper. It works on wood, metal, fabric and more!