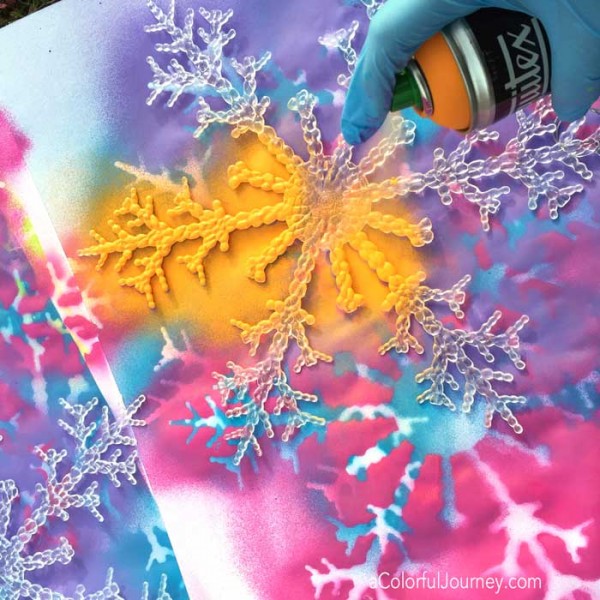
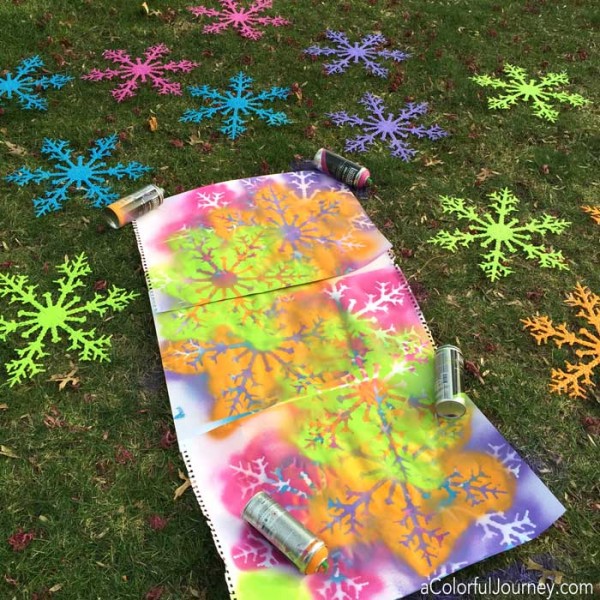
 Cheap plastic snowflakes in the dollar store for only a buck each? Of course I bought all they had! A giant size but they were a frosted clear plastic. They needed some color. Lot’s of bright color. This was my rainbow play for this week’s Let’s Play link up.
I could have painted them with a brush but there was a faster and easier way for impatient types like me. Spray paints! As a bonus, I used some big sheets of paper to protect the grass which became pieces of color happiness!
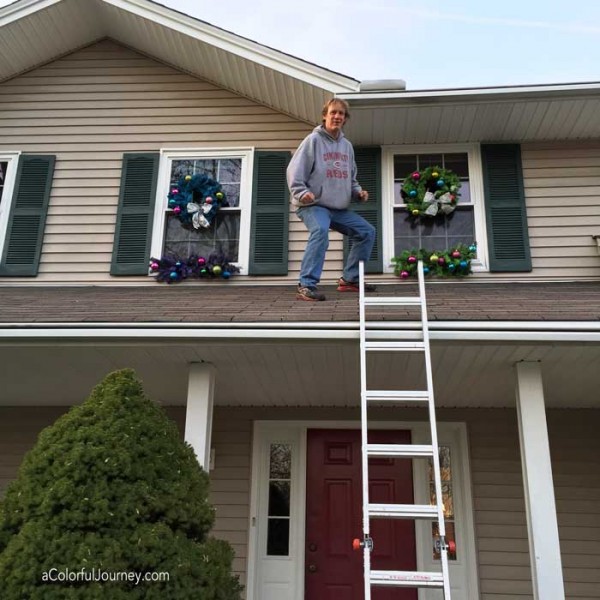
While I was out doing the snowflakes, the husband was hanging the wreaths on the windows. What did he do to entertain himself? He loved my eyes bugging out of my head as he leaned over the edges…of course, I grabbed the camera in between my looks of exasperation…
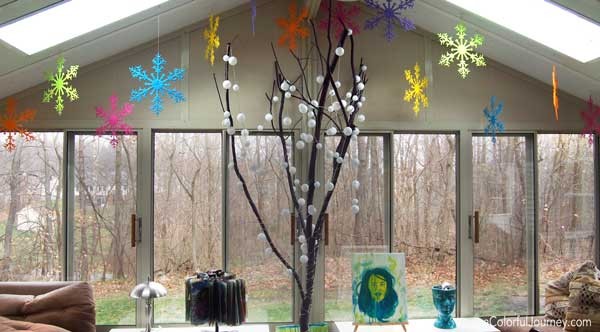
Then just some white thread and Command Adhesive hooks to hang them all around the room so now I have rainbow snow. Now you know what my play has been – I’d love to see what you’re making in this week’s Let’s Play link party!

Link up etiquette
- If you see something you like, leave a comment on their photo or blog post and show some love – let them know they inspired you!
- Share your recent play (any form of creativity is welcome) that hasn’t been linked up to a Let’s Play before
- Add a link back to to this post so that others can find it, be sparked, and join the fun!
- Opens each Tuesday at 6am EST
You can upload a photo or use a URL or Instagram. Not sure how to find a URL or link up? Check out this page of Let’s Play FAQs.
Want to put the button your blog? Just copy all of the the code from under the button.
[inlinkz_linkup id=591153 mode=1]
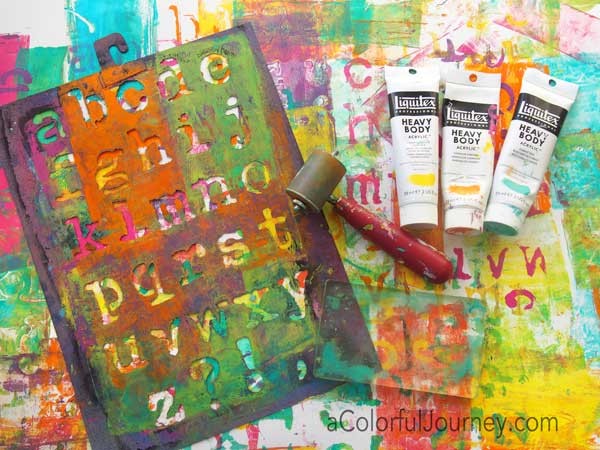
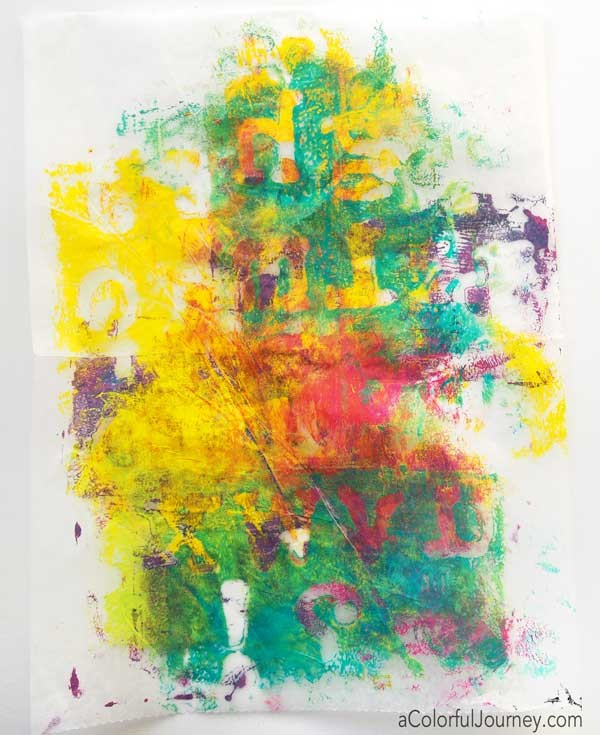
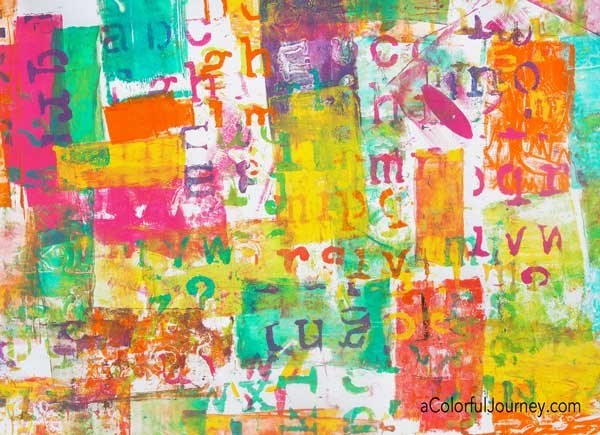
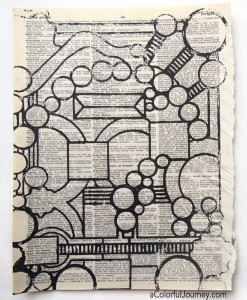 I was Gelli printing® with the