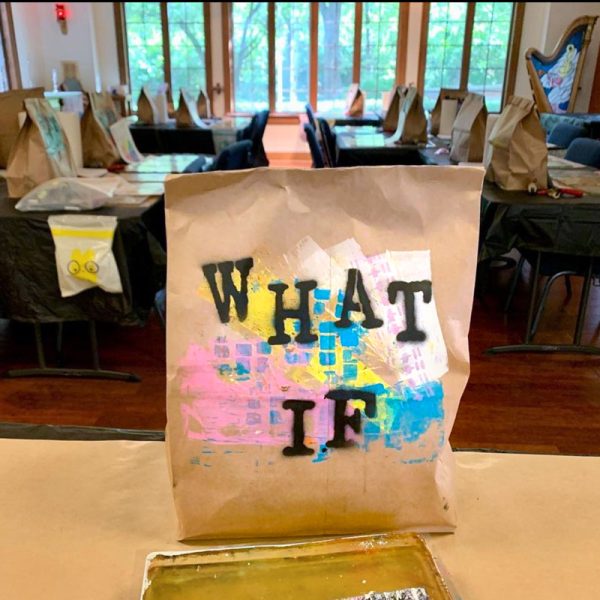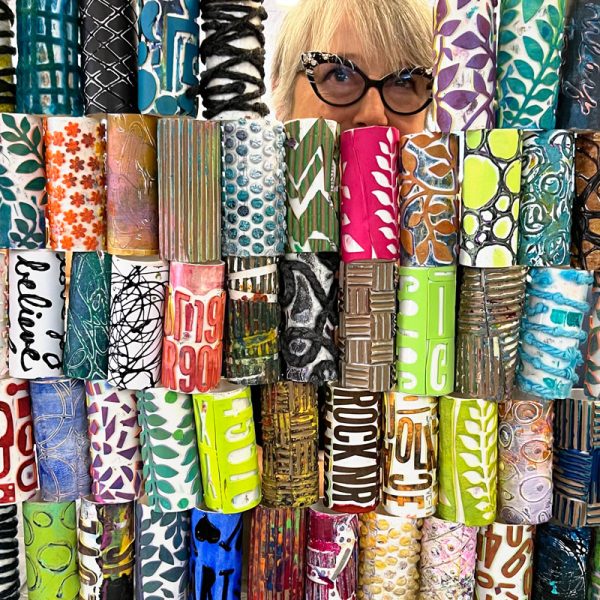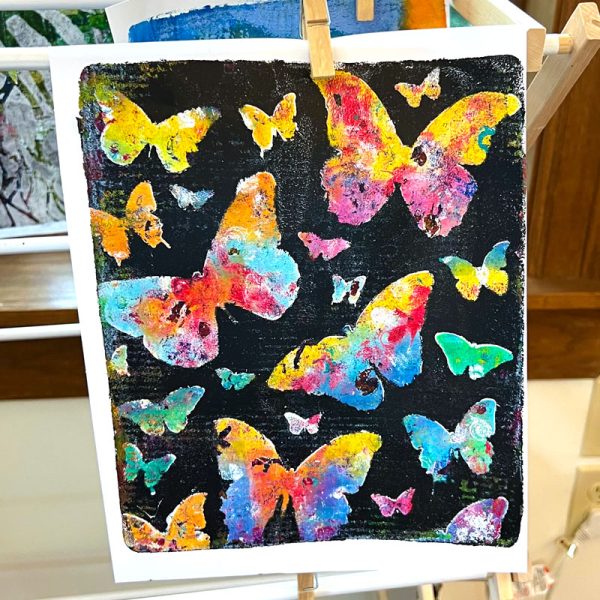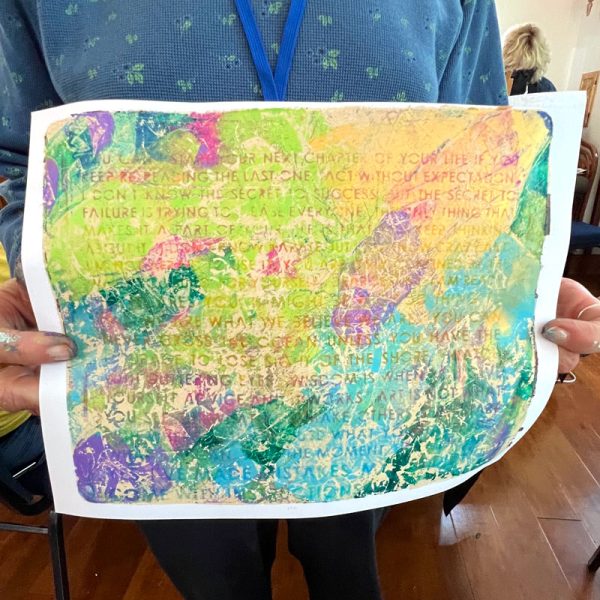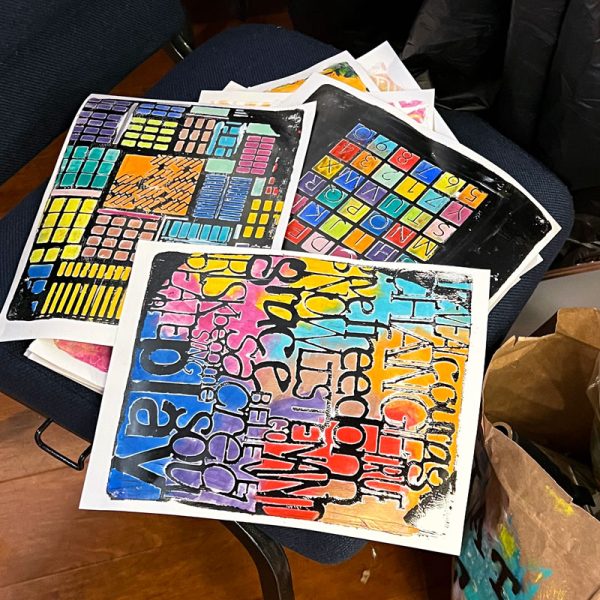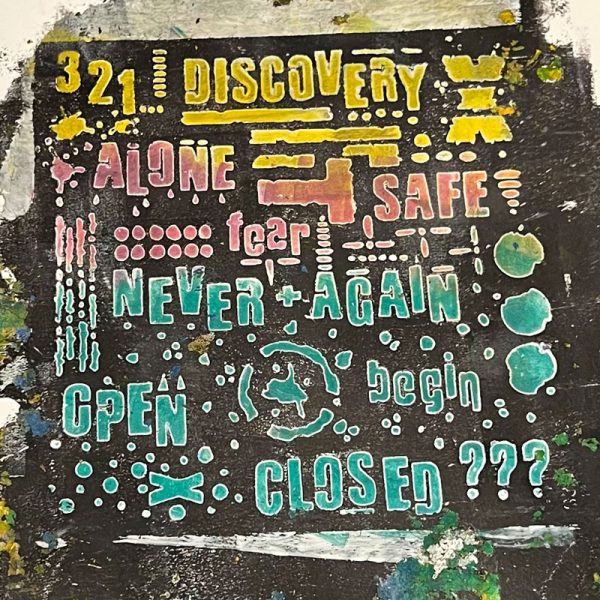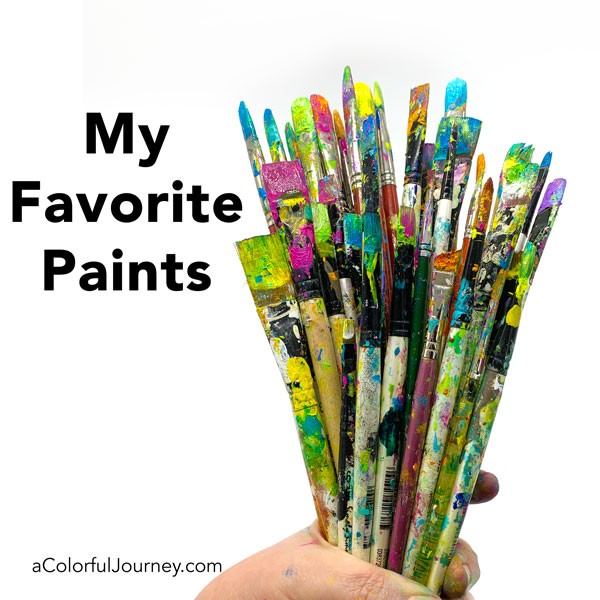
Choosing the paint that is right for you is a very personal decision. It is all about what colors you enjoy, how they feel when you use them, and what’s in the budget. Below are the paints I reach for most often, my tried and trues. Is this every brand and type of paint I own or use? Nope. I’ll try any paint, but these are the ones that I use most frequently.
There’s a reason why I don’t buy craft paints very often at the end of this post.
The links below are affiliate links which means I get a small percentage and it doesn’t cost you anything extra!
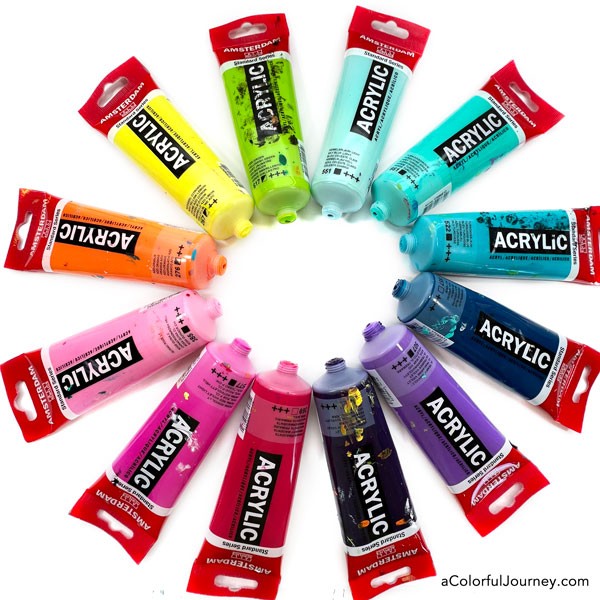
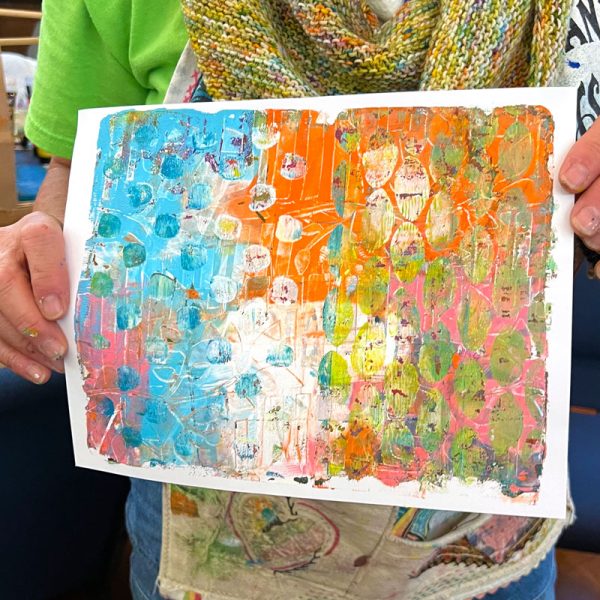
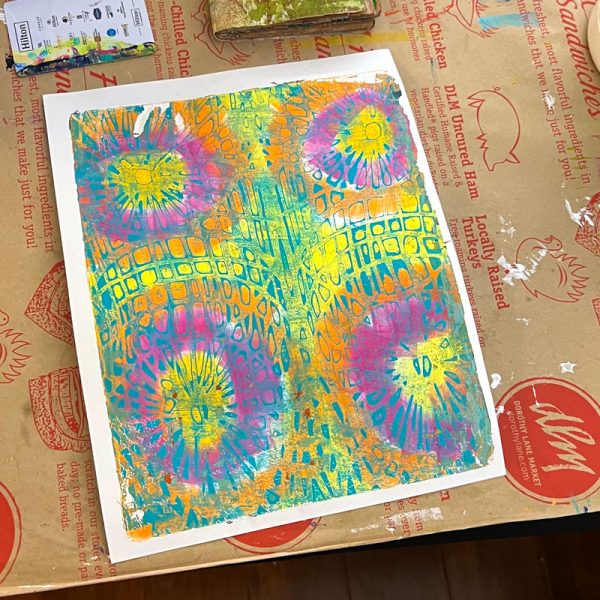
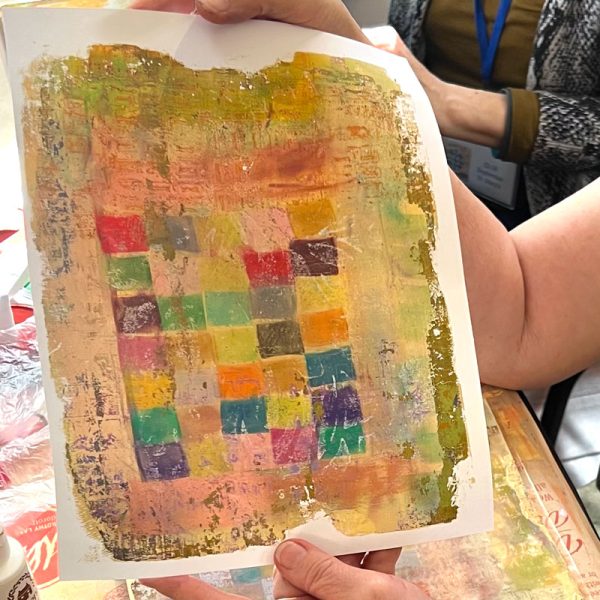
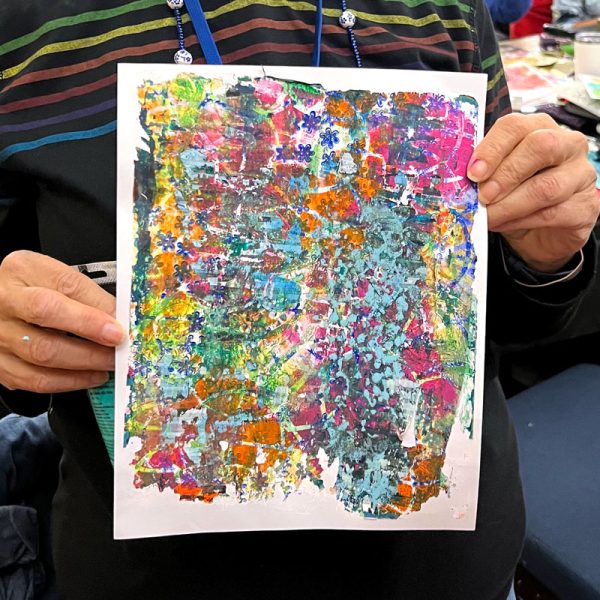
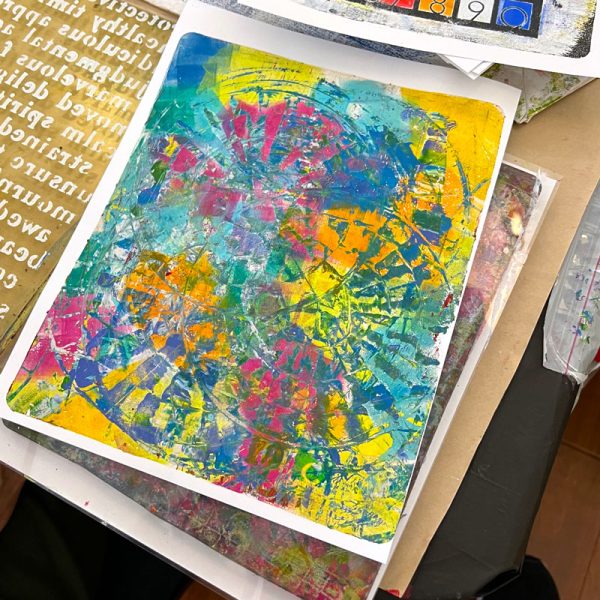
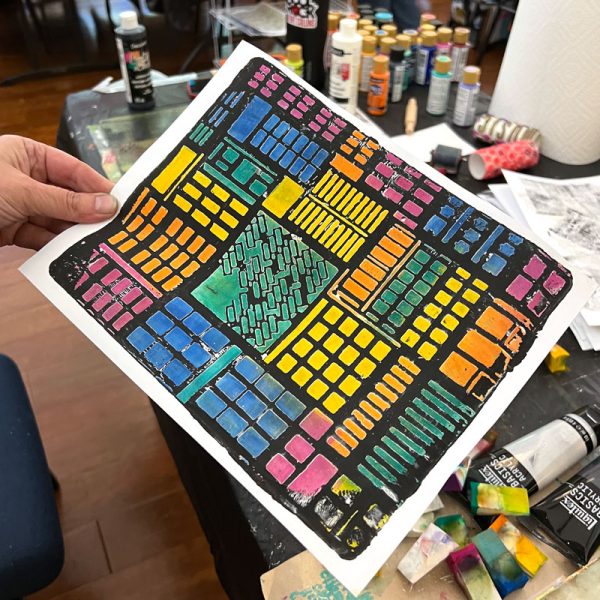
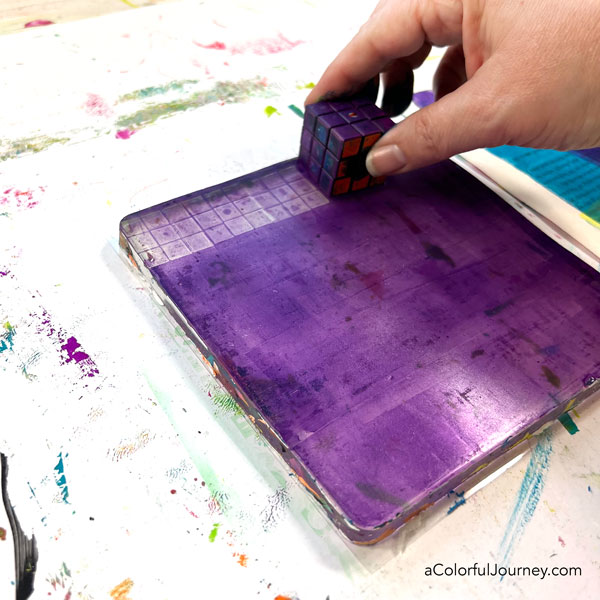
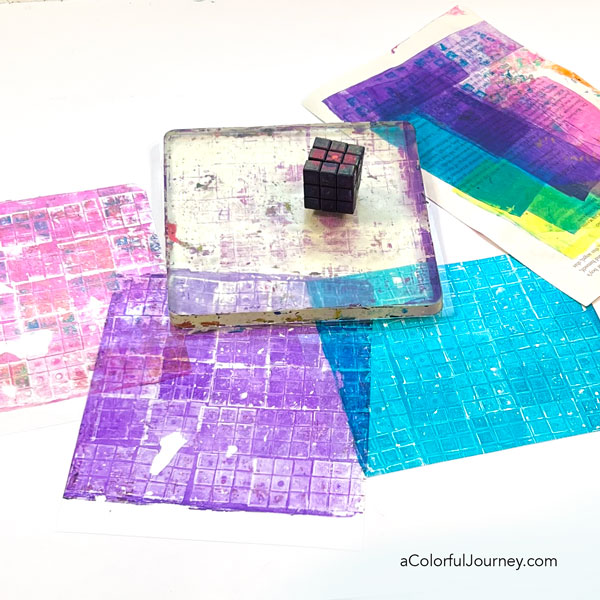
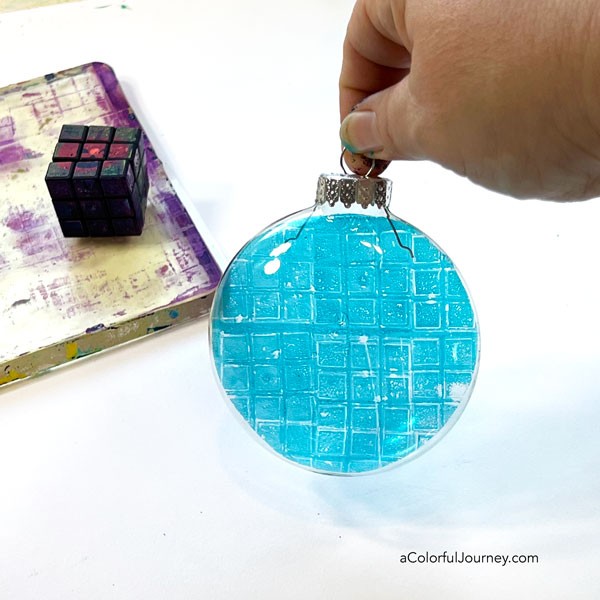
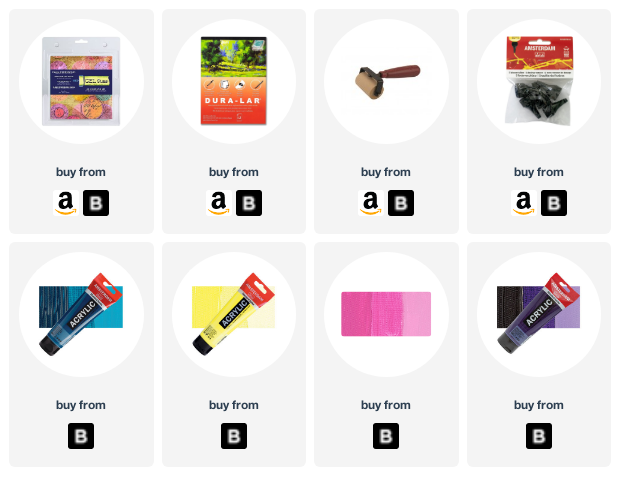
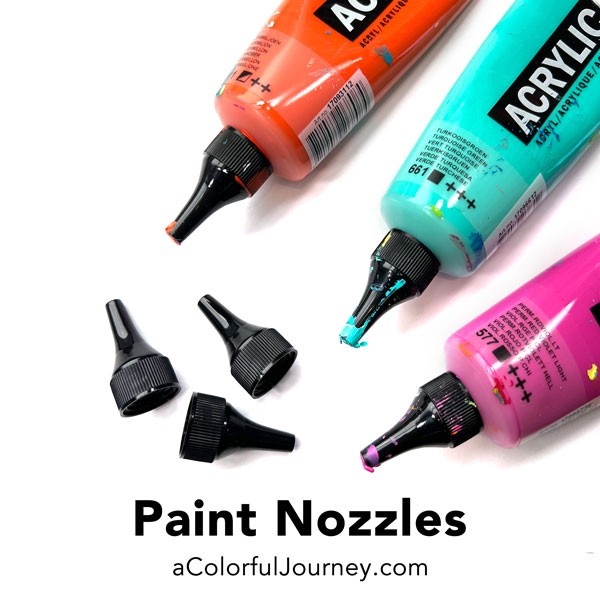
For gel printing, Amsterdam paints are my go to. One perk of them is the nozzle you can buy to put on their 120ml tubes. These are caps that seal so you can just leave them on there. I’ve had them for months and they haven’t clogged yet. The benefit of these is that you have much better control when you’re squeezing out paint to get a little or lot depending on the look you want.
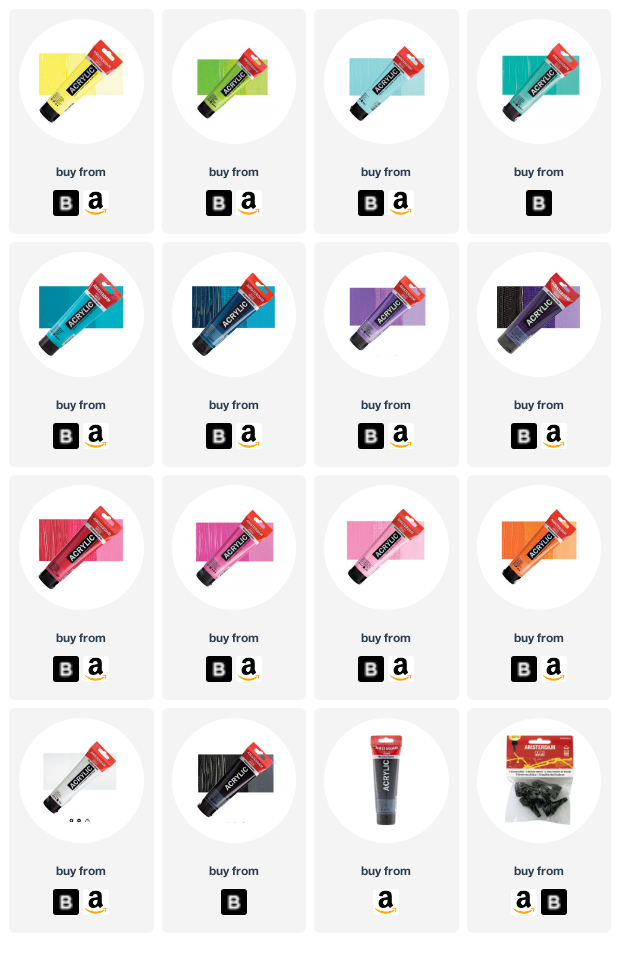
A paint similar to Amsterdam in feel and consistency is Liquitex Basics. You can see all their colors here, but my favorite in theirs is this bright and light green.
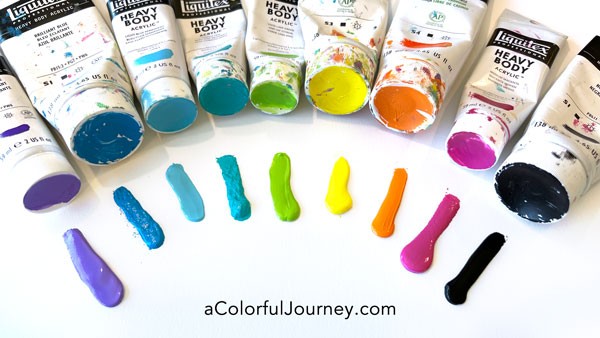
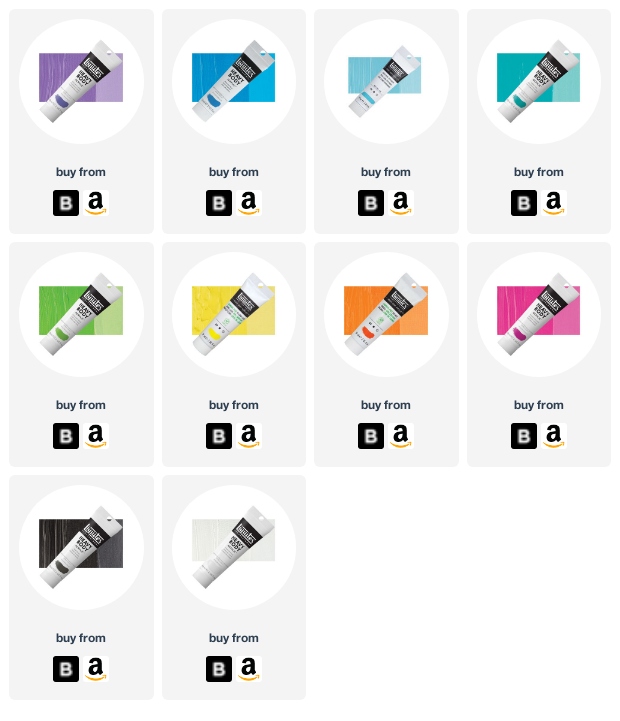
Liquitex Heavy Body paints
Liquitex Heavy Body paints are thicker than the Amsterdam and are an “artist” grade paint. What that means is it has more pigment in it which is why it costs more than non-artist grades of paint.
Why I don’t buy craft paints often
When I started using paints, I feel in love with a certain blue. Not a shocker that as a favorite the 2 oz. bottle of paint was used up. So I went to the store to get more of it. To my horror, it was discontinued and no longer available. I didn’t like that a color I loved was not longer available.
That led me to start using paints paints that have colors that are always available so that I could trust that I could find the colors I love any time of year.
Does this mean I will never buy a craft paint again? Nope. They just aren’t my go to paints.
So what is the very best paint to use? It’s always the one you have within arm’s reach. So whatever you’ve got, whatever colors you enjoy, I hope you have fun creating with them!