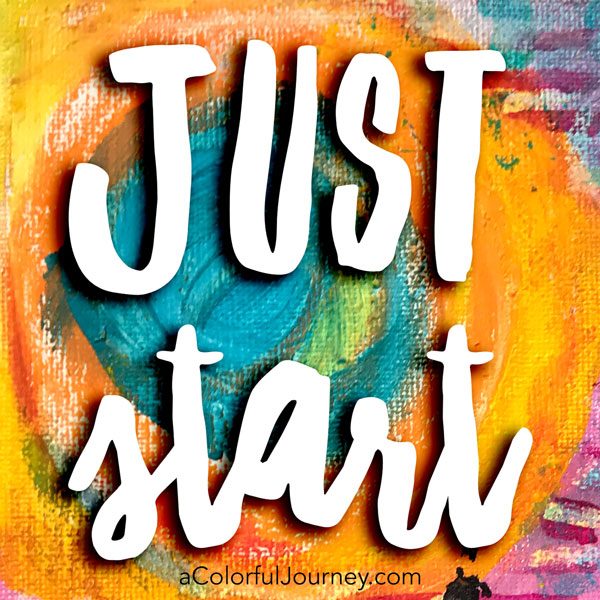
 You just have to start. Something. Anything. It’s the most important step when it comes to play. What you start doing doesn’t have to be perfect or magical. In fact, you’ll see how this starts as simple shapes and becomes a mixed media canvas called Once in a Blue Moon over Venice.
I had no idea the circle would become that moon because play doesn’t require a plan and clearly I didn’t have one as I started. It became a hot mess. Then there was the O.O.P.S. (you knew there was going to be one)…then the layers built up as I played including some sloppy stenciling.
The moon had been there from the beginning but it wasn’t until I did one little thing that I actually saw it! Watch the video and see the entire process from start to finish.
Watch How I play and create a stenciled canvas on YouTube.
Here’s the fineliner tutorial mentioned in the video.
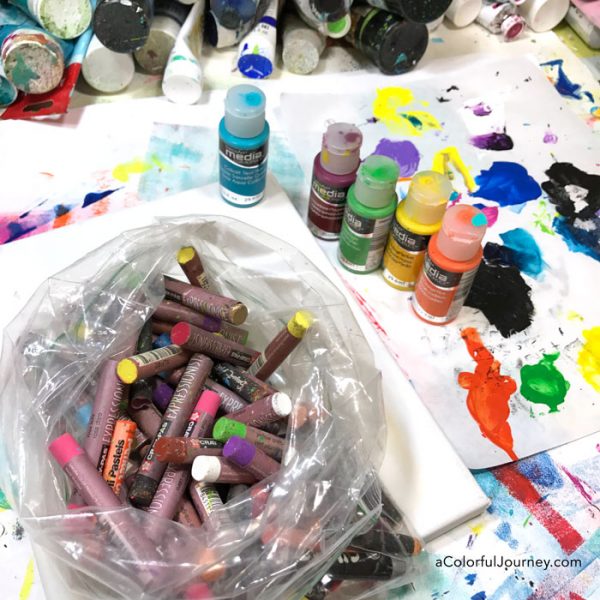
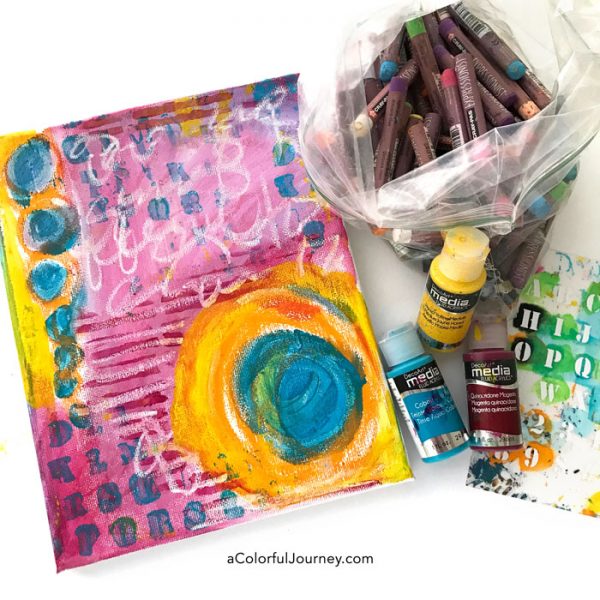
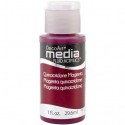
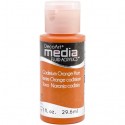
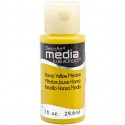
I grabbed what I had on the counter, oil pastels, Deco Media Fluid Acrylics, and an old canvas. In the next step you’ll see the fancy shapes I made.
Circles. Basic circles and some scribbling. Nothing fancy at all here. Play doesn’t have to be fancy to be fun.

The background built up mixed media style as I did some very messy and runny stenciling. The finger painting brought me joy and I went too far with the white paint. OOPS, but that just means it is an Outstanding Opportunity Presenting Suddenly.
As soon as I flipped the canvas over, I saw a blue moon glowing in the night sky. This is art play, not historically accurate…after all would a blue moon glow orange?
Stencils are versatile. In the video, you see how I adapted the Venetian stencil to fit the canvas just the way I needed it to fit and how I made those glowing windows.
This canvas would never have been created without that first step, the first mark on it. That is why starting is the most important step for play. After all, every time you play it has to start somewhere!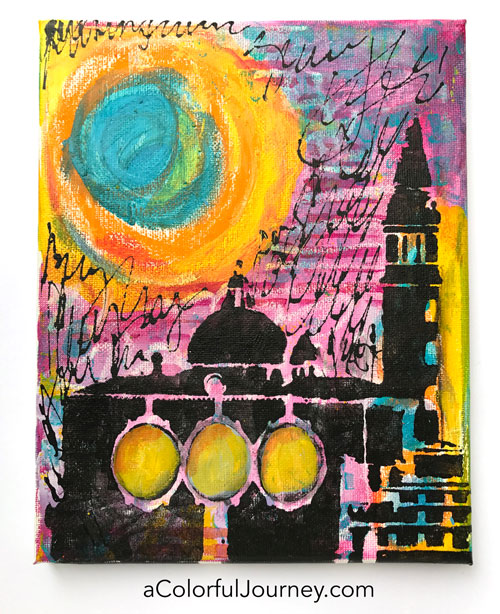
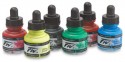
Here are the supplies I used. Some of these links are affiliate links which means I get a small percentage. It doesn’t cost you anything extra and you are helping me keep this blog and my videos ad free! Thank you- I don’t like ads any more than you do!

Now you’ve seen my play, let’s see yours! Share what you’re creating with us all in the Facebook group and be inspired by what others are creating! And be sure to leave a comment here to get entered in the monthly $50 gift certificate giveaway!
What is Let’s Play? It’s all about rediscovering the ability to play and each month I share a specific strategy that helped me recapture the freedom and fun of play. This month’s theme is just start. You can see more of the Let’s Play series here. Be sure to get entered in the $50 Dick Blick giveaway by leaving a comment.
Want to see more Let’s Play videos? You can find all the weekly posts here.
Sharing your play: I, and a whole bunch of others, would love to see what you’re creating! We’re sharing it in the Facebook group called A Colorful Place to Play. Why Facebook? I’ve listened to your feedback about how and where you’d like to share your play instead of the link parties.
Monthly giveaways: Leave comment on any (and all for more chances) of the weekly Let’s Play blog posts to be entered and one winner each month will be chosen by random.org. Want more chances to win a $50 gift certificate to DickBlick.com? Pin any of the images from the page or share about it on Facebook- then come back and leave a comment telling me what you did and you can have more chances to win! Giveaway closes the Sunday, December 4th at 11 pm EST and the winner will announced on the blog the following Monday.
Congrats to Ann, last month’s winner!