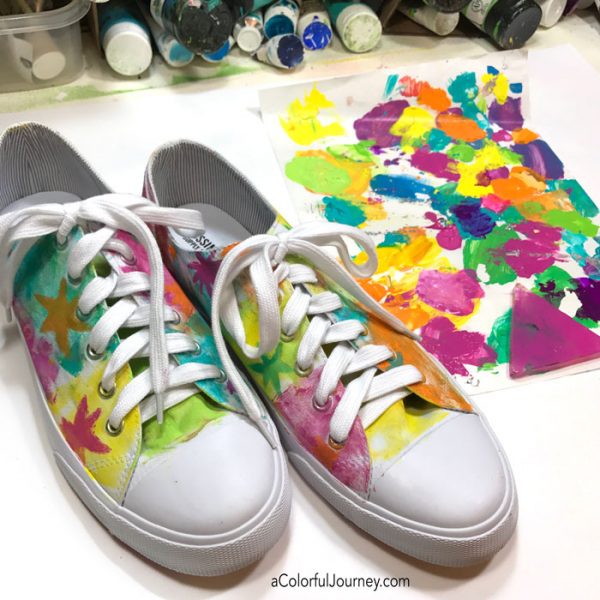
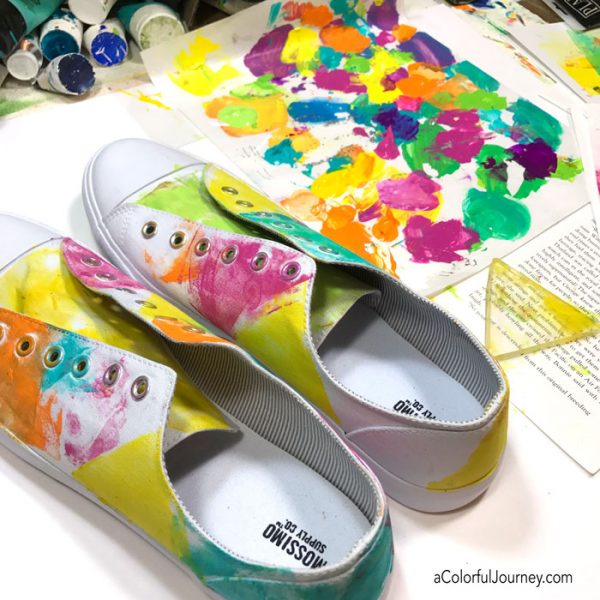
 Paint Couture…fun to make and fun to wear! Turns out finding a rainbow colored pair of shoes isn’t as easy as you might think so I decided to make some rainbow shoes! Clearly, I did not cobble them myself but simply painted a cheap pair of canvas sneakers.
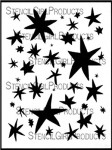
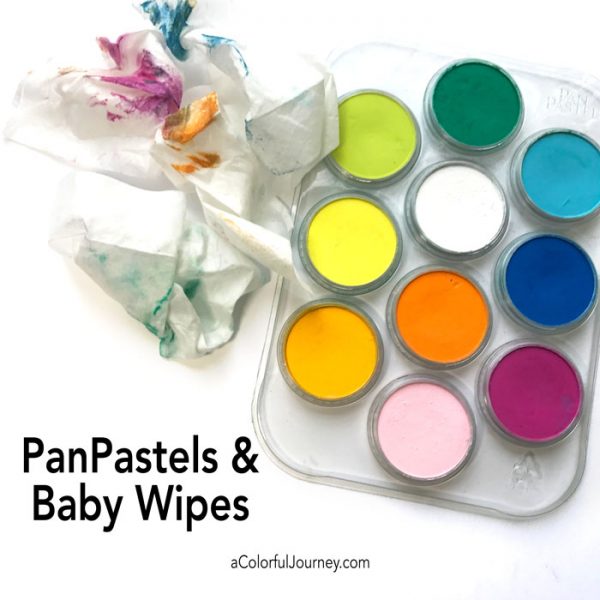
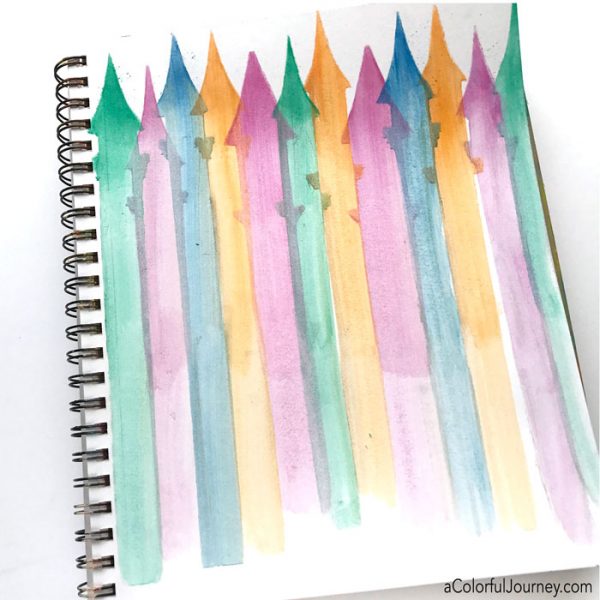
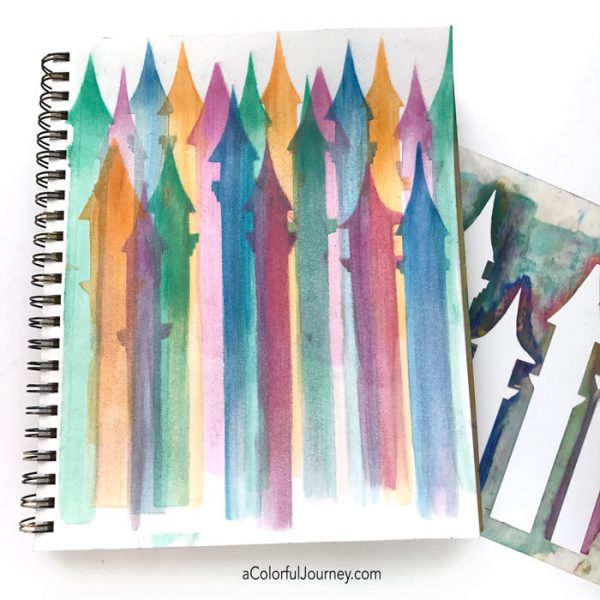
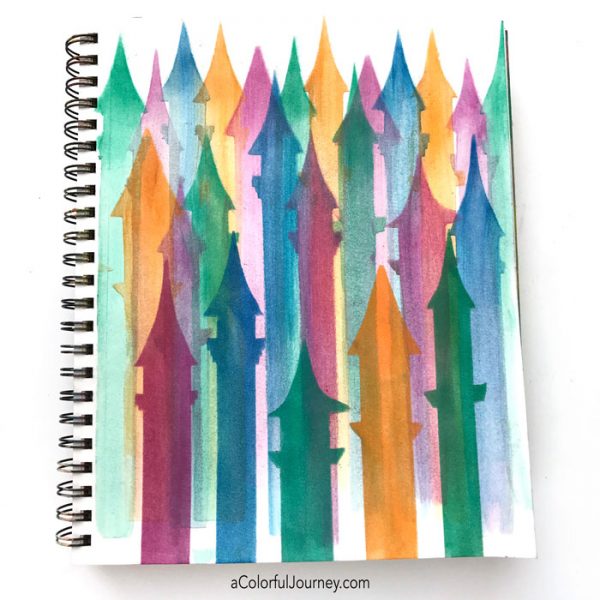
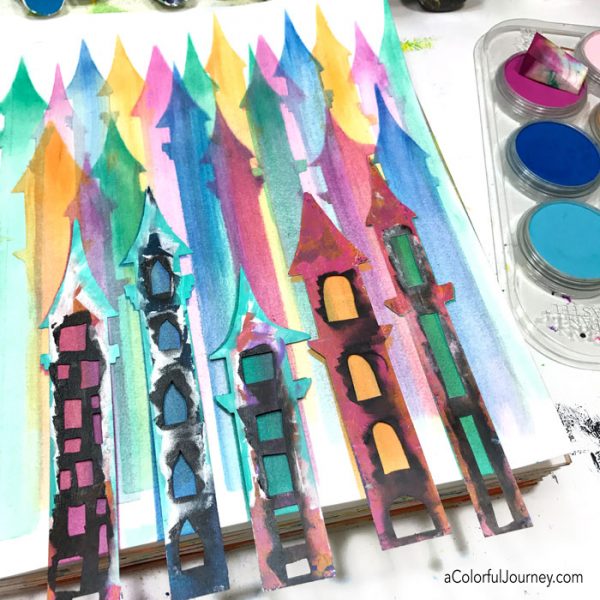
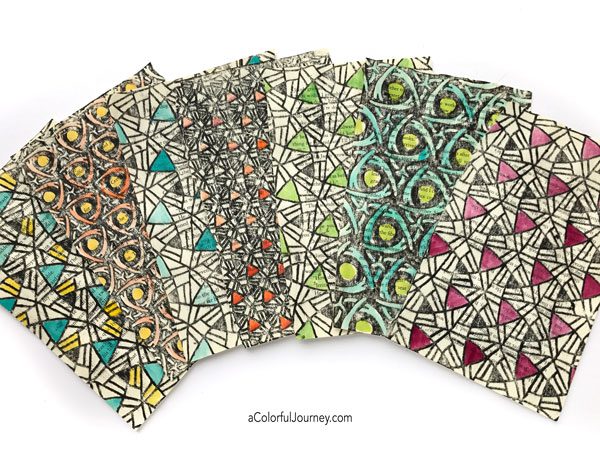
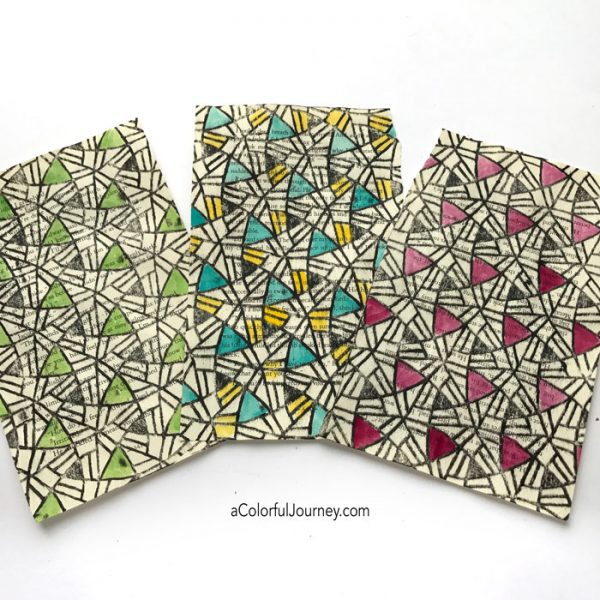
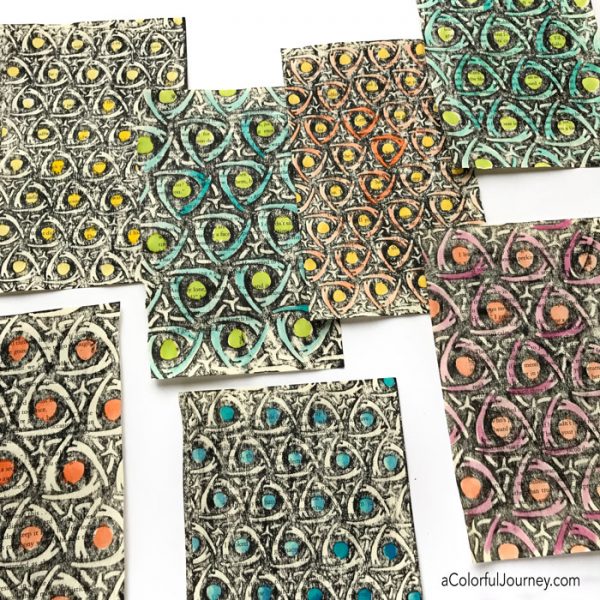
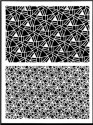
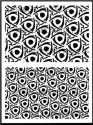
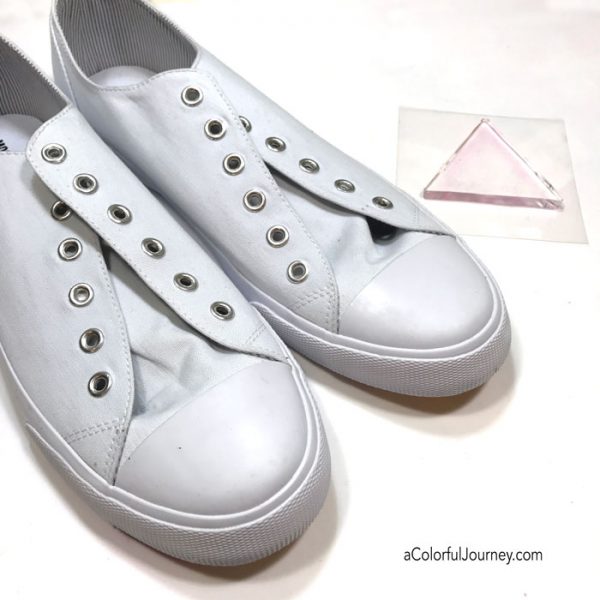
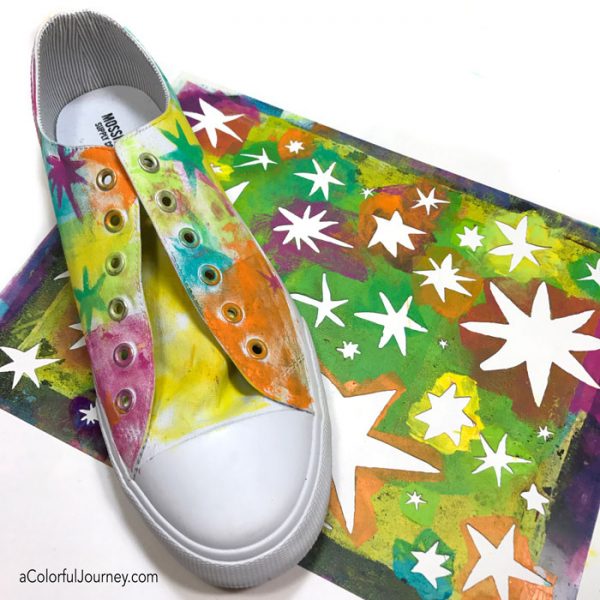
Even though you don’t see triangles all over the shoes, the triangle petite plate from Gel Press was used for the entire shoe, including stenciling the stars using the new Stars Inspired by Matisse stencil. You can see the whole process in the video including how I managed to keep the white rubber so white (hint baby wipes).
Watch Gel printing and stenciling sneakers on YouTube.
Want to win the stencils used in this video? One lucky reader will win all 7 of my new stencils. Leave a comment on this blog post for a chance to win. Want more chances? Leave a comment on each of the giveaway posts (Wednesday’s, Thursdays, Saturday’s and today’s posts!) See all the details at the end of this post.
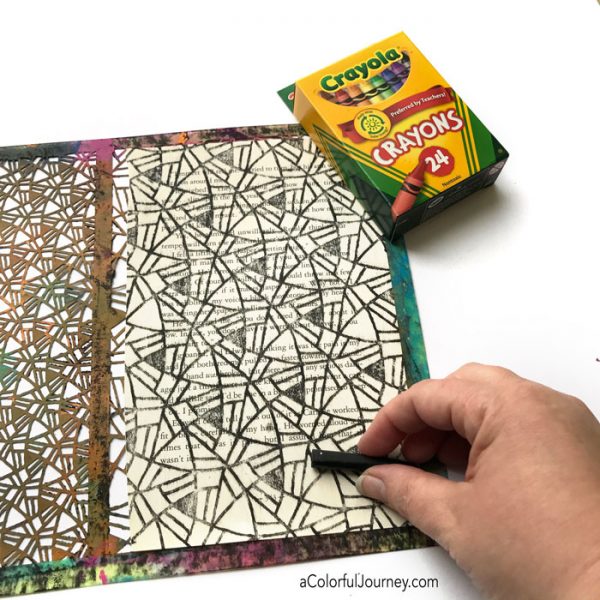
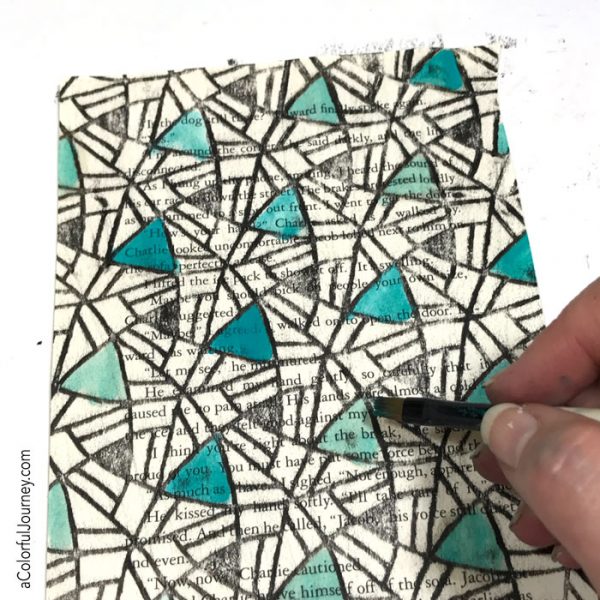
What types of paint do I use to paint shoes? Any acrylic paints that I had in arm’s reach. After all, any time I spill paint on my clothes it is hard to get it out. I could have used fabric paints but these are cheap shoes that probably couldn’t stand going through the washing machine too much anyway, so it being washable over the long haul isn’t an issue to me.
Why use a gel plate instead of a brush to apply the paint? The slight variations and color minglings from a dirty plate are tough for me to duplicate with a paint brush.
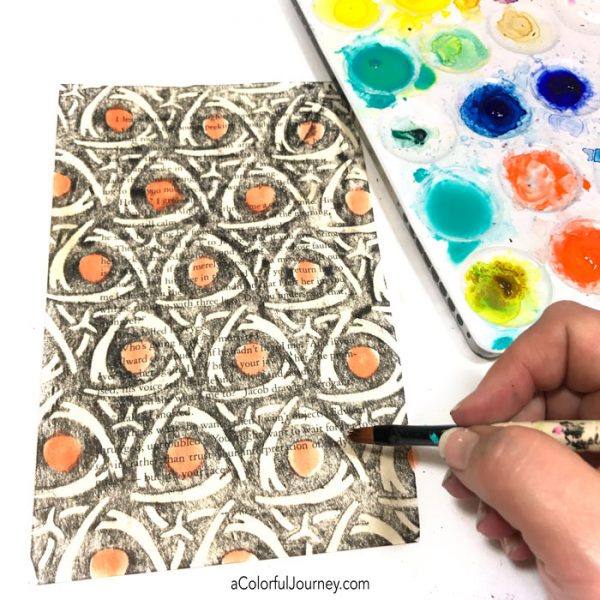
The stars from my Stars Inspired by Matisse stencil were added using the gel plate. Why that instead of a cosmetic sponge? The plate was right next to me and it also allowed for the paint minglings of the dirty plate to happen on the stars too.
Paint Couture, not something you’ll see at Fashion Week in NYC but one of the side benefits of wearing shoes like this is that every time you wear them, you are reminded of the fun that was had making them!
Giveaway Details
Want to win the stencils used in this post? One lucky reader will win all 7 of my new stencils. Leave a comment on this blog post for a chance to win. Want more chances? Leave a comment on each of the giveaway posts (Wednesday’s, Thursdays, Saturday’s and today’s posts!) See all the details at the end of this post.
I want everyone to have a chance to win, so International folks are eligible too! Of course, if you win and you’ve already ordered any of the new stencils, you can pick any of my other 50+ stencils at StencilGirl. Giveaway ends on Jan. 31st at 11:59 pm. EST. Winner will be announced the following day on the blog.
Want more chances to win? Bonus entries for sharing any this post on Facebook, or Pinterest, or Instagram! How will I know you did it? Just come back and leave a comment telling me where you shared it. Random.org will be picking a winner from the 4 blog posts on Jan. 31st at 11:59 pm. EST. Winner will be announced on the blog the next day.
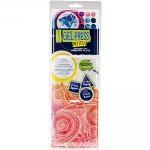
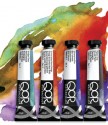
Here are the supplies I used. Some of these links are affiliate links which means I get a small percentage. It doesn’t cost you anything extra and it helps keep the free tutorials coming!