Welcome! I’m Carolyn Dube – This colorful journey is all about the freedom of play!
Search My Blog
Search by Category
The Fine Print
Some of the links on this blog are affiliate links and I receive a small percentage. It doesn't cost you anything extra and helps keep all the free tutorials and videos coming! It's a win-win!
The website is copyright Carolyn Dube, and that is kinda common sense since this is my site.
As an Amazon Associate I earn from qualifying purchases.
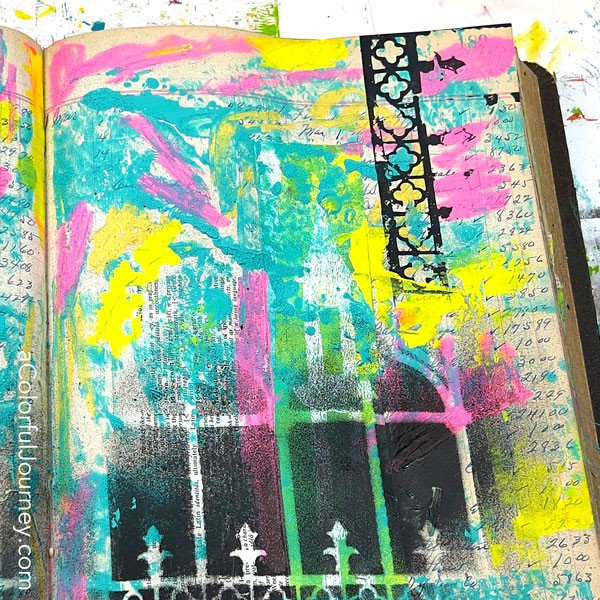
When you’re creating, you have choices. The criteria you use to make those choices plays a big role in what you create. This could be a deeply philosophical topic, but it’s not here. What drove my choices in this art journal was how to avoid cleaning.
As much as I avoiding any unnecessary cleaning, there was one bit of it in this video where I cleaned off the stencil by simply blotting it off on the page. That kind of cleaning is fun!
***I’m using a water based spray paint so there isn’t much of an odor, but it is still spray paint, so be sure to do it in a well ventilated area or wear a mask.***
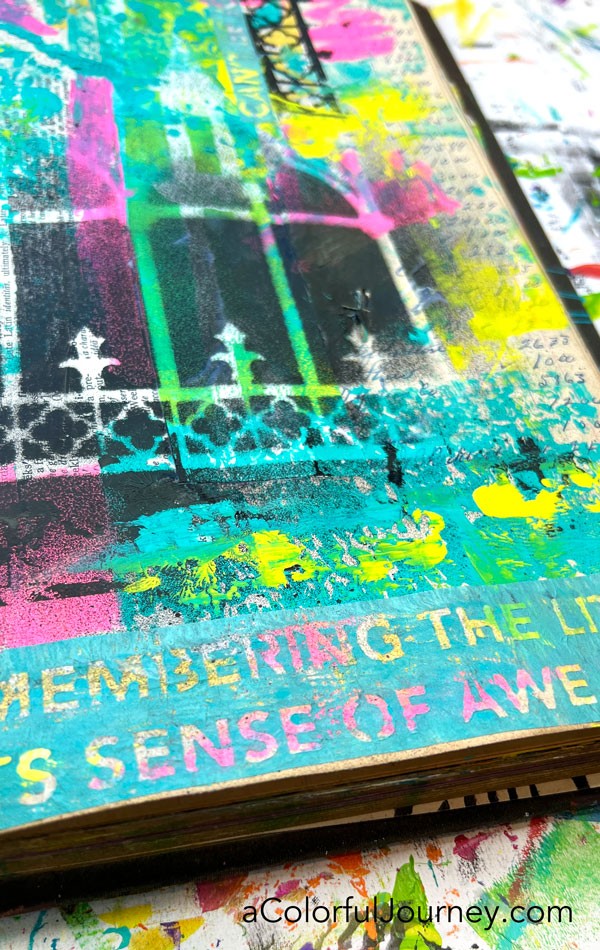
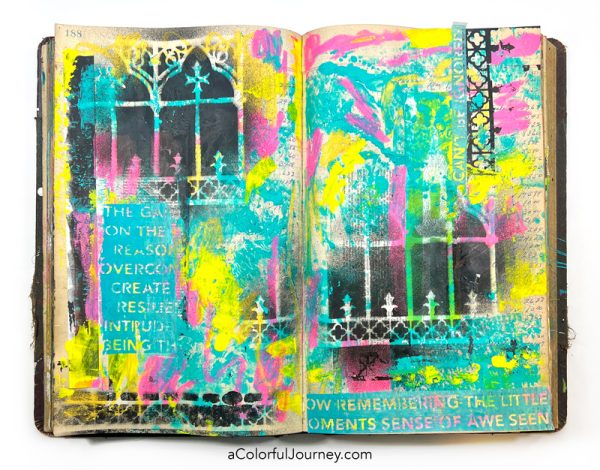
One perk of using tissue paper (or something similar like deli paper) is that bits of what’s underneath can peek through. That makes the words from my Random Thoughts stencil even more fun on this page!
The trick to making the tissue paper transparent is to generously use a very fluid (runny) glue.
Is this page finished? Not sure! I’m on the fence as to whether or not more will be added so I’m stepping away here to look at it later with fresh eyes. That is one of the many great things about art journaling, it’s not mayonnaise, it won’t spoil so there’s no time limit to finish it!
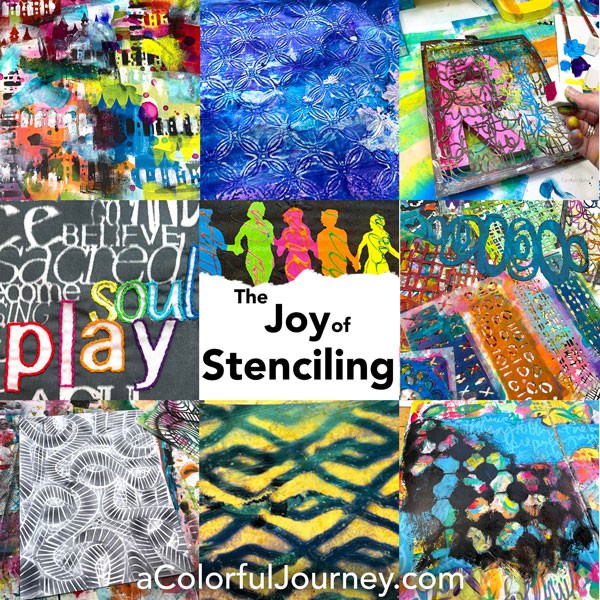
How I’ve used stencils on this art journal page is just one of the many many ways you can use them. If you’re looking to get more out of your stencils check out my online workshop, The Joy of Stenciling.
Here are the supplies used. Some of these links may be affiliate links which means I may get a small percentage and it doesn’t cost you anything extra! And you get a really good feeling knowing that you are helping keep the free tutorials coming!
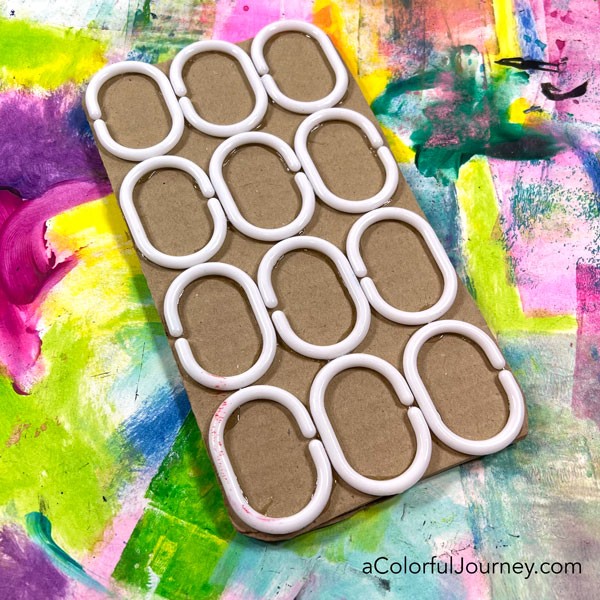
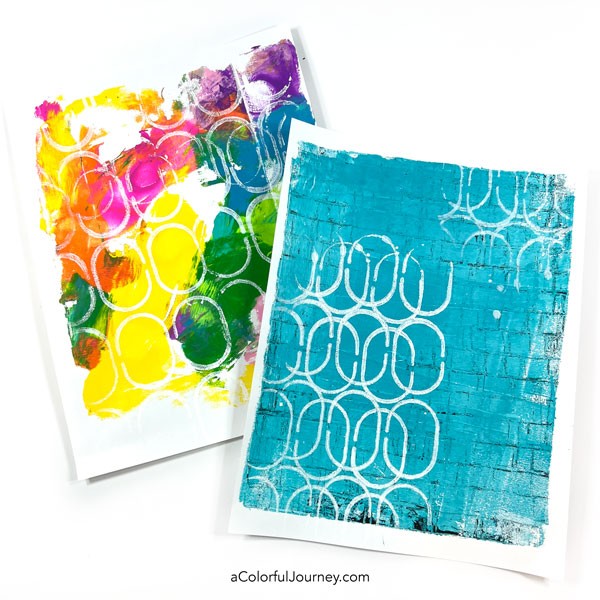
What’s the play today? Having fun with shower curtain rings. Not a sentence I ever expected to say…but it’s true! After all, just about anything can be fun when you’re gel printing with it!
These are hideously cheap, and not in the good way. But that’s fair since they came free with the bargain shower curtain I bought. As shower curtain rings go, these are terrible for putting the rod. But they are fantastic for making a gel printing tool!
Since these are plastic, I used E600 to attach them so that it would really grab the plastic and hold it in place. The drawback to this was I had to wait for it to dry. Hot glue goes a lot faster so if you don’t want to wait, go for that!
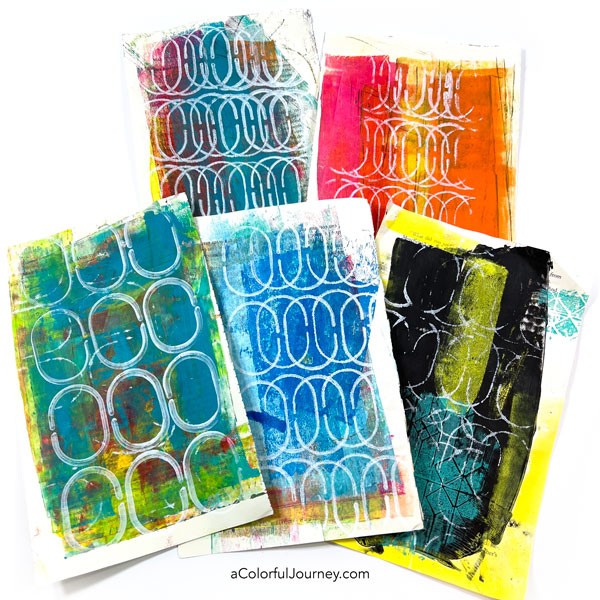
I’m using a large gel plate, with about half of it for rolling out paint like an ink pad and then the other half for taking the prints.
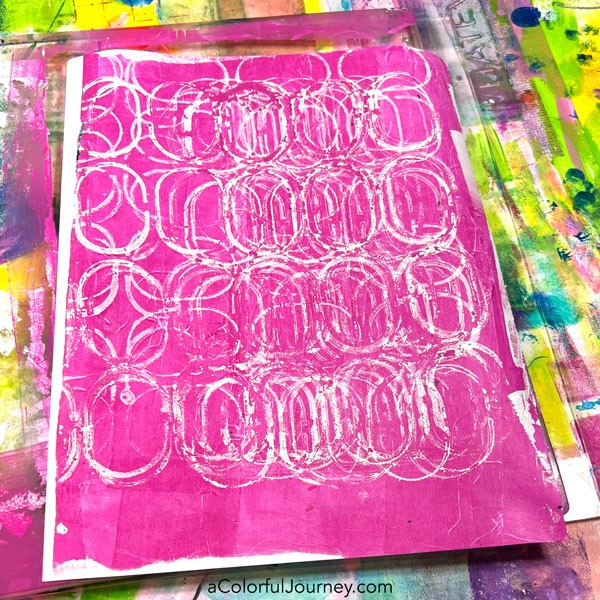
I thought I’d love the single prints but it’s the multiples that I loved. Once again, the gel plate surprised me! The twisted and turned patterns, not so much! But the grunge from twisting and turning did lead to a print that I did love!
Why am I using a gel plate to do this instead of just printing directly with the shower curtain rings on to my paper? When I do it directly onto paper, very little of paint transfers compared to the gel plate.
Don’t have cheap shower curtain rings laying around? You can glue anything to cardboard! Take a look around your home or recycle bin and then see what kind of prints it makes!
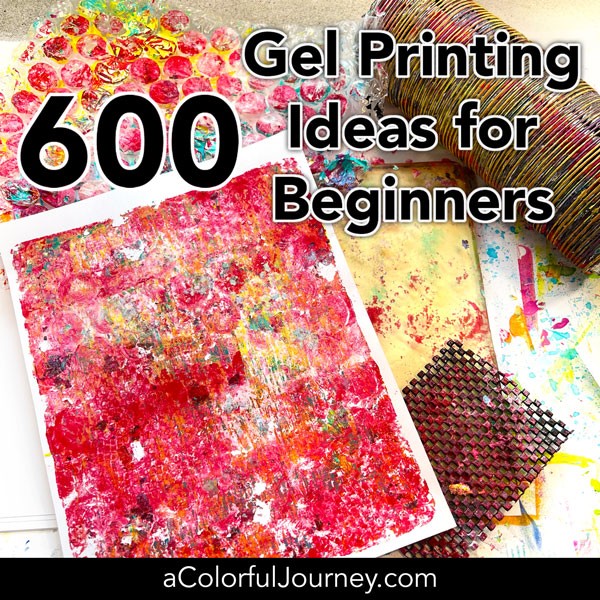
This is just one way to start a gel print. I’ve got 600 more ideas for you and how to create layers ON the gel plate. Plus everything you need to know to get started making gel prints along with a printable reference guide! And it’s completely free. Get signed up here.
Here are the supplies used. Some of these links may be affiliate links which means I may get a small percentage and it doesn’t cost you anything extra! And you get a really good feeling knowing that you are helping keep the free tutorials coming!
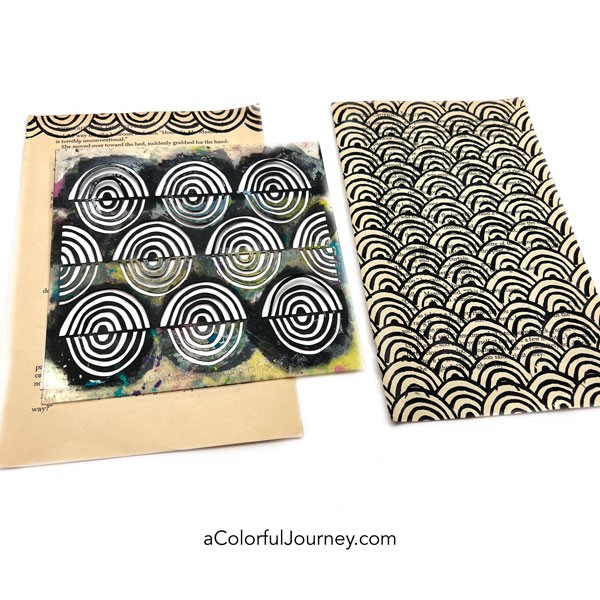
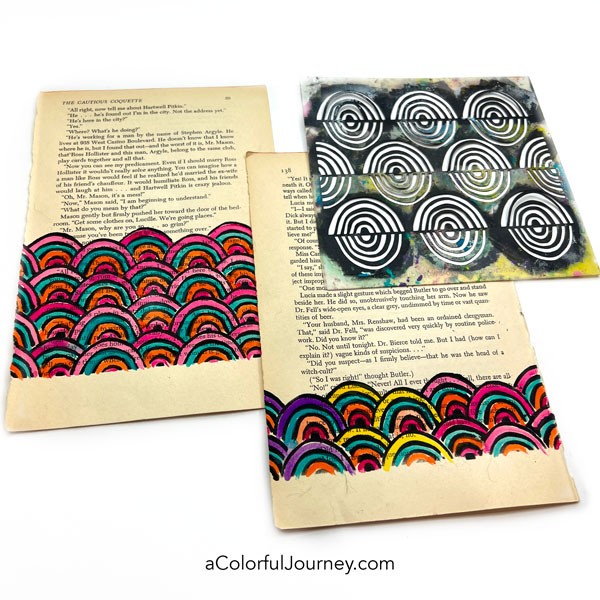
One stencil can create more than one look! In this video, I’m sharing how to create a scalloped look using my Rows of Reflecting Rainbows stencil. Once you know how to build the pattern, you can make it any size you want. Just a couple of rows makes a great border or edging. Fill an entire page to create your own patterned paper.
Add color to the scalloped pattern. Customize it to any color scheme you want. Add one color, two, or the entire rainbow. I used watercolors and you can also use things like colored pencils and pens or anything else you have on hand.
This just one way to use a stencil, the tip of the iceberg. If you’re looking to get more out of your stencils, then check out my online workshop, The Joy of Stenciling.
Here are the supplies used. Some of these links may be affiliate links which means I may get a small percentage and it doesn’t cost you anything extra! And you get a really good feeling knowing that you are helping keep the free tutorials coming!
This website uses cookies to improve your experience while you navigate through the website. Out of these cookies, the cookies that are categorized as necessary are stored on your browser as they are essential for the working of basic functionalities of the website. We also use third-party cookies that help us analyze and understand how you use this website. These cookies will be stored in your browser only with your consent. You also have the option to opt-out of these cookies. But opting out of some of these cookies may have an effect on your browsing experience.
Necessary cookies are absolutely essential for the website to function properly. This category only includes cookies that ensures basic functionalities and security features of the website. These cookies do not store any personal information.
Any cookies that may not be particularly necessary for the website to function and is used specifically to collect user personal data via analytics, ads, other embedded contents are termed as non-necessary cookies. It is mandatory to procure user consent prior to running these cookies on your website.