What happens when you fold a round gel plate over and over? A kaleidoscope gel print! There’s something so exciting when that gel plate flops back flat and the pattern is revealed!
If you want to see how this technique was discovered, and need a laugh, check out the livestream recordings in my Facebook group, Rediscovering Your Creativity.
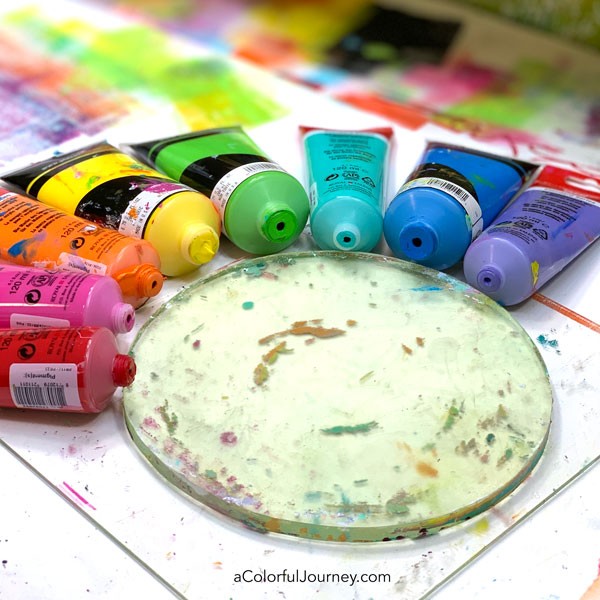
Start with as many colors as you want and a gel plate. I’ve found the round ones my favorite to use with this technique but if you’ve got another shape on hand, then use that! After all, the best art supplies are the ones you have within arm’s reach!
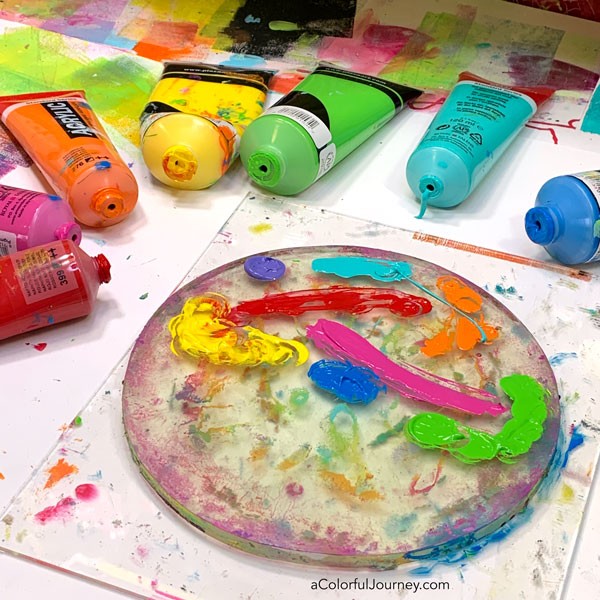
Add blobs, smears, and bits of color on one side of the gel plate. Then fold it in half. Yes, fold it. Pictures don’t do folding justice so be sure to check it out in the video.
The folding happens very easily when the plastic protectors are removed. My daughter found that out in our livestream. You can see that video in the group here.
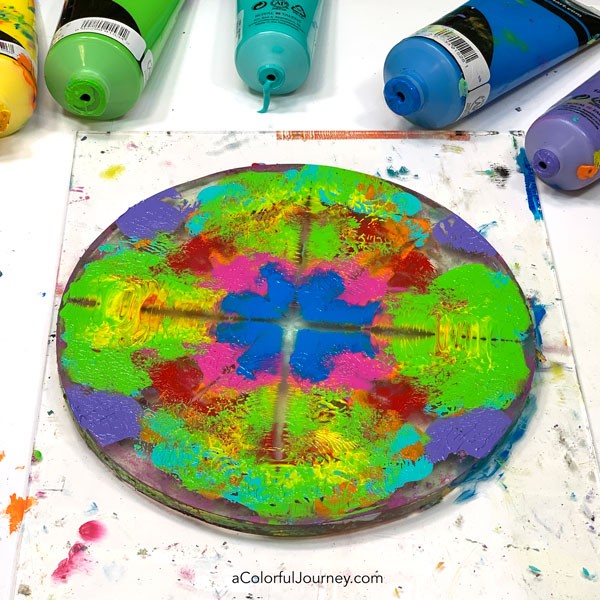
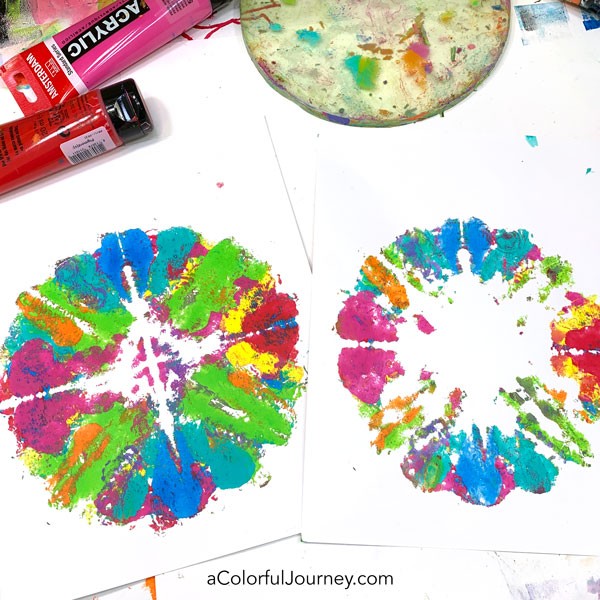
When you take your prints, the first one will have the most paint and as you take the ghost prints, each one will have less and less paint on it. This means you’ll see different details in each print! I love that every single print is unique!
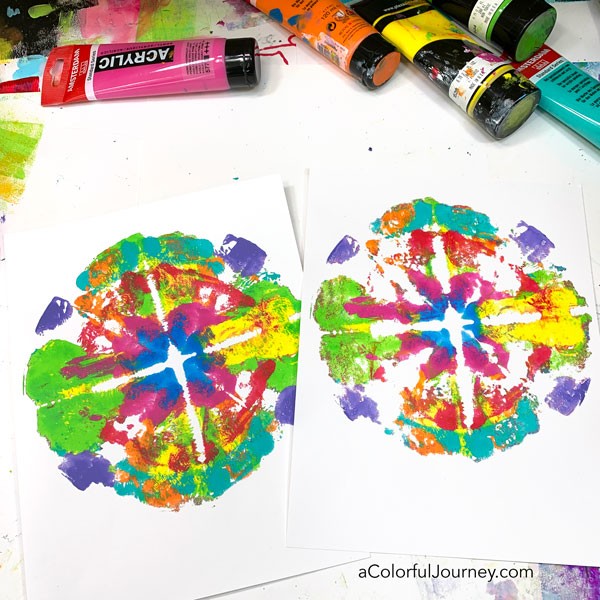
How you put your paint on the plate will determine what your kaleidoscope looks like so play around with making different kinds of paint lines and smears.
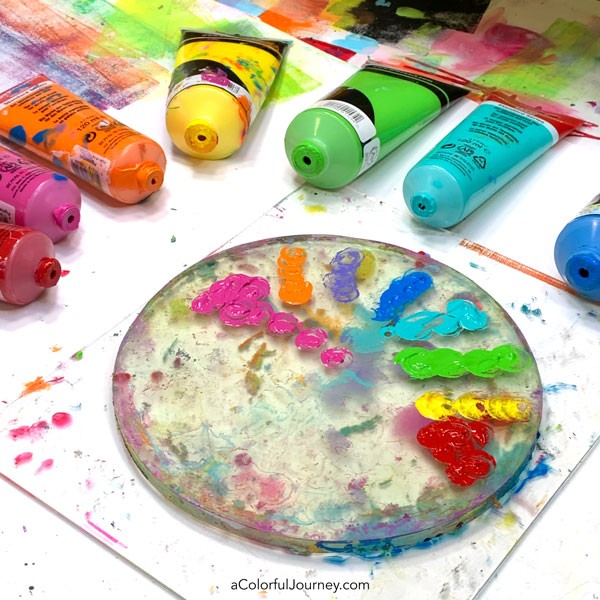
Fold it as many times as you want. I tend to have 4 as my goal, but if I lose count then I just add whatever I want. And yes, I can have a hard time counting to 4 when I’m wrapped up in seeing what the colors will do!
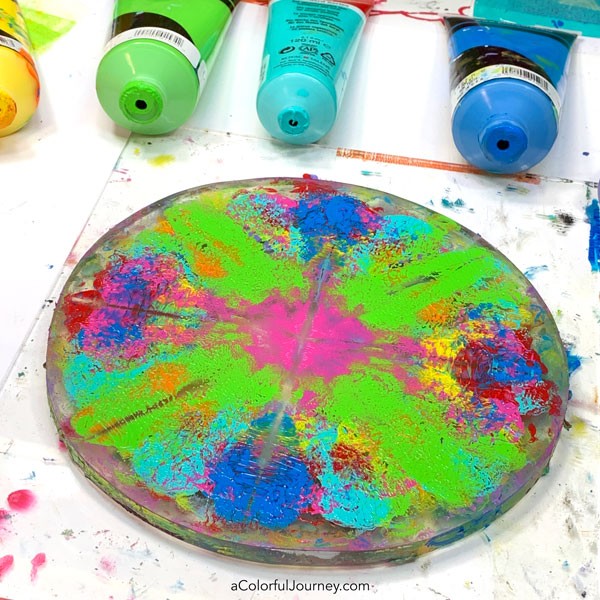
The first print is great but my favorites are usually the 2nd and 3rd, the ghost prints.
Is this all a gel plate can do? Absolutely not! There are so many possibilities! Check out my workshops for more in depth ways to play!
But my workshops aren’t for everybody. If you’re looking for an art workshop that is an academic lecture experience full of formal terms then my workshops aren’t for you.
If you’re looking for playful step-by-step explanations of art concepts so that you can apply them with confidence all while having fun, then check out the workshops. But only if you want to enjoy using your art supplies.
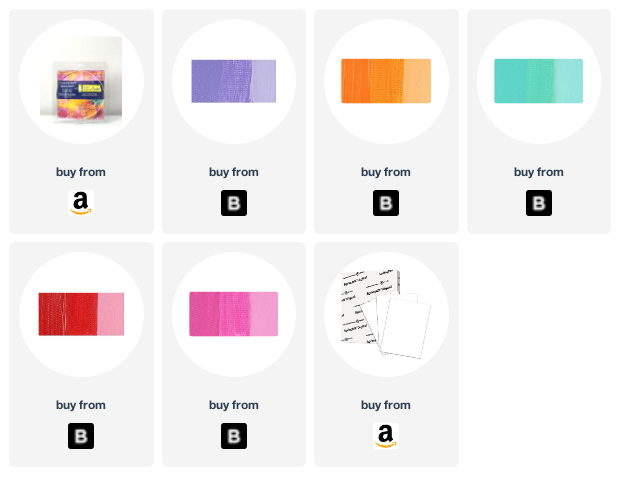
Here are the supplies used. Some of these links are affiliate links which means I get a small percentage. For example, I’m an Amazon Associate & I earn from qualifying purchases. It doesn’t cost you anything extra and you get a really good feeling knowing that you are helping keep the free tutorials coming!
The other colors I used are cadmium yellow light hue, Cerulean Blue Hue, and Perm. Green Light from Plaza art.


Love this technique, Carolyn – thanks so much for sharing it!
Hi Carolyn….I always enjoy your videos and learn such great ideas. I also did your Permission to Play series. You are very talented and your generous sharing of ideas is much appreciated!!
Hey, no worries! If you forget about the “kale”thing, just remember this rule: i before e, except after c. This video is fun , with its title
spelled either way…
Delightful! I can see how this can be more addicting. Thanks for the idea.
So fun! Thanks for sharing this colorful idea!
With Gratitude,
Briana
Super fun
Well Carolyn you’ve done it again…..sent me flying into my studio to try this wacky technique out and after 30+ pulls I’m not exactly in love with this process but did produce some very very interesting prints. Then I looked at your video again and realized only half of the round plate gets paint…..oohhhh. Back to the studio, pull another 20 prints, much better (although I’m still not in love with the results)…..you are very successful however in getting me to try new approaches, something I love about your posts. Cheers.