Ink and stencils can play together to create very loose, one of a kind images. As I gave this technique a try, I turned on the video camera so you could join me to see what happens as I play with both acrylic ink and spray inks. You’ll see something I didn’t like about my set up and spoiler alert, I’m hooked on this technique now.
A huge shout out to Mary Beth Shaw and her Facebook livestream where she shared this technique- and now has me hooked on this technique!
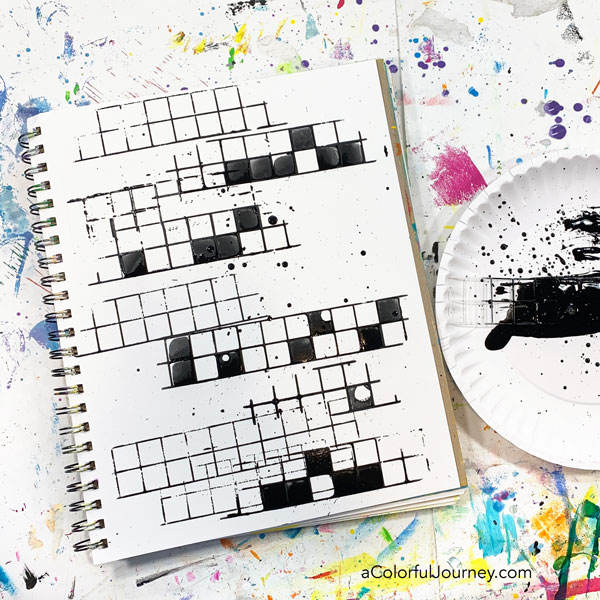
Start by putting something runny, like acrylic ink, onto a paper plate. You’ll want enough to drag the stencil through and when you’re done any extra can be poured back into the bottle.
Then dip or drag your stencil in the ink and place on your paper. I’m using the Periodic Framework Stencil for the grids and the Trapezoid Squared for the Frank Lloyd Wright vibe.
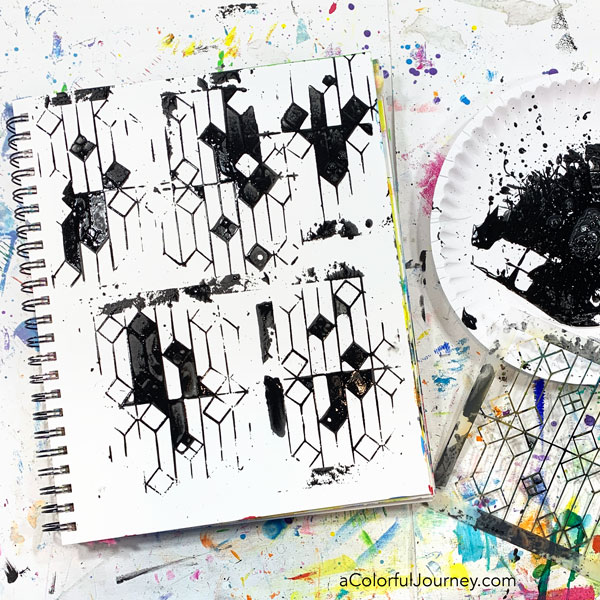
What makes this so much fun is the bubble factor. As you put the stencil in the ink, it creates a “bubble” in some of the openings. If you have more “bubbles” than you want on a stencil simply pop any you don’t want.
If you’re using a full size stencil, like I did with my Hearts Overlapping stencil, you can use just parts of it. Below, is just bits and parts of the stencil used 3 times.
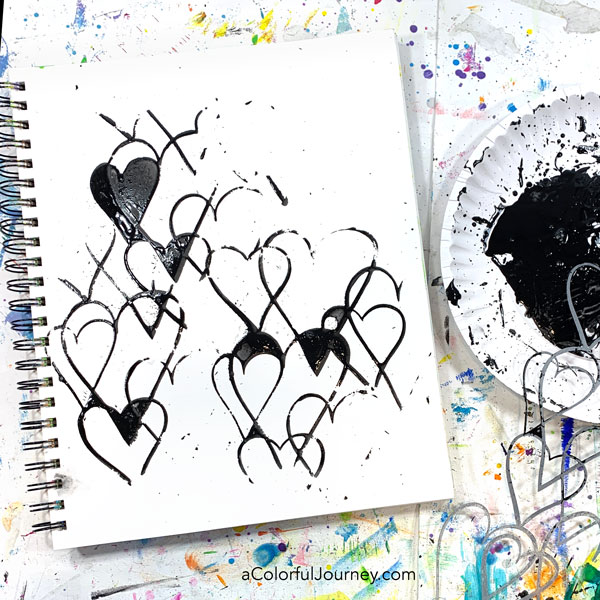
There are splatters on most of these art journal pages. When you’re holding the stencil above the page if you move it a bit, there are little drops of ink that fall. This may be my favorite new way to make splatters!
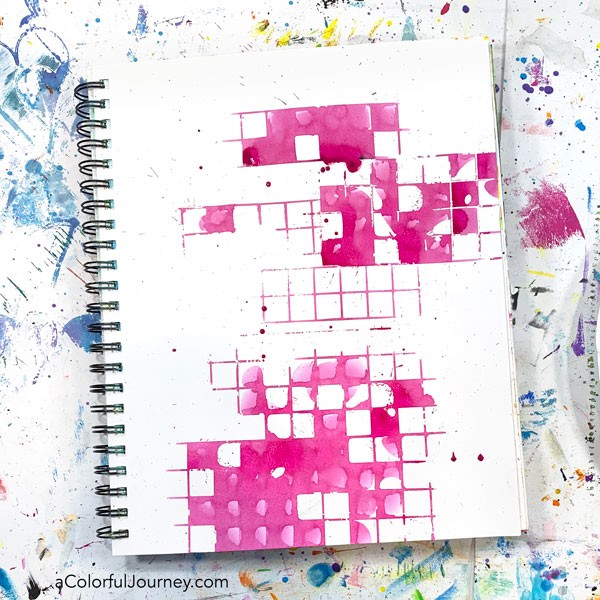
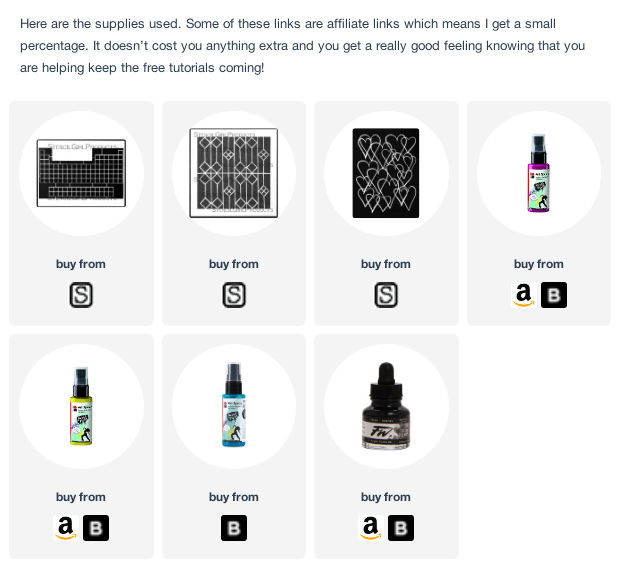
Not only can this be done with acrylic ink but also spray inks! I’m using Art Spray here and it works just like the black ink. I specifically chose this spray ink because once dry it will not reactive with water. Which is very handy when doing the background for an art journal page.
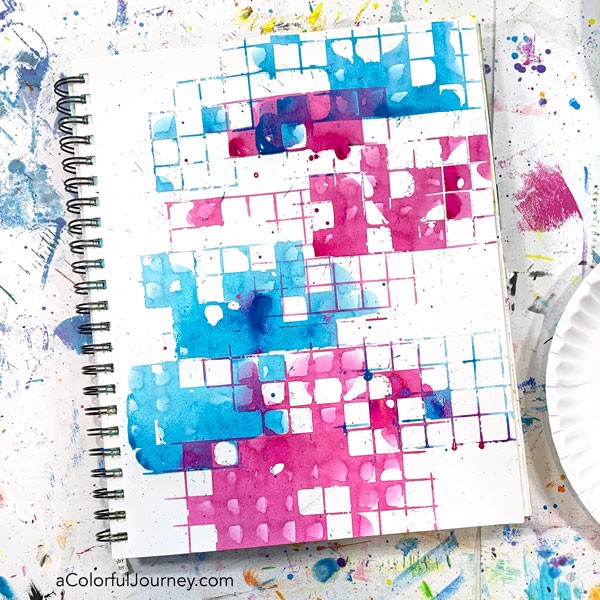
Where the wet colors overlap, new colors appear. After all, if you have blue and yellow spray inks mixing, you’ll get green. Where the pink and blue overlapped, a purple appeared.
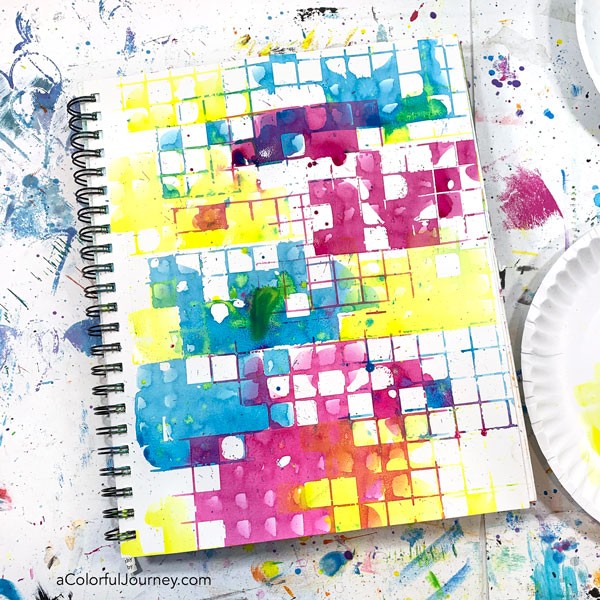
Acrylic inks and spray inks aren’t the only thing you can use, they’re just what I’ve tried so far. I suspect that anything runny will work with this technique!
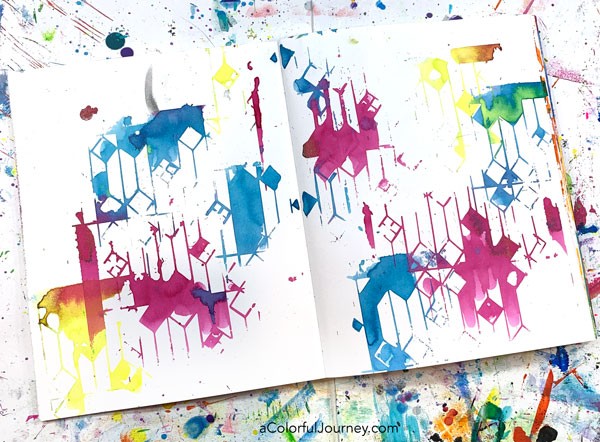
The inks need to dry before I start adding more to the backgrounds. Be sure to be signed up for my newsletter so you’ll know when more gets added to them!


This looks so fun! I’m always looking for different ways to use stencils. Can’t wait to try it!
I am definitely going to try this – thankyou so much for sharing..
Such fun watching you create with the stencils! Makes me want to dive right in! You explain so well and easy to follow your directions and process. I am buying the heart stencil as I love it and want to try color. Valentine’s Day is coming…
Thank you Carolyn!
This is a great idea and demo. Can’t wait to try it. Thank you!
I love all of your teaching videos. Thank you for being so inspiring through all these years.
Hugs,
Denise Reimer
Wow! That was so much fun! I tried it right away and had so much fun with it! Love all of your tutorials so much, you have such a fun and vibrant personality. I love you work space. I dream of having an area like yours but am currently restricted to one wall. Haha…oh well. If you are ever throwing away your stencils, or purging your stash just send them my way. Haha. Have a good day!
Love your easy going style Carolyn!!
I forgot all about that livestream but remember how fun it looked at the time. I have to try this!
Looks like soooo much fun!!!
Can’t wait to create with your “Hearts Overlapping Stencil” (one of my favorites) using black and colored inks.
This fits right in with the Rainbow Wanderlust Theme.
As always you’re videos are inspirational 💜 and fun. Now I’ll have to get those sprays too!