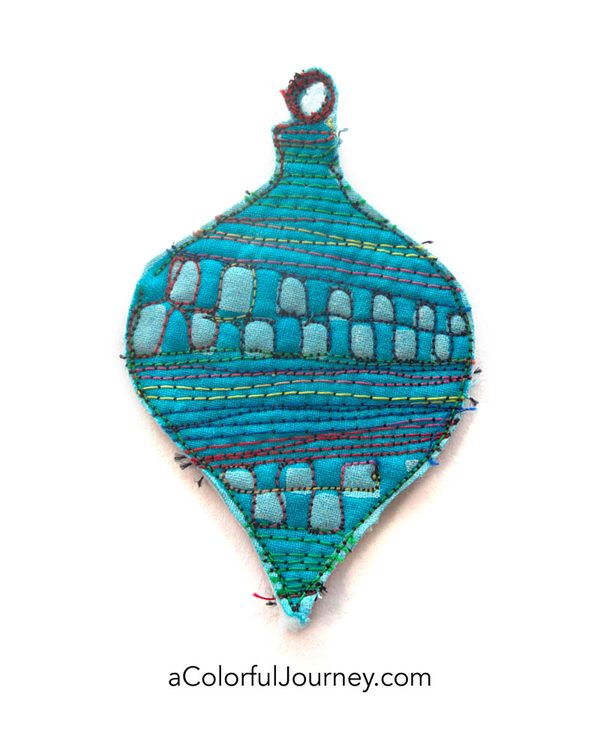
The ornaments I love most on my tree have never been the perfect, shiny ones. They’re the ones with a little personality. A wobble here, a quirk there, and a story behind every one of them.
This year I made fabric Christmas ornaments, and the whole process is gloriously forgiving. A gel plate, a stencil mask, some paint, and a little free motion sewing. And no, you do not need fancy sewing skills.
The Process
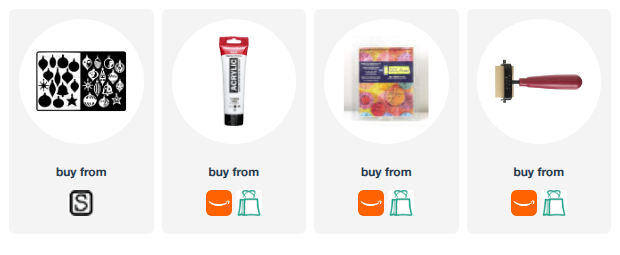
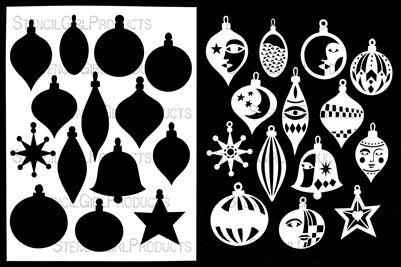
- Pick one of the masks from my Ornament Society stencil set (there are 14 to choose from!) and pop it right onto your gel plate.
- Brayer on a generous layer of regular acrylic paint. No need for fabric paint here since these ornaments won’t be going through the wash.
- Lifting the mask is a breeze with that fancy tool known as a toothpick.
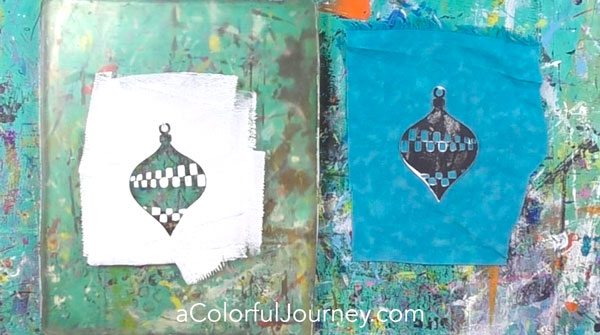
- Flip the mask paint side down onto your fabric (and yes you can use any fabric you like since the fabric isn’t going into the washing machine), cover it with scrap paper, and press. Now you’ve got a reverse image of the ornament.
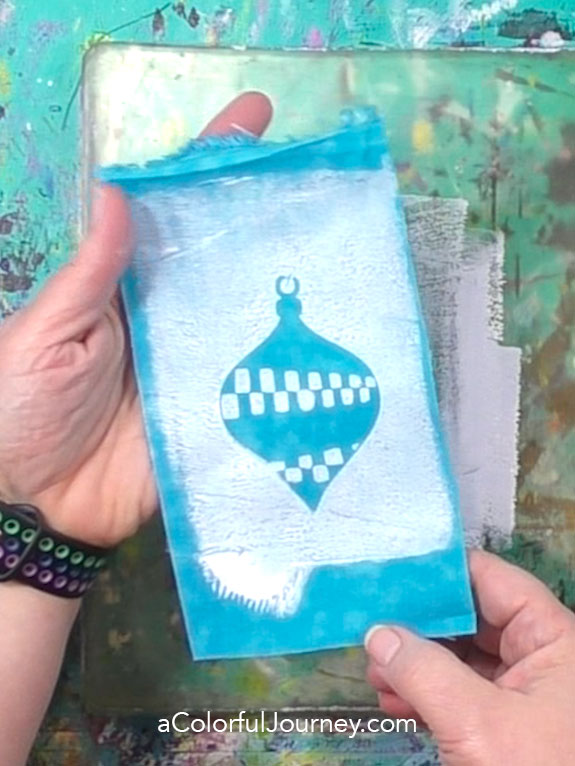
- Then lay another piece of fabric on the wet paint that’s still on the gel plate and gently press. Impatient me wants to peel it up immediately. Experienced me knows that giving the paint a moment to grab the fabric means a better print. Guess who usually wins?
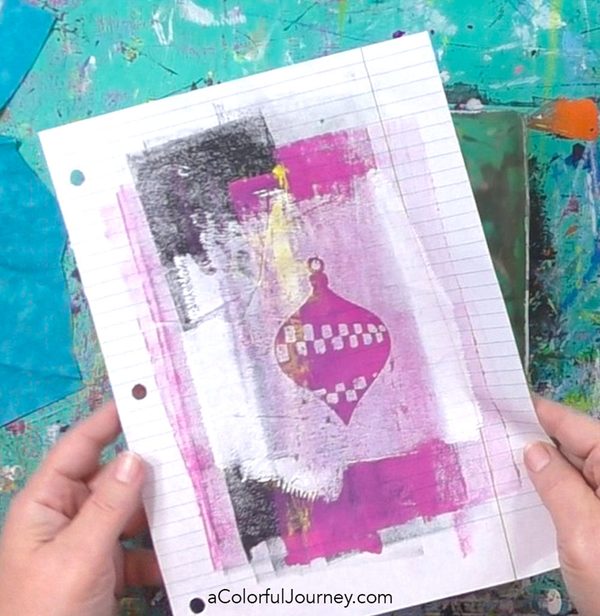
- Still paint left? Take a cleanup pull on paper. Sometimes I fall in love with those, and if I don’t, they become a layer for something else.
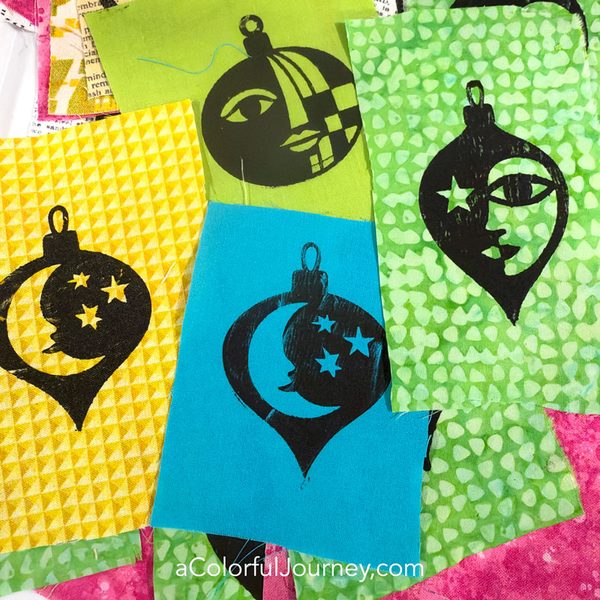
I used white paint, but any color works. Here’s some done in black with different masks from the set.
WhyI use a gel plate for this.
Two very practical reasons, and a bonus one.
- First, the gel plate holds the mask right in place. No sliding, no shifting, no chasing it around the table.
- Second, it stretches your paint further. One round of paint gives you the positive, the negative, AND a cleanup print. Three prints for the price of one!
- And the bonus? It’s flexible. If you’ve got hawk eyes, you’ll notice I didn’t do it exactly the same way twice in the video. I’d love to tell you it was a grand plan. It wasn’t. I simply got distracted and it still worked just fine.
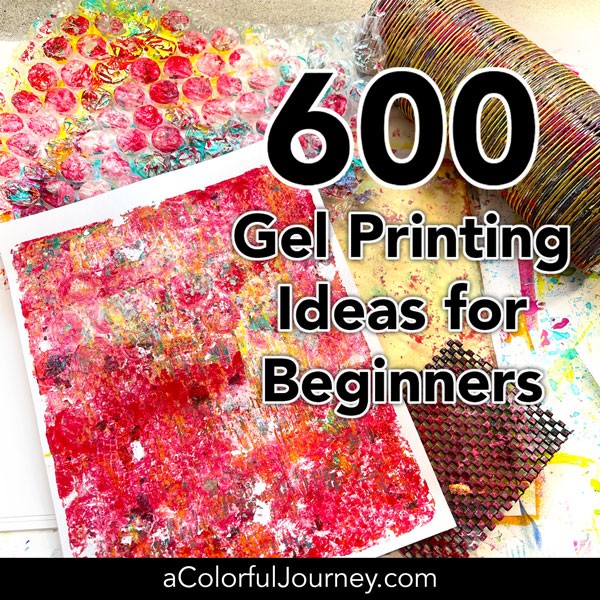
If you’re curious about gel printing, in one 15 minute video, I’m sharing everything you need to know to get started plus there are 600 ideas in too.
Let’s Get Stitching
Before the sewing starts, the fabric needs a stabilizer of some kind. I used some thin batting folded in half (I don’t know exactly what kind of batting it is). Don’t have batting? Felt works great. So does an old pair of jeans cut up. Use whatever’s within arm’s reach. I’m not master of free motion sewing, a
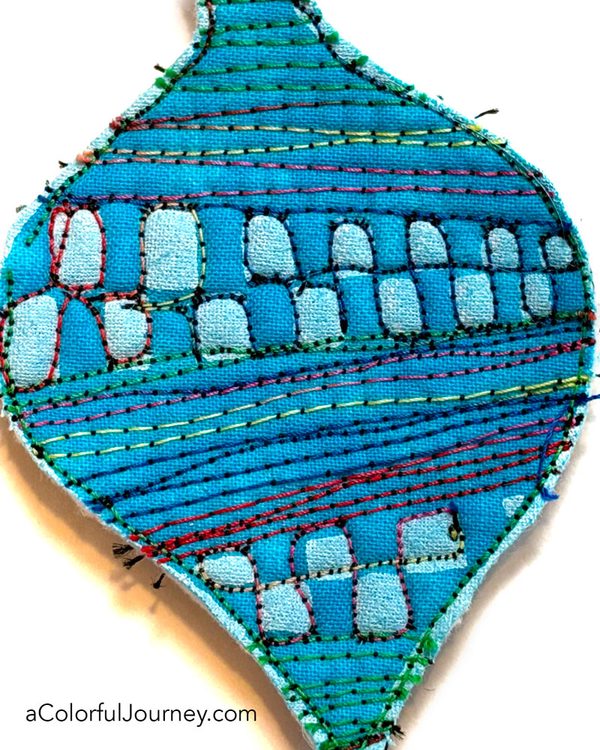
With free motion sewing, the feed dogs are down, so the only thing moving the fabric is you. And this may shock you, but I am not as precise as a machine. Move faster and the stitches get shorter. Move slower and they get longer. Rather than fight that, I fell in love with the variation.
A few things I learned along the way:
- Go around and around the top loop of the ornament a few times. Once the center is cut out, that extra thread gives it strength.
- Sew right past the edges. The extra gets trimmed off anyway, so there’s zero pressure.
- Thread choice? For ornaments, my philosophy is: if the color make me happy and it works in my machine, then I use it.
To finish, punch a hole in the top with a Crop-A-Dile before you cut it out (so much easier, trust me), or skip that and sew on a loop of string. Then trim around the edge. Will it be perfect? Nope. Once it’s on the tree, will anyone notice? Nope.
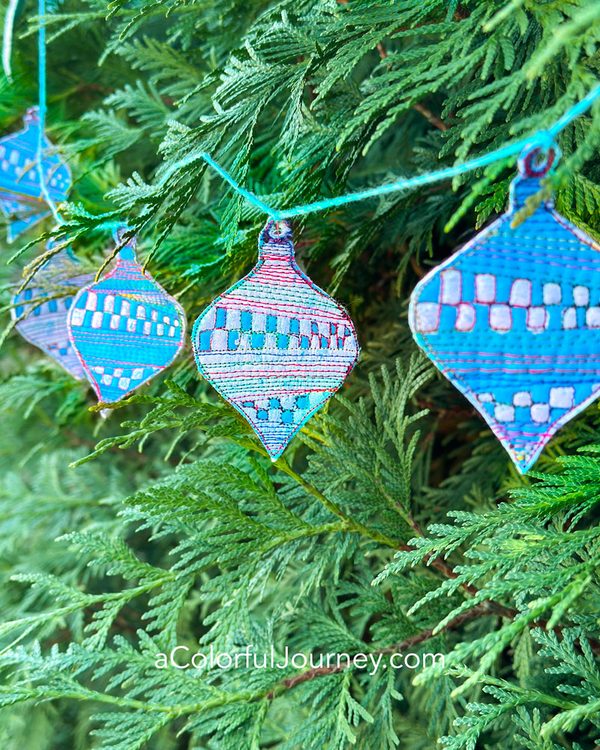
After I finished the first one, I made a few more, strung them onto a piece of yarn, and now there’s a garland of colorful ornaments making merry around my tree.
Here’s my invitation to you: grab a scrap of fabric, a stencil, and whatever’s within arm’s reach, and play. Let the stitches wobble. Let the paint do its own thing. Sew right past the lines on purpose.
Play isn’t about getting it right. It’s about saying yes to “what if?” and seeing where it takes you.
This season, give yourself permission to make something just for the joy of making it. No rules, no perfection, just you and your art supplies having a good time together. And when you do, tag me or hit reply when you get my newsletter so I can celebrate your play with you!
If you feel drawn to play but also a little uncomfortable with it (wobbly stitches, anyone?), I’ve got something for you. Permission to Play is my completely free 5-day workshop. It shares the three play principles that make it so much easier for me to let go and just enjoy your art supplies any time of year!
Here are the supplies used. Some of these links may be affiliate links which means I may get a small percentage and it doesn’t cost you anything extra! And you get a really good feeling knowing that you are helping keep the free tutorials coming!
Variegated thread by Coats & Clark: V35 Art, Crop-o-dile punch, any kind of batting or substitute like felt or denim