
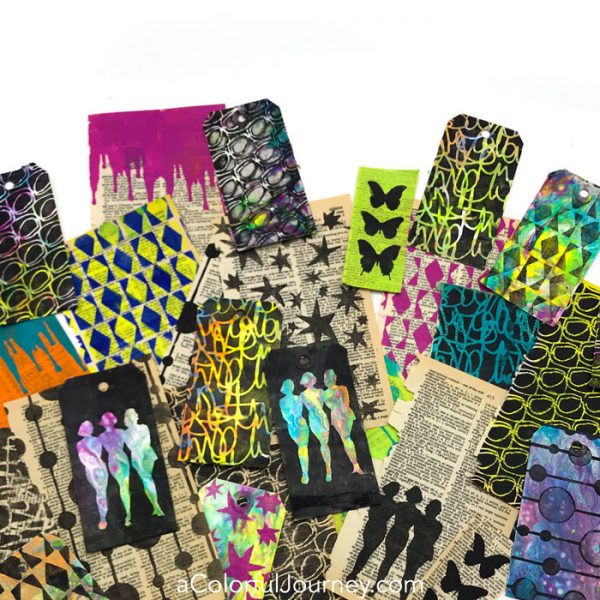
New stencils at StencilGirl! I say stencils because this is one stencil that includes 9 ATC sized stencils plus 2 masks are included. It’s my ATC mixup stencil that I created in the format inspired by Mary Beth Shaw. She created the first ATC stencils and what a great idea she had!
How can you use this stencil? Check out the video to see how use one little stencil to cover a larger area, how to line up patterns seamlessly that don’t line up, how to add more! If you’ve never cut a stencil before, in the video, I share how I do that plus using tape to widen the edges.
ATC Mix Up stencil is available at StencilGirl Products.
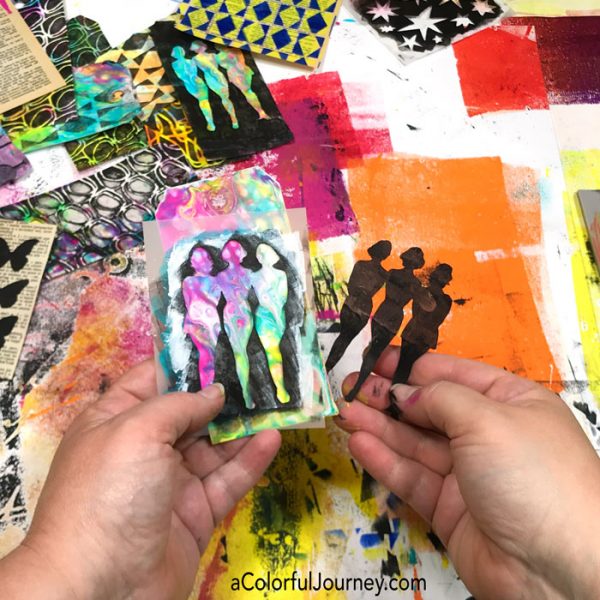
The 3 women stencil includes the mask of them. Just use a craft knife or sharp scissors to cut them apart. At the end of the video, I walk you through that process.
Why is it so handy to have the mask and the stencil? It lets you see exactly where to stencil. I positioned the stencil on this poured paint tag until I found just the right spot to put the mask.
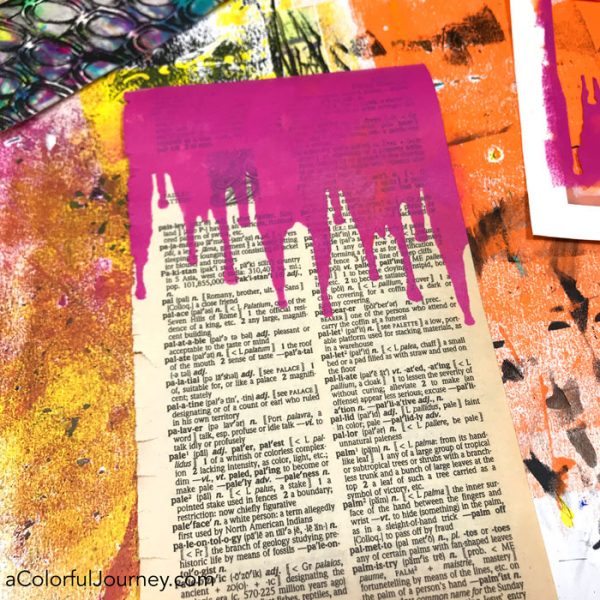
Drips add a creative touch to your art play and when you add them with a stencil there is no waiting forever for the drips to dry. Plus you can make them cover whatever space you need.
Here, I stenciled it once, then put the stencil on the last drip. It isn’t a perfect match, nor does it have to be. It will look like one big stencil but you know the trick. It’s just a little one used over and over.
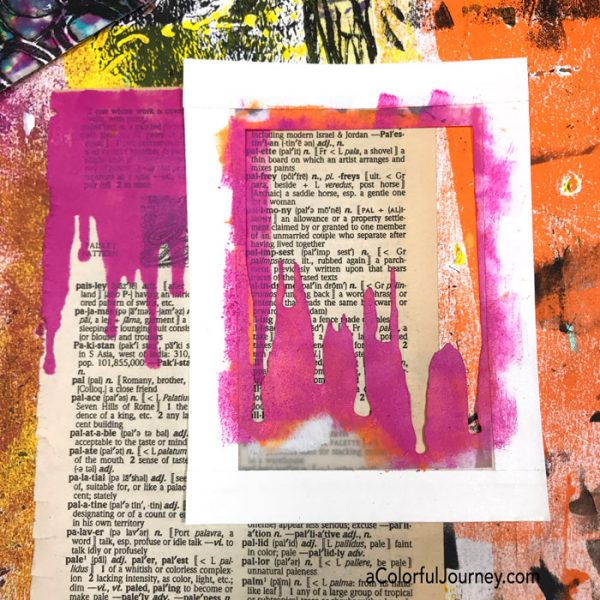
Notice how I slid the stencil down for the second placement so the paint was even drippier on that side.
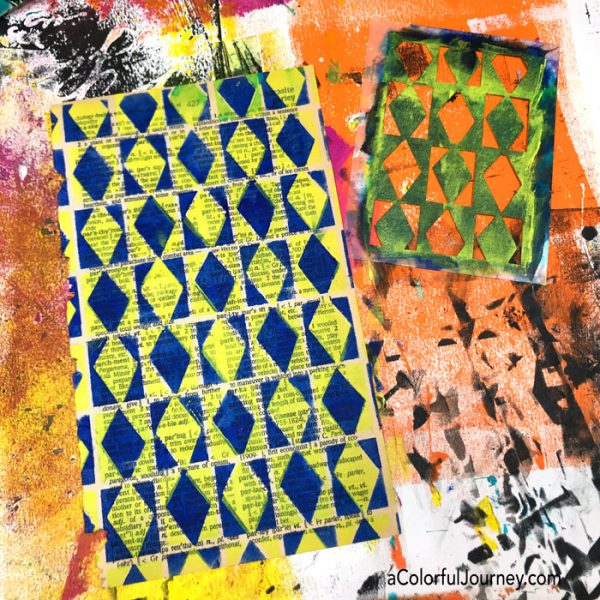
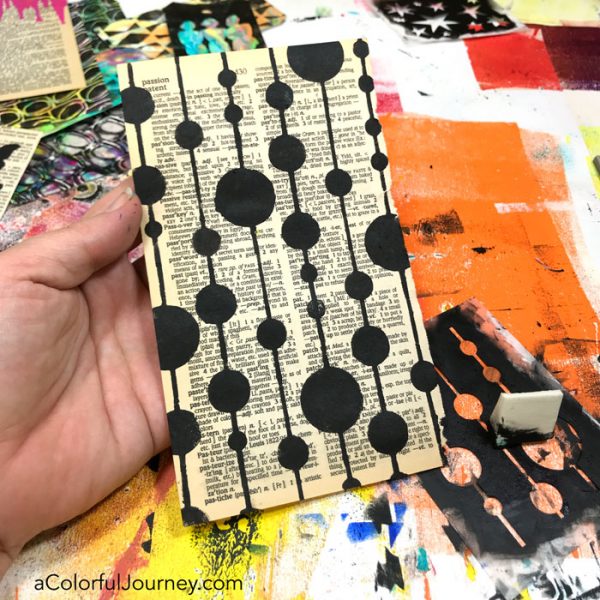
The Alternating Diamonds stencil is a repeating pattern which means you can just line it up and repeat it as many times as you want.
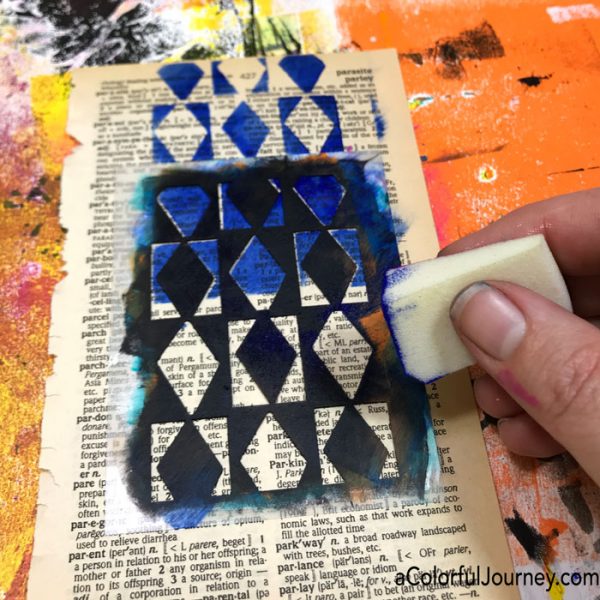
The stencil also lets you put the color on the blank spaces. This is a hand drawn stencil so it has a touch of artful wonky to it. When using the stencil to do the yellow, it won’t match up machine perfect so you get these wonderful bits of plain paper on the edges.
This might be my favorite design on the stencil because of how versatile it is. You can repeat it just as it is, but you can also alter the pattern.
Notice how as I am lining up the stencil, only 2 of the 3 lines are connecting. But since the lines are evenly spaced, you can do that and mix up the order.
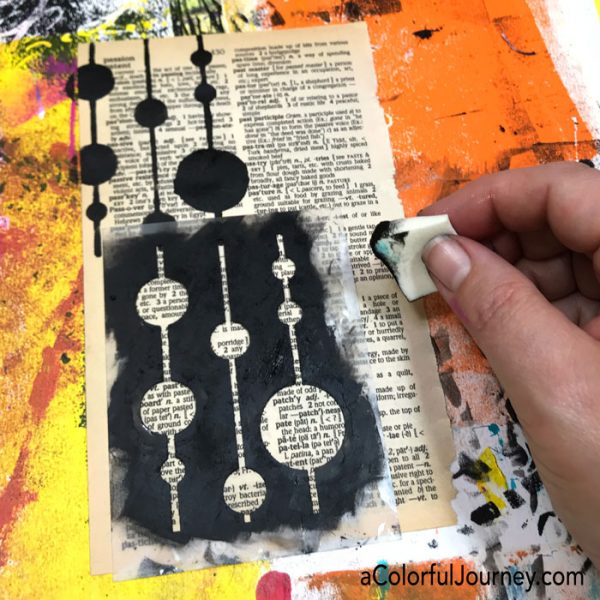
In the video, you’ll see all the ways that I alter the pattern just by picking and choosing which parts to use. The lines make it a snap to do it and customize what I need to fill the space.
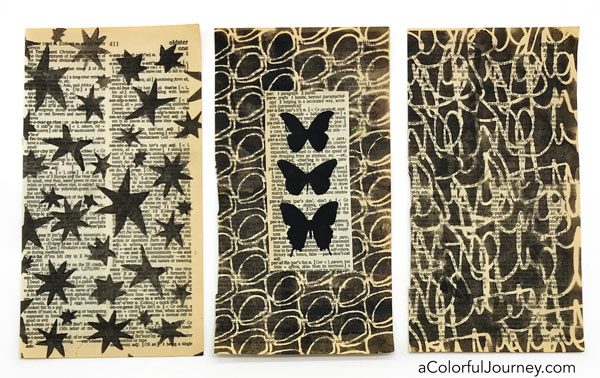
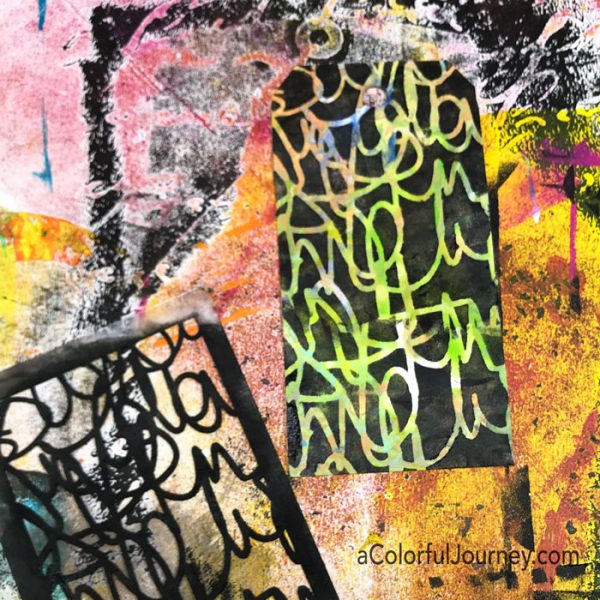
Here’s another poured paint tag that became the background for the Scribble Scratch. This is a pattern that does not repeat. It won’t line up but that doesn’t stop me from using it like a repeating pattern stencil. How? It’s all in the video for you!
You can find this ATC mix up stencil and more at StencilGirl Products!

I LOVE these. just perfect!!
An Artist teaching how to make art .. 🙂
Does it matter if you use any kind of white glue or gel medium? Do you need any special cleaning process after this? Thanks, Ann
great tutorial Carolyn, thank you…. Guess where I’m going now……..right now.
WOW ! Carolyn, love love love these stencils !!!! Am making junk journals right now and these are PERFECT for the page size. Have not seen any other ATC sized stencils so you were the first to hit the mark !!!
thank you so much ~
deena
just to let you know – you and Gayle Agostinelli are my go to you tube artists – why ? because you get on with it – no fuss – just do it !!! Thank you for being you don’t ever change.
Great tutorial, Carolyn! And I love this stencil…StencilGirl here I come…going shopping! Thank you for creating this ever so cool stencil!!!
Just purchased my first stencil. well I do have tons of other stencils, but they are not for paint, they are for adding quilting designs to quilt boarders. Makes it easier to stitch if you have the design drawn on the boarder. Can’t get paint on those that could ruin a quilt. These are just for me to play with.
Thumbs up, big time!