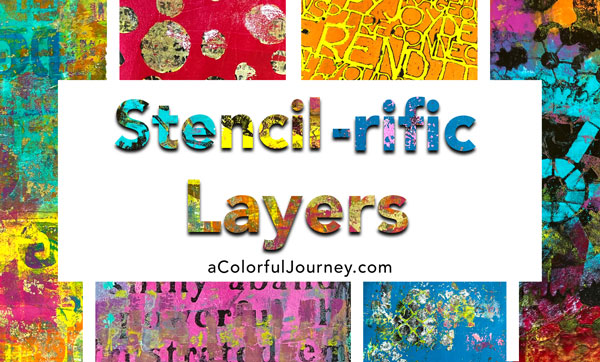
Embossing powders are one of those art supplies that always make me smile when I use them—but if I’m honest, they don’t see the light of day nearly enough. That changed when the muse dropped a little “what if” thought at me. So I turned on the camera and I’m sharing the play of layering patterns using embossing powders in this video create for the StencilGirl YouTube channel.
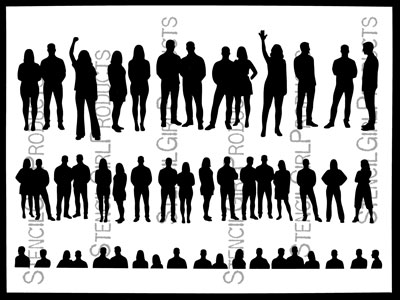
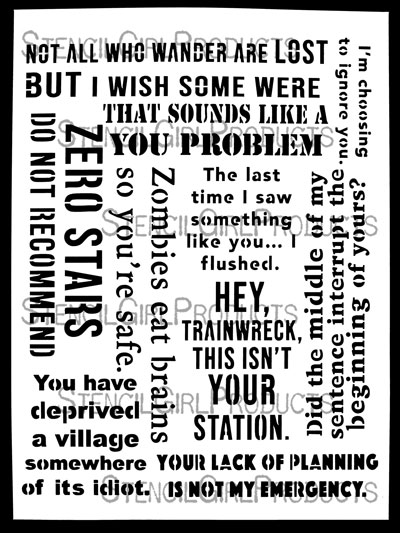
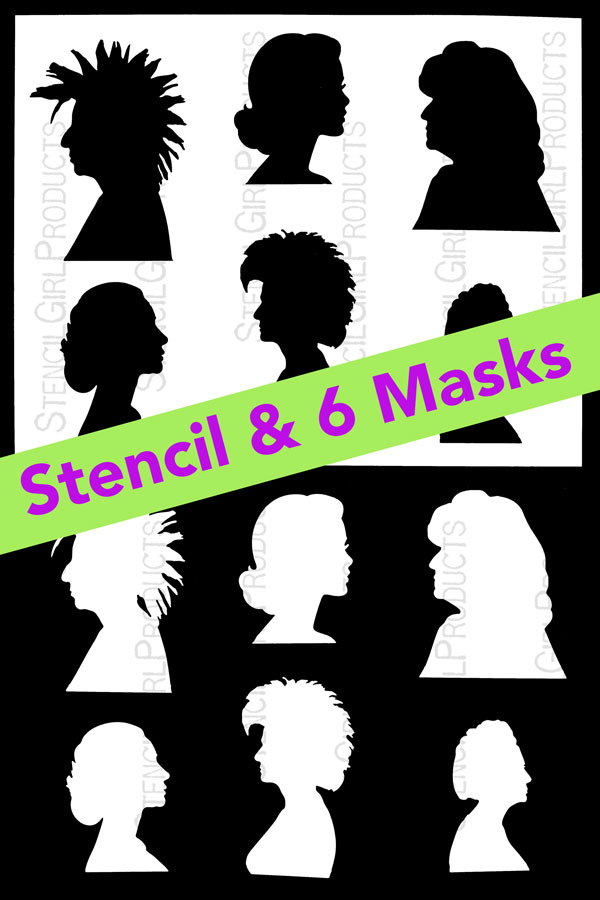
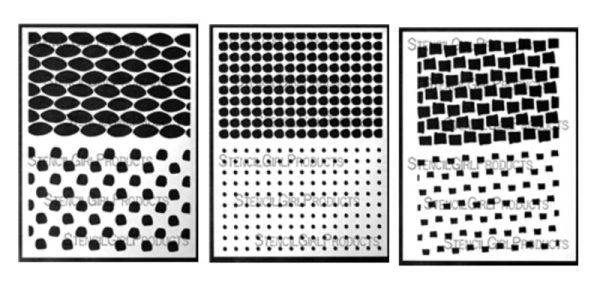
There’s something magical about experimenting with layers—especially when you let go of the “shoulds” and just see what unfolds. Each stencil in the Layer Me collection was designed to be used on its own or combined with others – as you’ll see in the video above. You can center the patterns, offset them, overlap them, or even let them run wild across your page. In the process, you get to choose: do you want crisp, defined shapes or a jumble of textures? There’s no right or wrong—just a playground for your creativity.
*****All my stencils are 20% off for two weeks only – use code RAINBOW20 at StencilGirlProducts.com*****
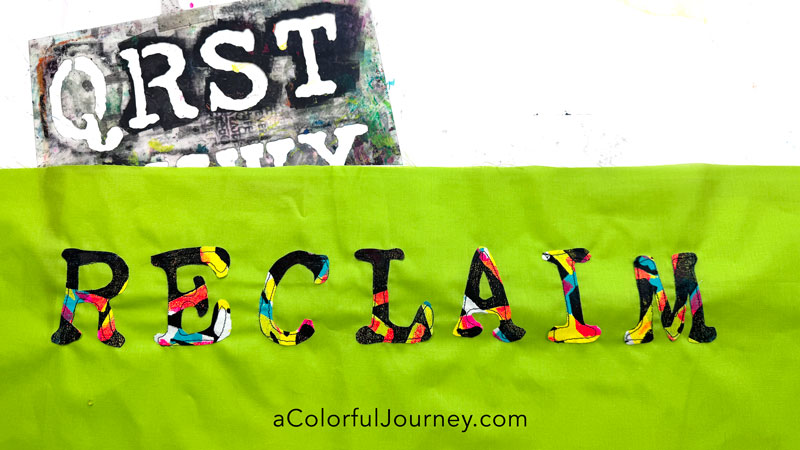
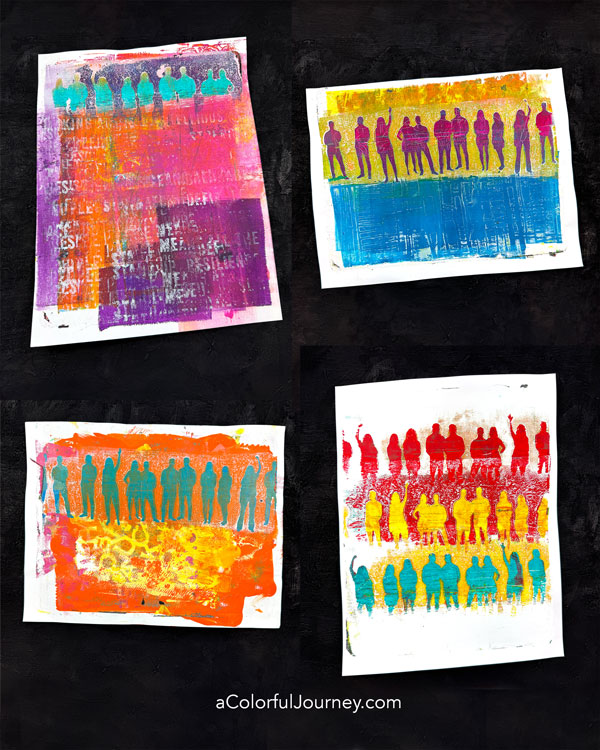
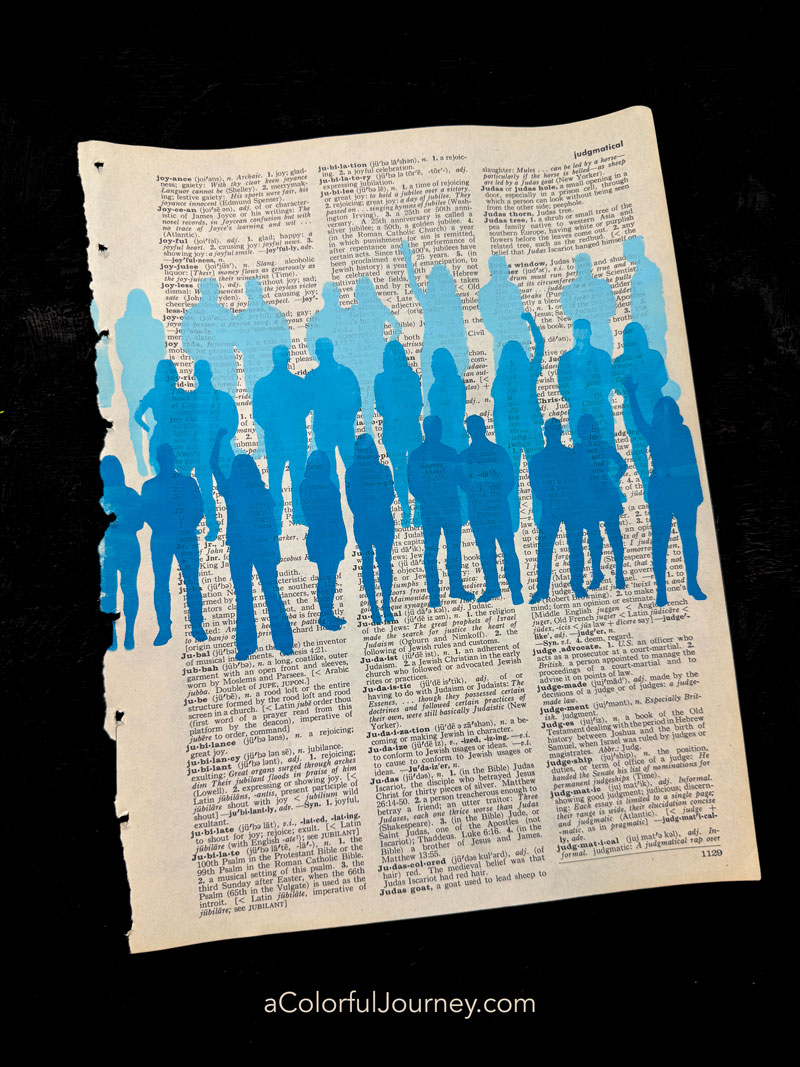
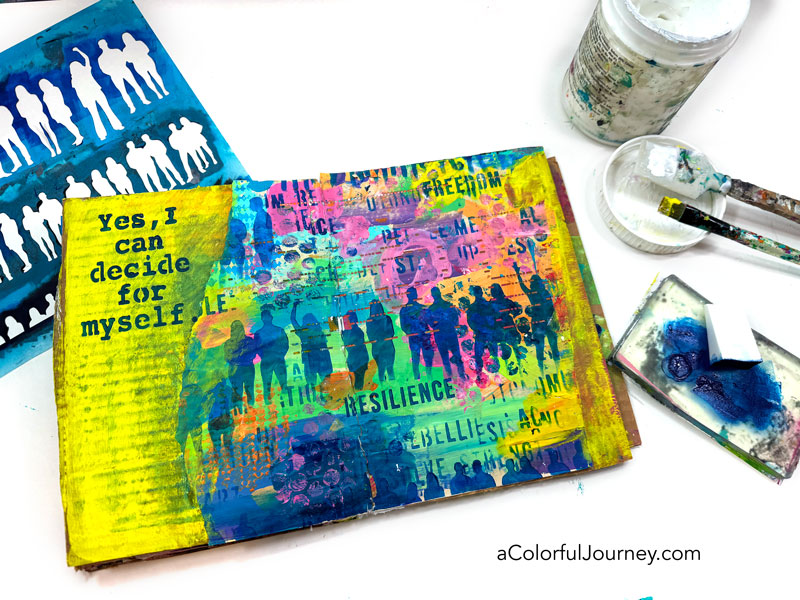
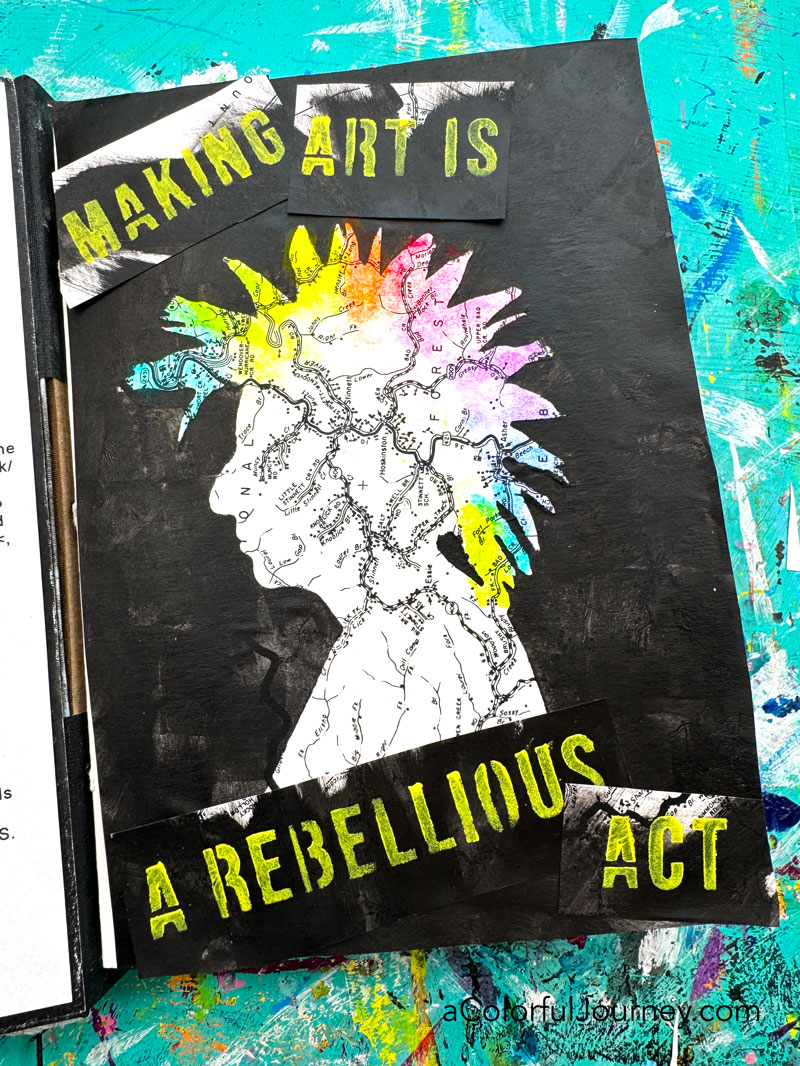
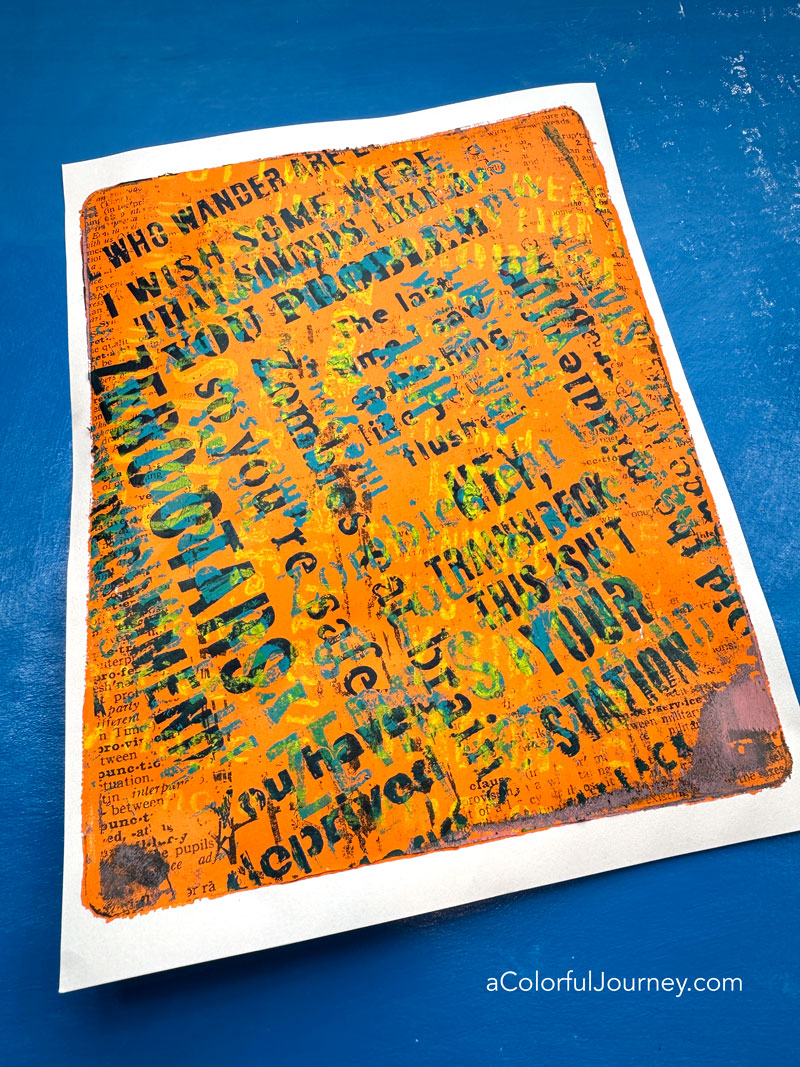
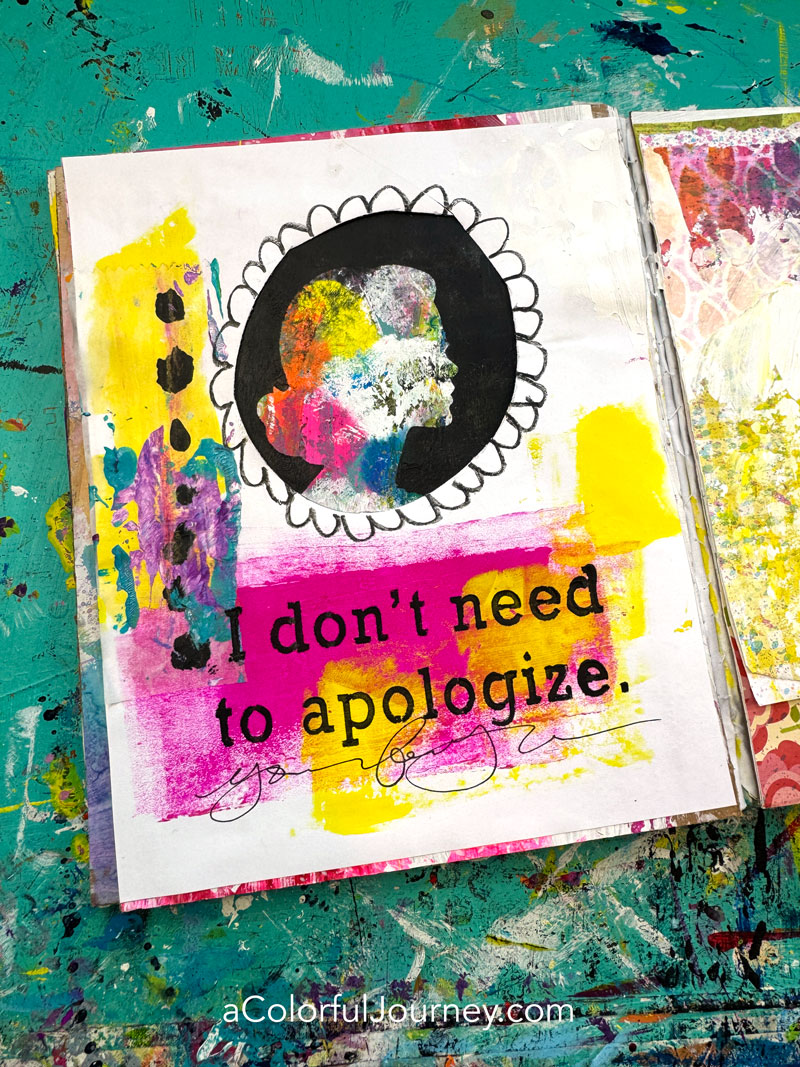
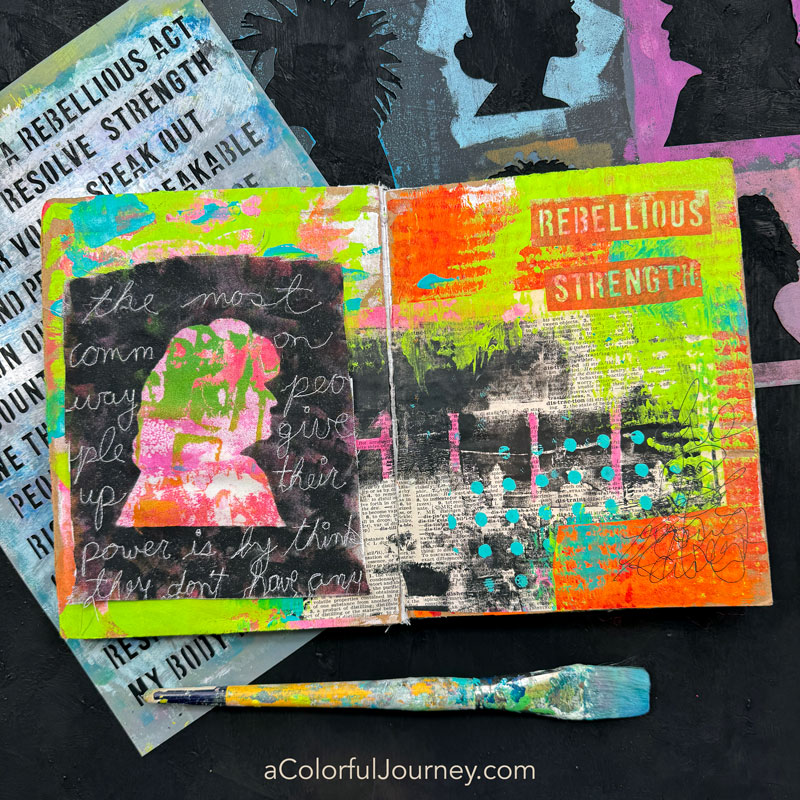
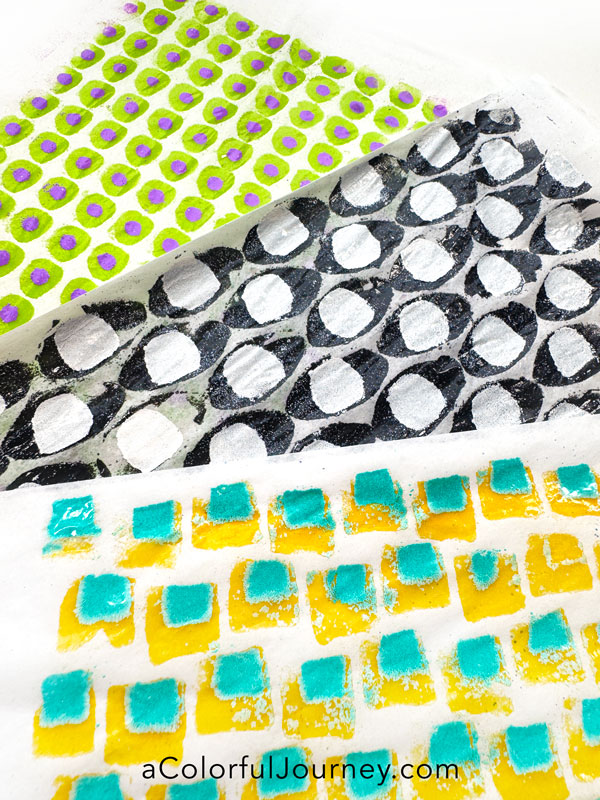
Layering embossing powders over stencils is a fantastic way to create your own collage papers. I ended up using one of mine on an art journal page, but you could use them for cards, tags, or any project that needs a spark of texture and shine. The best part? You can do this in any color combination that calls to you so it can be uniquely yours!
Steps for Embossing
In the video, you see this process in action but here’s the general process.
- Apply embossing fluid/ink pad/dabber through the stencil
- Remove stencil
- Sprinkle embossing powder over embossing fluid
- Tap off excess powder
- Heat with a heat gun until the powder melts
- Let cool and repeat with the second layer
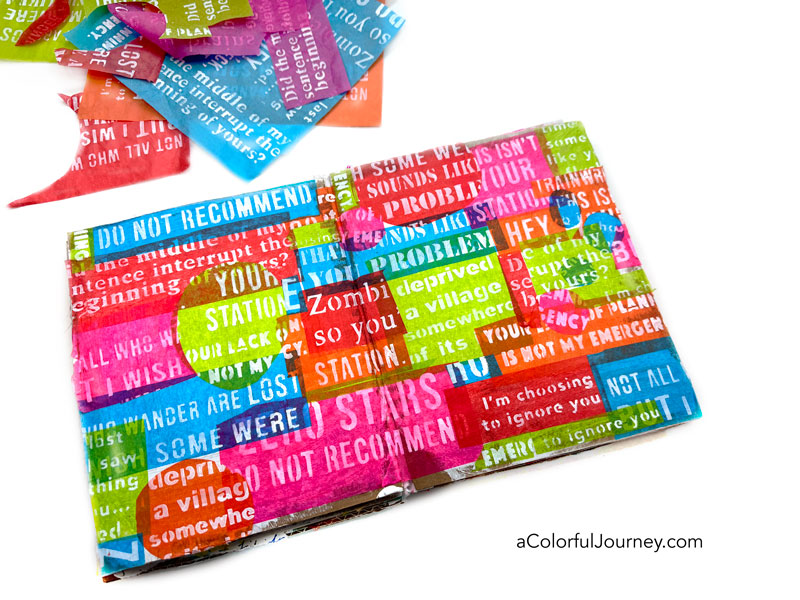
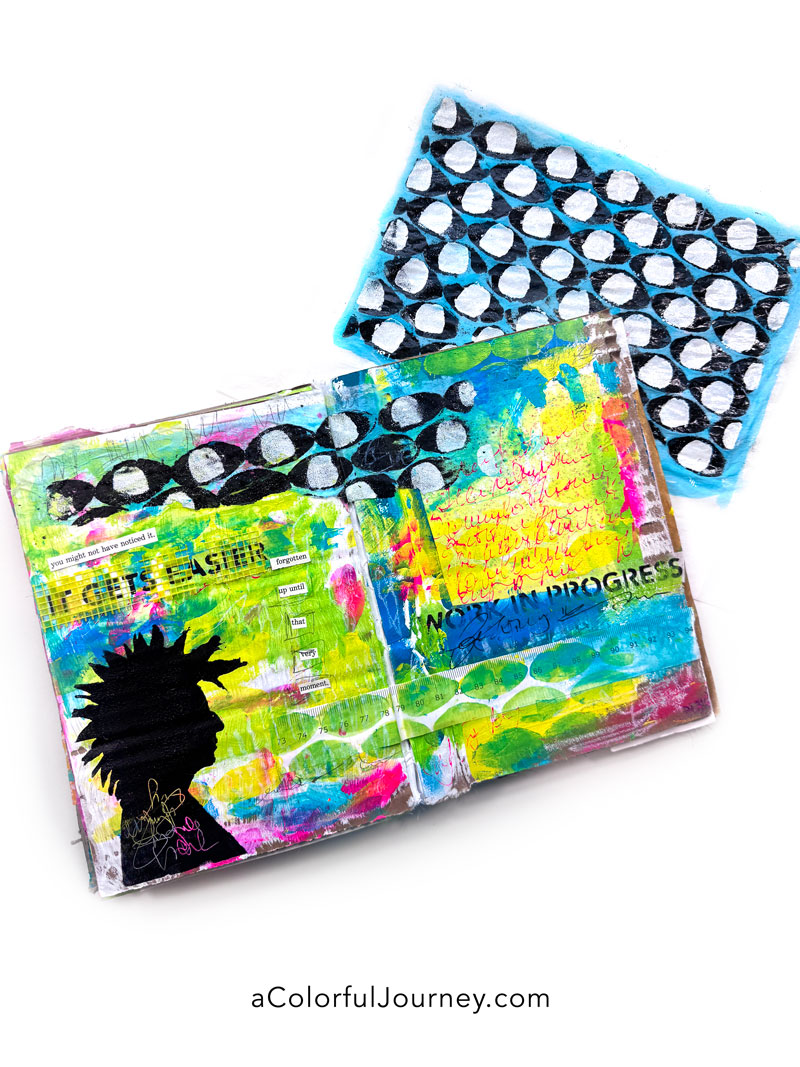
Why use tissue paper?
I like the thinness of the tissue when collaging it and that’s a personal preference. You absolutely can do this with any paper or surfaces you can heat to emboss.
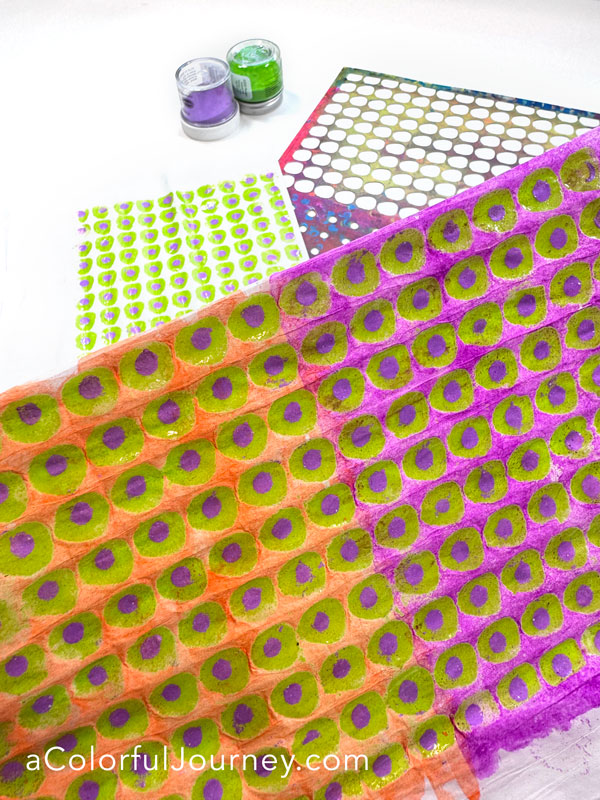
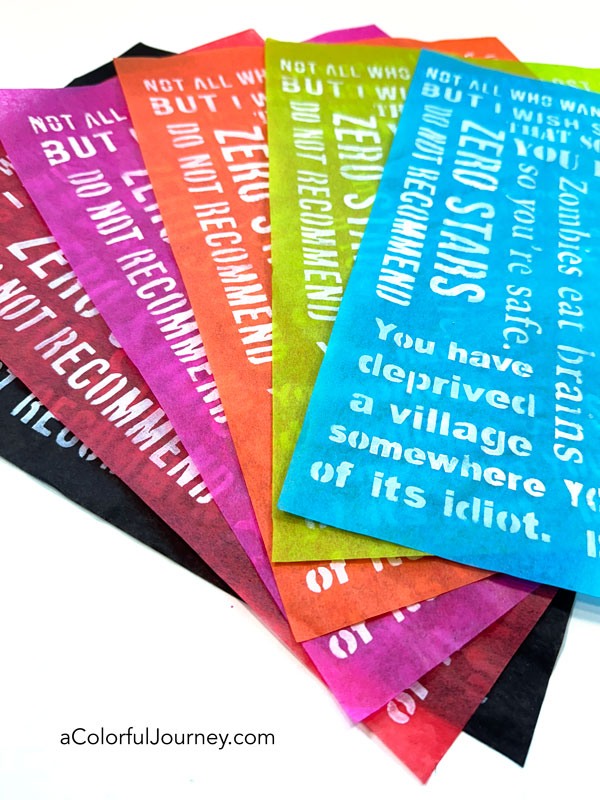
Why watercolors?
After the pattern is embossing, watercolors are an easy and forgivng way to add color. In the video, you’ll see that I just brush the watercolor right over the images. Since the embossed areas are glossy, they act as a resist so it’s easy to wipe away any stray color on the pattern.
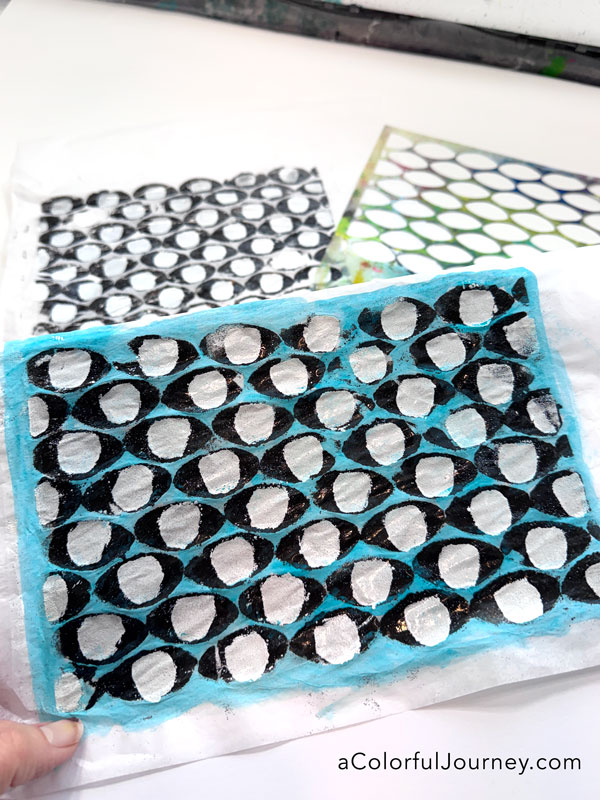
How to Save the Ugly Ones
I’d love to tell you every color choice is a great one, but they aren’t. When one doesn’t turn out the way I expected, that’s just an O.O.P.S., an Outstanding Opportunity Presenting Suddenly. I simply add more layers on top of it. Here I used a Portfolio crayons because they blend and smear easily.
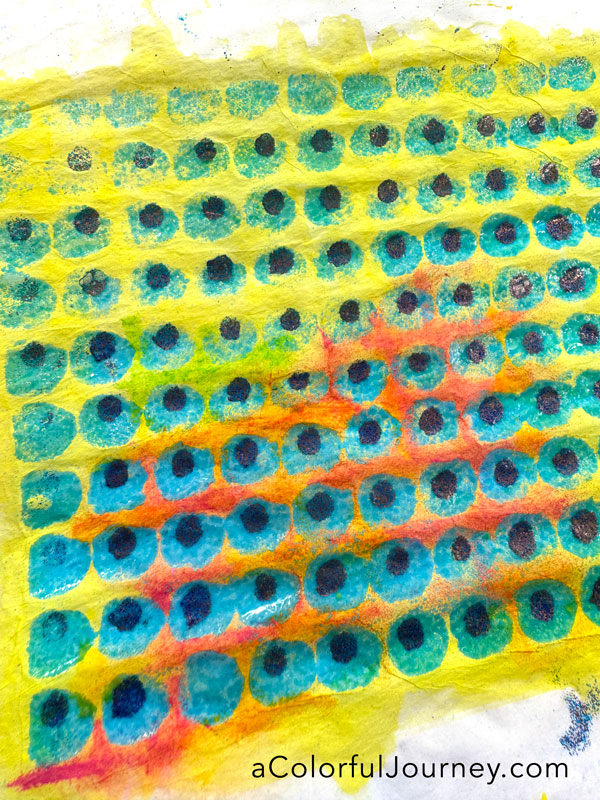
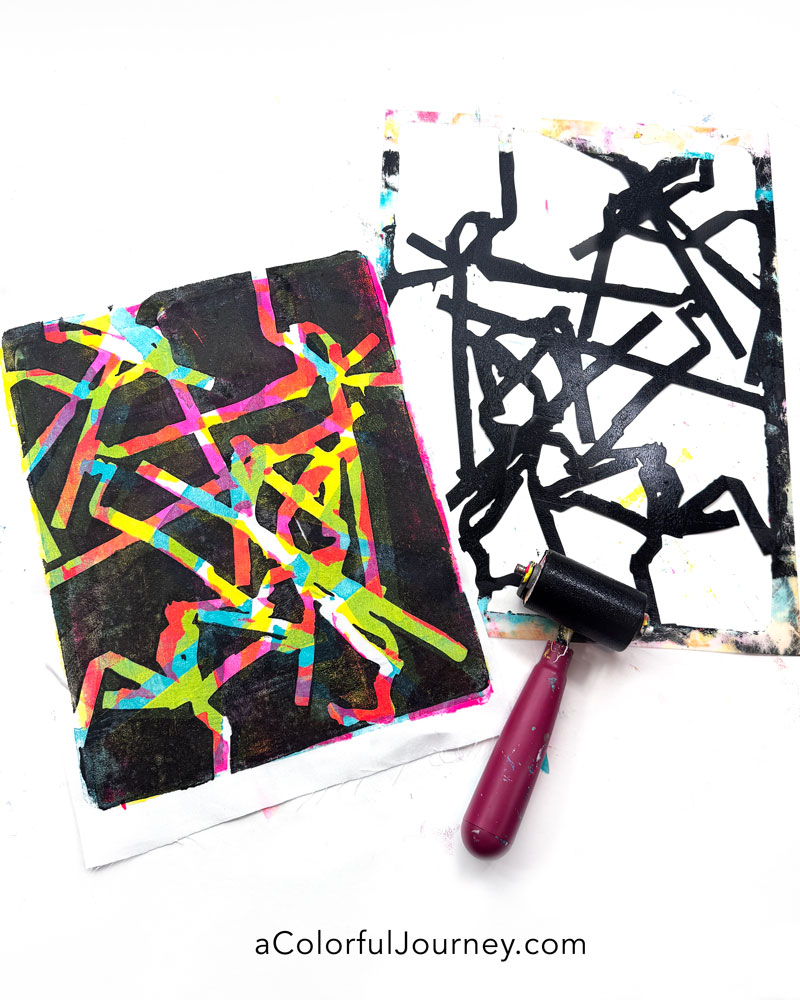
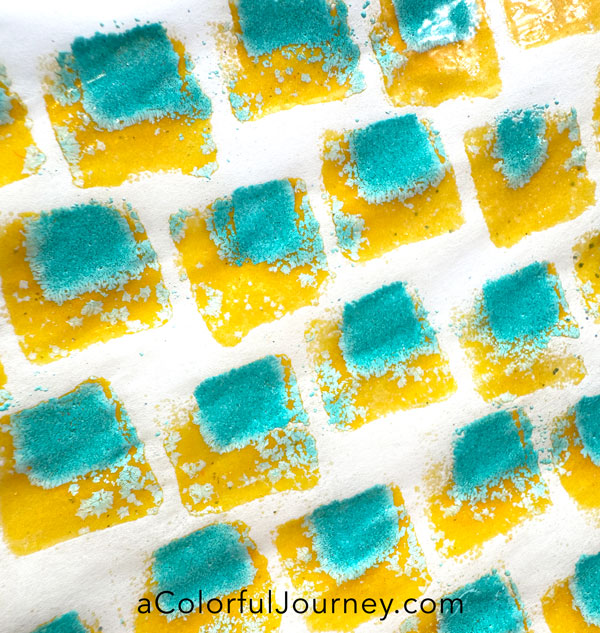
Your choice- strays or no strays
What you’re seeing here is the magic of embossing. I love how the stray bits of powder add to the uniqueness of the finished papers. But what if you want a very crisp and precise layering? That’s where an ant static pouch is helpful.
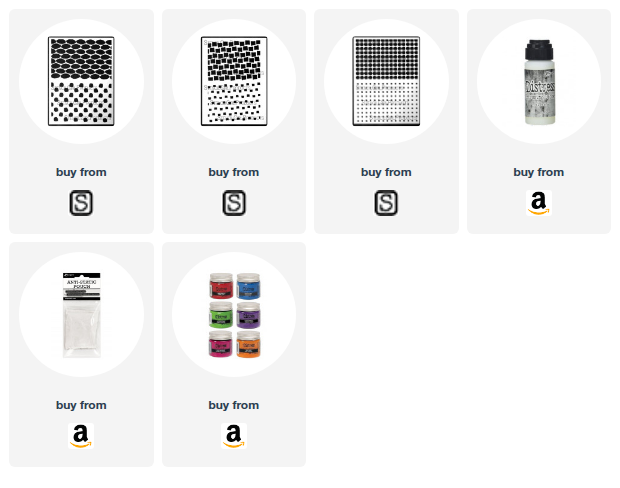
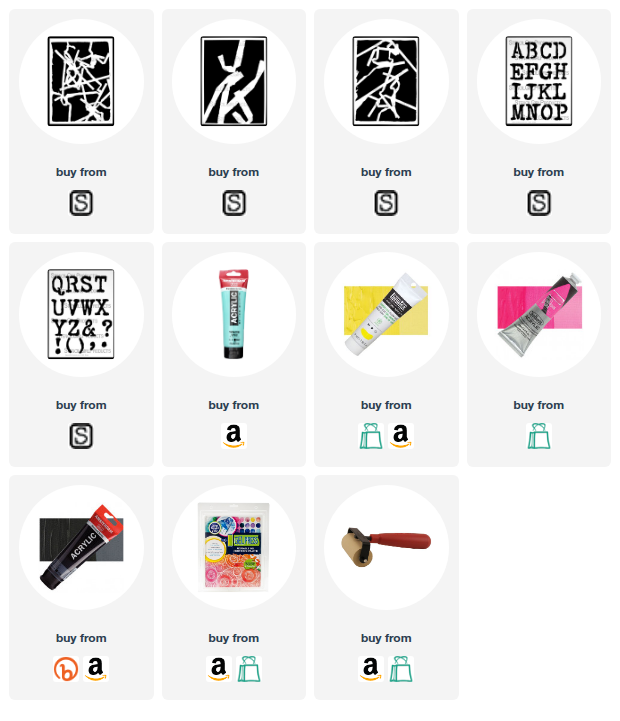
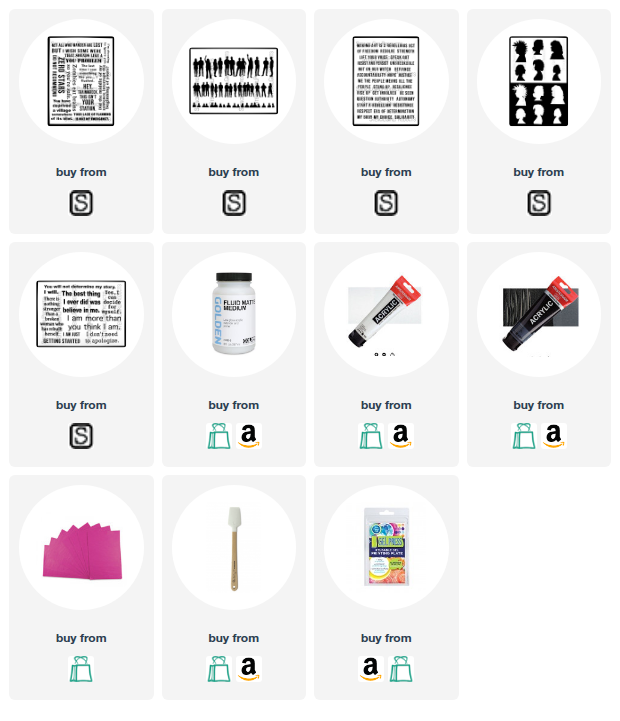
Supplies
Many of the embossing powders I used are old. So old that the companies are no longer in business. But you can use any brand/color of embossing powder you have with this technique!
Some of these links may be affiliate links which means I may get a small percentage and it doesn’t cost you anything extra! And you get a really good feeling knowing that you are helping keep the free tutorials coming!