≡ Menu

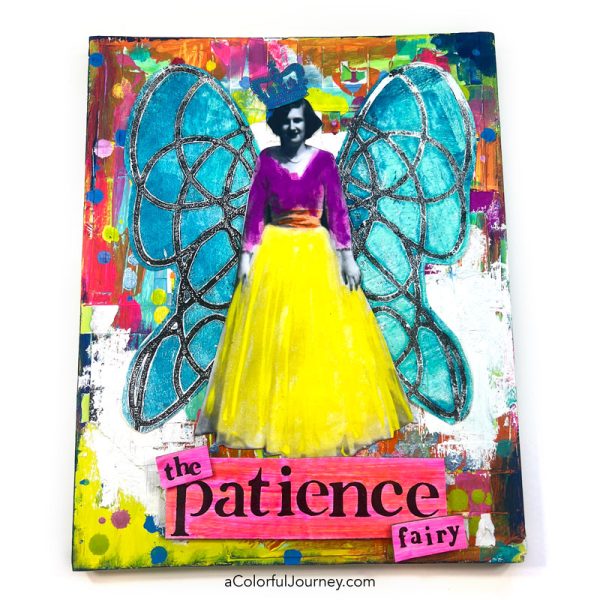
The Patience Fairy showed up in my play and along with her, plenty of redos and do overs. This all started with gel prints on tissue paper. Yes, tissue paper is thin, but it can handle gel printing! In the video, I share how to create these using my Twisted Gordian Knot stencil from StencilGirlProducts.
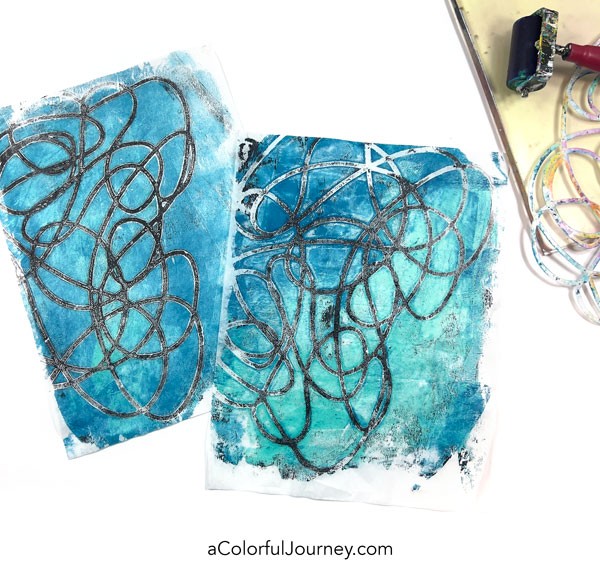
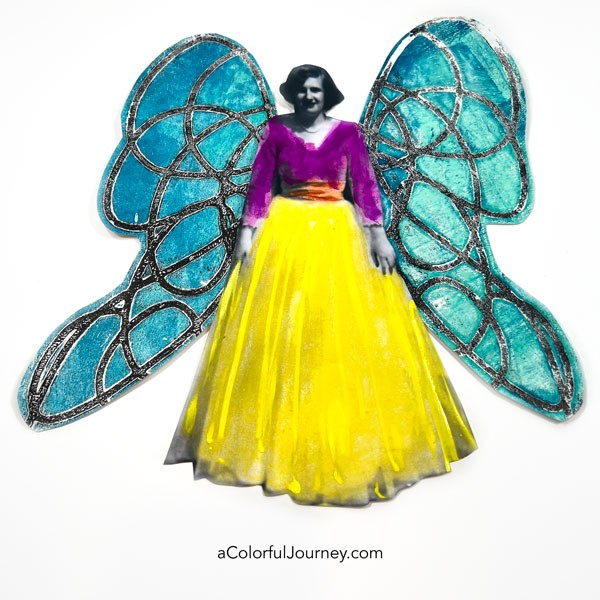
Once the wings were cut out, I knew they belong on a colorful woman! She started as a black and white photocopy and her dress got a bit of color added to it with Art Crayons and paint.
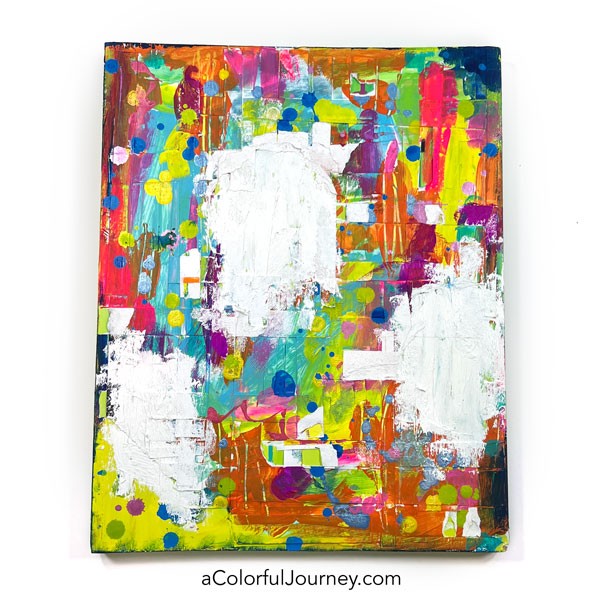
In the hunt for the right background for her, I tried just about everything in my studio and none of it worked. Zero. Zilch. So I decided to give the wood panel that had been hiding behind things in a try. It was loaded with layers of experiments, I didn’t like the colors on it or the textures. My ugliest piece around!

But once I put her, the Patience Fairy, on there, that was it. She was home. And I actually liked how that background looked with her! Amazing how quickly something I don’t like at all can become a favorite.
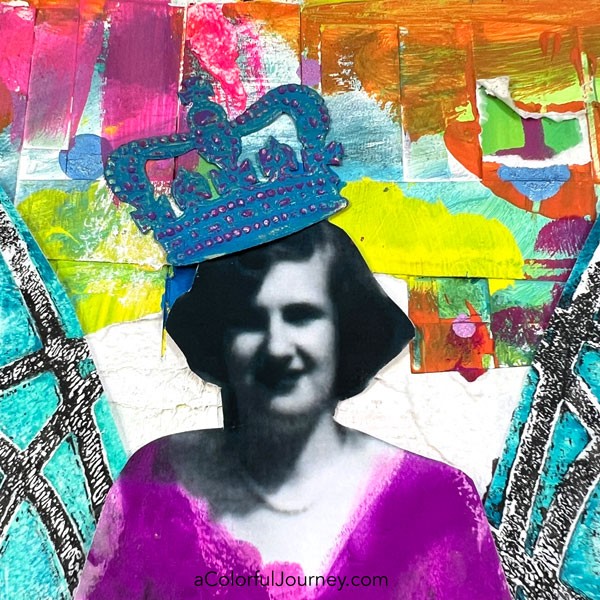
The crown was a bit of roller coaster of color selection. After several color attempts, at long last the blue with touches of purple won out!
Stenciling words on cardboard is practical for two big reasons. One is it’s easy to find in the recycle bin. Two, it’s easy to cut to any size you want and I had to really trim this one down!

Now that she’s all finished, I’m hoping she will she magically bestow the advanced skill of patience on me! More likely that she’ll be a reminder to me to work on my patience muscles.
One of the many many great things about stencils is how many different ways you can play with them! What I’ve shared in this post is just the tip of the iceberg of what they can do! Want more ideas for how to get even more out of your stencils? Then check out my online workshop, Joy of Stenciling Workshop.
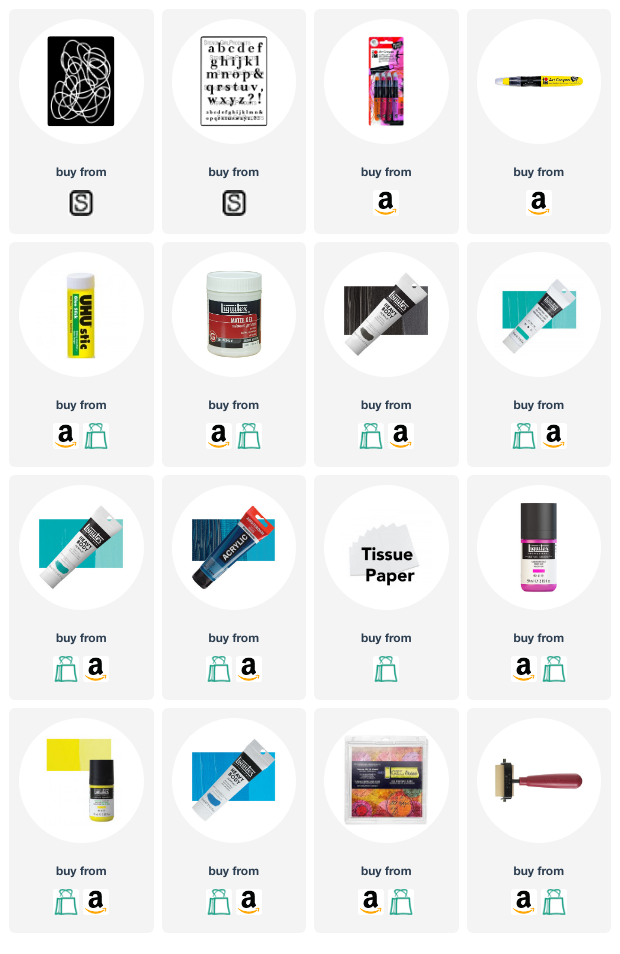
Here are the supplies used. Some of these links may be affiliate links which means I may get a small percentage and it doesn’t cost you anything extra! And you get a really good feeling knowing that you are helping keep the free tutorials coming!
{ 1 comment }

What does Alexander the Great, an Oracle, and an unsolvable problem have to do with stencils? It inspired my Gordian Knot stencil collection at StencilGirl Products! A Gordian knot is one without a beginning or end that is impossible to unravel. That is, unless you apply a bit of creative thinking to it.

The story goes that an Oracle decreed that the person who unravelled the Gordian knot would rule Asia. For hundreds of years, people unsuccessfully tried to untie the knot. Then along came Alexander the Great. He tried to untie it and it just got tighter. So, he pulled out his sword and cut the knot, then went on to rule over Asia.

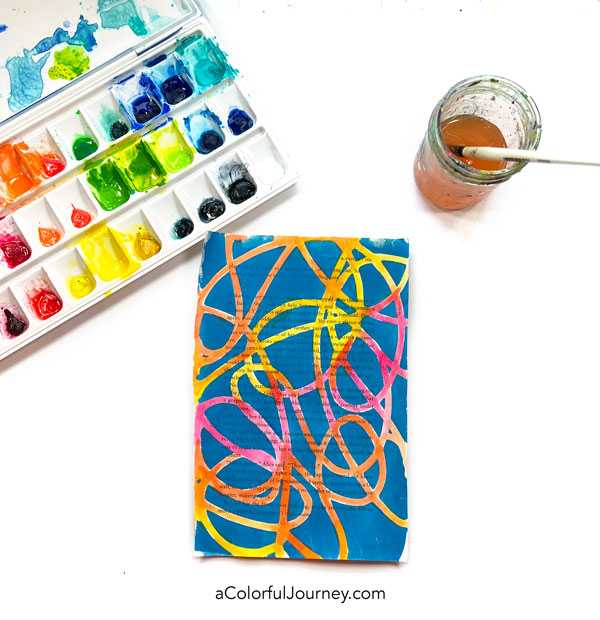
The mythology of the Gordian Knot holds a lot of meaning and symbolism for me. In the video, I go in depth about that as I’m making gel printed papers then adding watercolors to them.

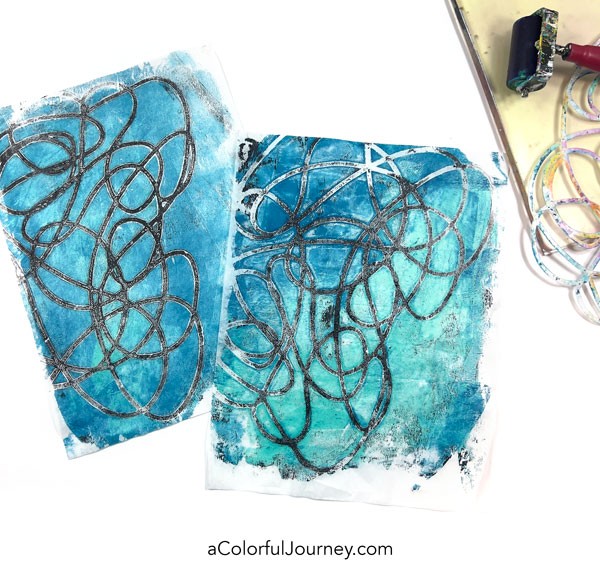
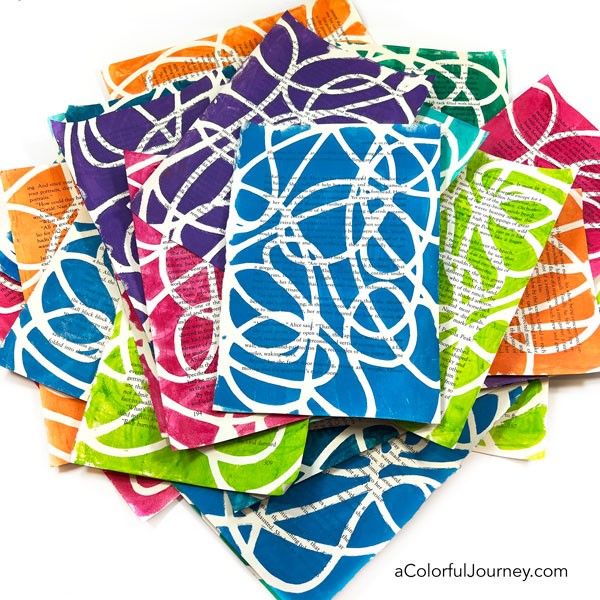
The fastest way to stencil with paint is using a gel plate. Especially if you want a lot of papers. The trick is to put the paint on the gel plate first, then lay the stencil on top. That way you can make print after print.

To add more color to the prints, I use watercolors because they are so forgiving! Staying in the lines is a struggle for me, so anytime I cross that line, it’s easy to wipe up. Naturally, you can use anything to color it in from pencils to markers to crayons to whatever you have on hand.

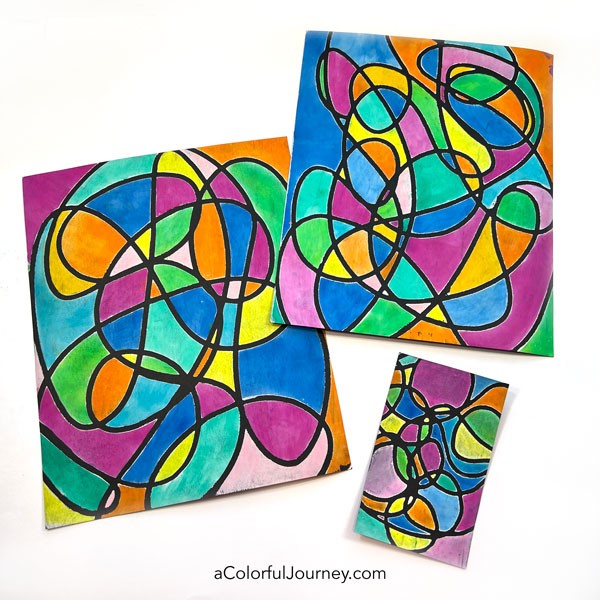
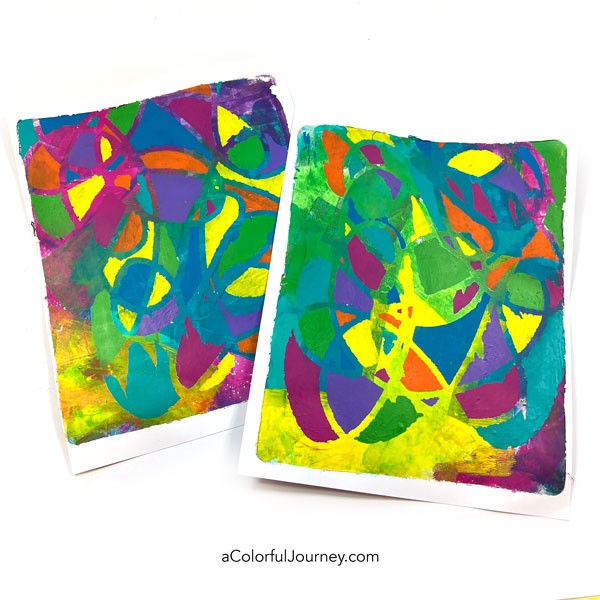
A stencil can create a wide range of different looks. By coloring the sections around the lines, it creates a stained glass vibe. These gel prints were made using PanPastels on a gel plate.

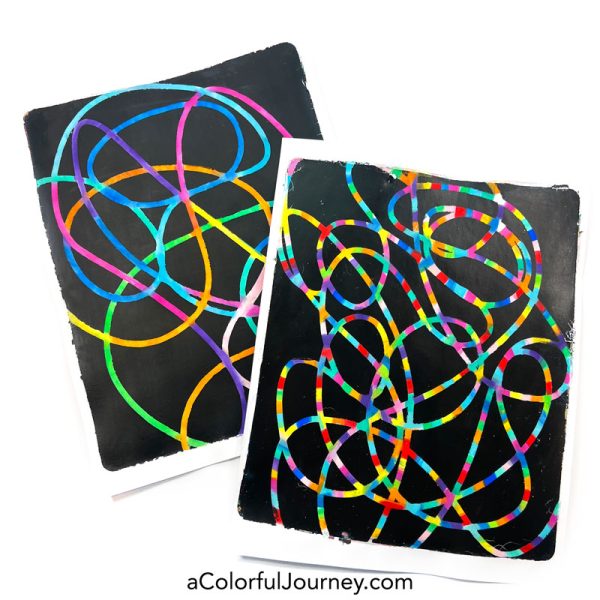
Another option is coloring the lines themselves. Blending colors softly or creating playful stripes or any other marks in there you want!

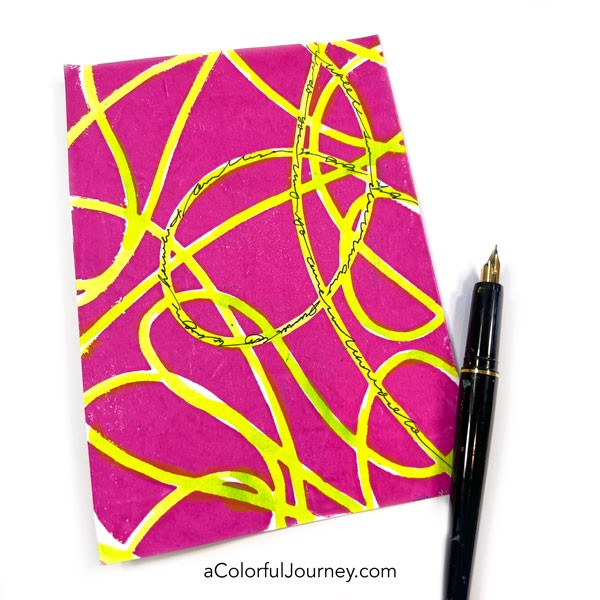
The curving lines of the Gordian Knot stencils can also be filled with your writing. Or doodles. Or marks. The options are endless!

The abstract looking prints below were a complete failure and a win a the same time. The technique I was experimenting with did not work as expected. Huge failure. But instead I ended up with an abstract look to the prints. A win!

Inside all the loops of the Gordian Knot prints here, I saw a shape. A wing. What I did with that, I’ll be sharing in an upcoming video, so if you want to be sure you know when that is posted, get signed up for my weekly newsletter. Not only will you be in the know, you’ll get creative encouragement as well as a free weekly download.

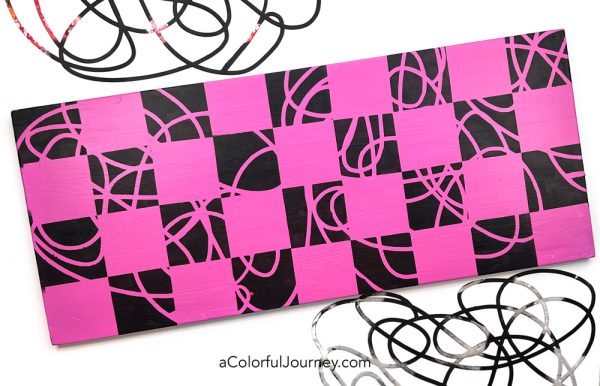
Using just part of the Gordian Knots creates an entirely different look. When you’ve got stencils, you’ve got options! This collection, and all of my stencils, are available at StencilGirlProducts.com.

Ready to get more out of your stencils and along the way understand more fully how to use stencils? Then check out my online workshop, Joy of Stenciling Workshop.

Here are the supplies used. Some of these links may be affiliate links which means I may get a small percentage and it doesn’t cost you anything extra! And you get a really good feeling knowing that you are helping keep the free tutorials coming!

Unfortunately, the yellow watercolor I used has been discontinued.

The set of watercolors is where my bright purple came from and I will say that set has some magnificent neons to it!

{ 2 comments }

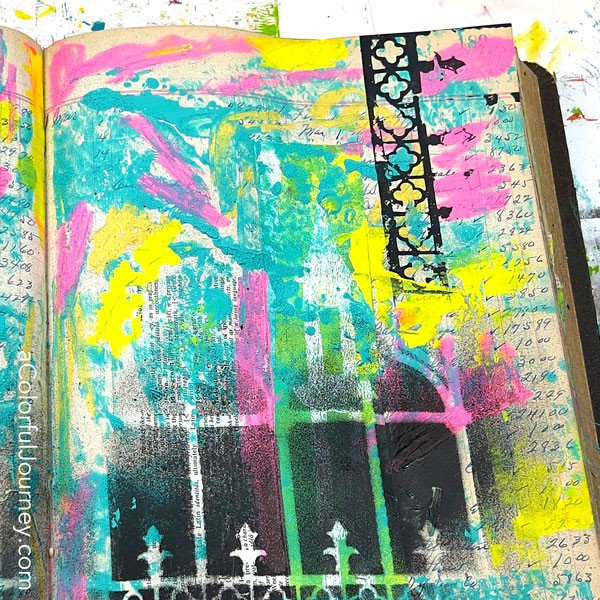
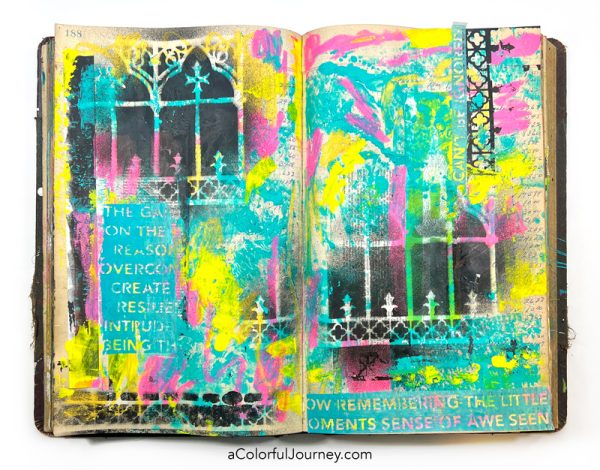
When you’re creating, you have choices. The criteria you use to make those choices plays a big role in what you create. This could be a deeply philosophical topic, but it’s not here. What drove my choices in this art journal was how to avoid cleaning.

As much as I avoiding any unnecessary cleaning, there was one bit of it in this video where I cleaned off the stencil by simply blotting it off on the page. That kind of cleaning is fun!

***I’m using a water based spray paint so there isn’t much of an odor, but it is still spray paint, so be sure to do it in a well ventilated area or wear a mask.***

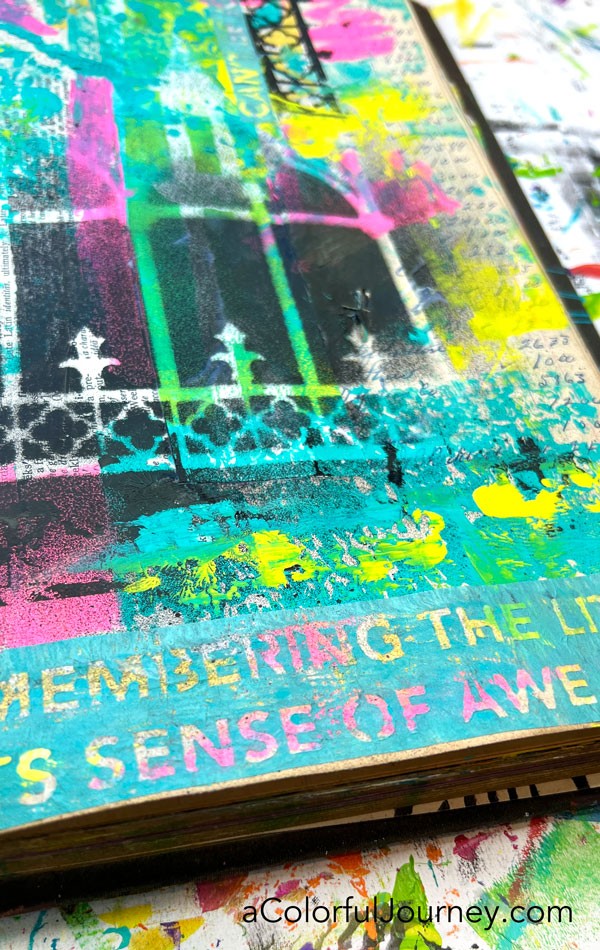
One perk of using tissue paper (or something similar like deli paper) is that bits of what’s underneath can peek through. That makes the words from my Random Thoughts stencil even more fun on this page!

The trick to making the tissue paper transparent is to generously use a very fluid (runny) glue.

Is this page finished? Not sure! I’m on the fence as to whether or not more will be added so I’m stepping away here to look at it later with fresh eyes. That is one of the many great things about art journaling, it’s not mayonnaise, it won’t spoil so there’s no time limit to finish it!

How I’ve used stencils on this art journal page is just one of the many many ways you can use them. If you’re looking to get more out of your stencils check out my online workshop, The Joy of Stenciling.

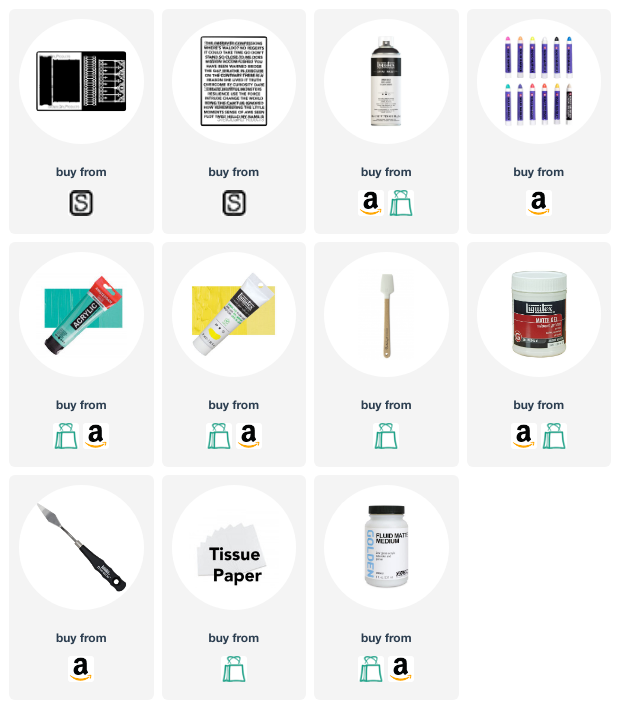
Here are the supplies used. Some of these links may be affiliate links which means I may get a small percentage and it doesn’t cost you anything extra! And you get a really good feeling knowing that you are helping keep the free tutorials coming!
{ 0 comments }