Stencils make great textures for a crayon rubbing. If you did the leaf rubbings as a kid in school, it’s the exact same idea, just with a stencil!
Start by placing a piece of tissue paper on top of your stencil. I’m using my Words to Live By stencil.
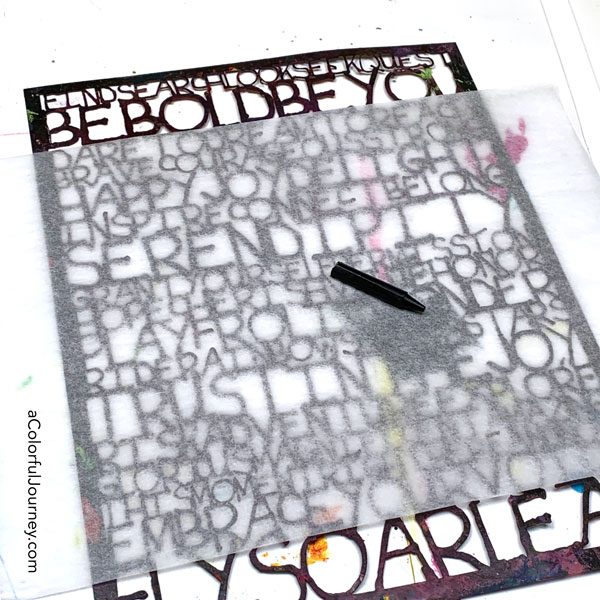
Next, use a crayon to make a rubbing. This isn’t a fancy art crayon. It’s just a kids Crayola crayon with the wrapper removed. To get the clearest image, use the wide side of the crayon and work on a firm surface.
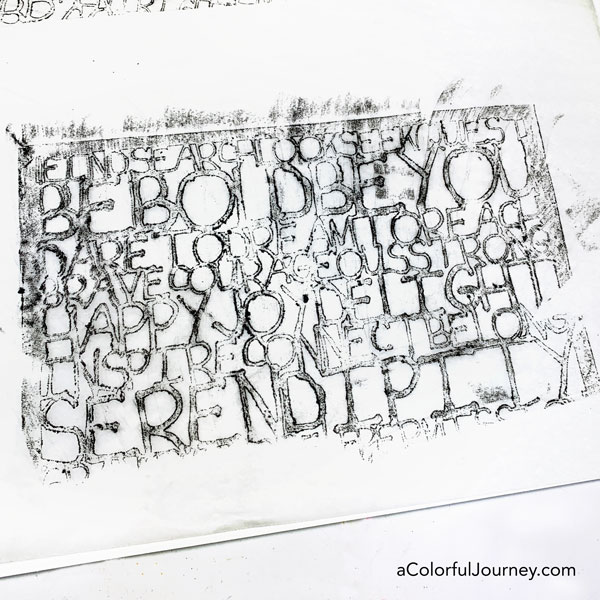
If it slips or moves a little, it isn’t a big deal. Can you see the touch of ghosting around the the BE BOLD at the top? That won’t impact the next step at all.
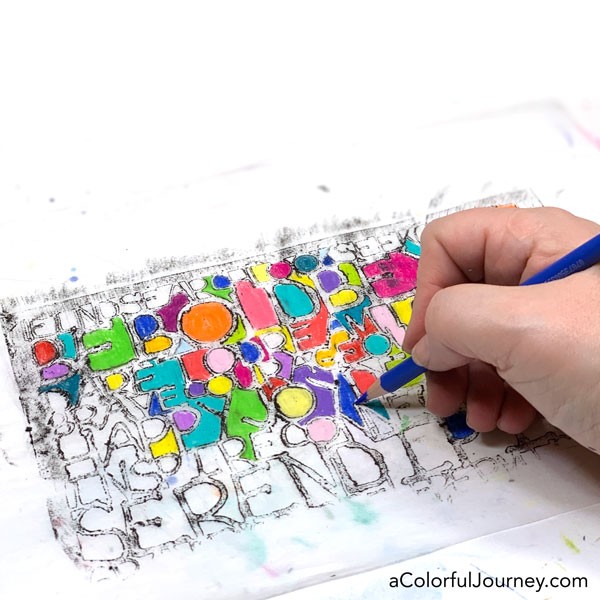
Color in each open area with a colored pencil. This does 2 things. First, you create a fun colorful piece of paper uniquely yours. Second, it helps with concentration by keeping the mind from wandering when stuck on a very long Zoom conference call. So using art supplies is a very practical thing to do!
Along comes the invariable question, “What do you do with it now?” Before I answer that, I need to make one thing very clear. The point of making this was the process. The journey. The end result is a bonus.
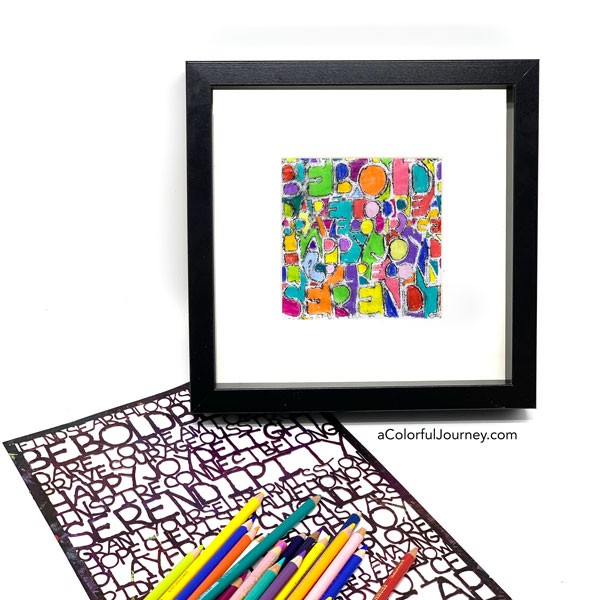
Now that I have this bonus, I have a wide variety of options. Any way that I use tissue paper, I can use it. In a collage, in an ATC, on an art journal page, or I can simply frame it.

An inexpensive frame, like one from IKEA, can immediately turn it into wall art. From a distance it looks abstract and when you get up close you can see the words.
Here are the supplies used. Some of these links are affiliate links which means I get a small percentage. For example, I’m an Amazon Associate & I earn from qualifying purchases. It doesn’t cost you anything extra and you get a really good feeling knowing that you are helping keep the free tutorials coming!