Welcome! I’m Carolyn Dube – This colorful journey is all about the freedom of play!
Search My Blog
Search by Category
The Fine Print
Some of the links on this blog are affiliate links and I receive a small percentage. It doesn't cost you anything extra and helps keep all the free tutorials and videos coming! It's a win-win!
The website is copyright Carolyn Dube, and that is kinda common sense since this is my site.
As an Amazon Associate I earn from qualifying purchases.
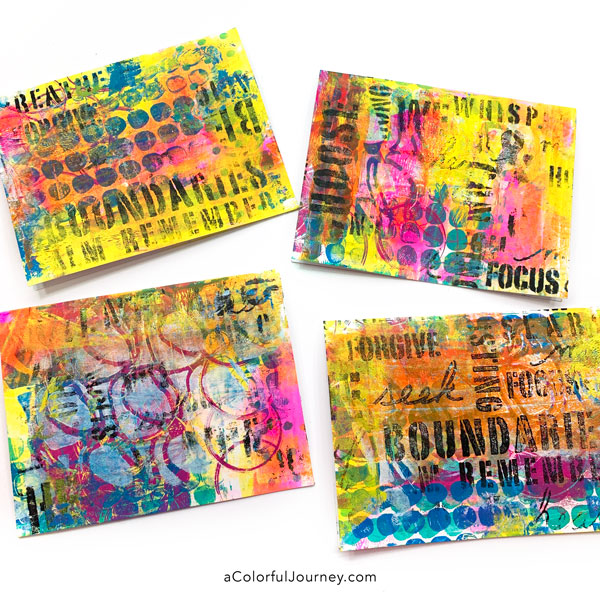
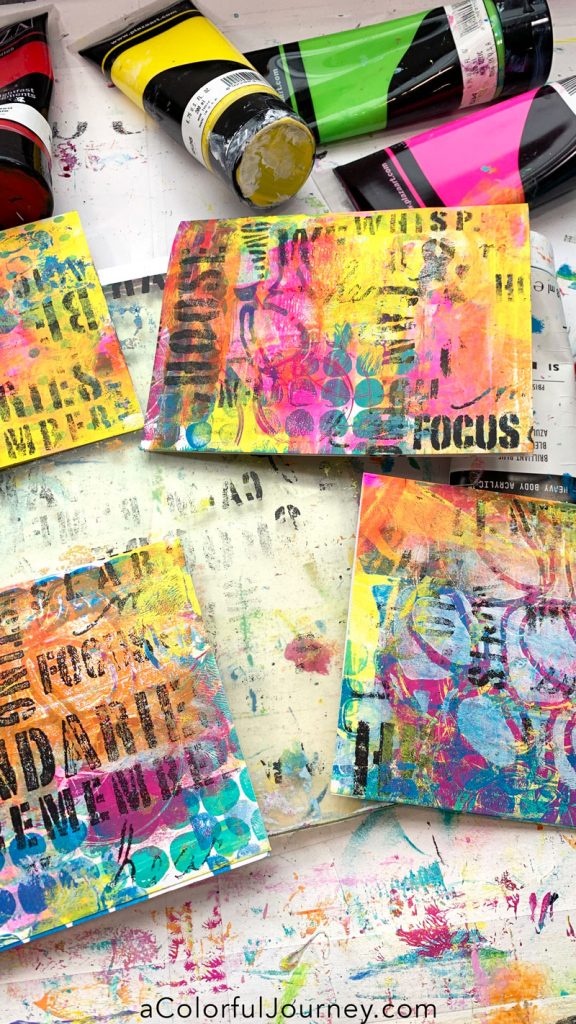
See how the layers built up bit by bit on these prints on a Gel Press plate. How it starts out with a very loose layer of yellow all the way to the words added at the end and you’ll also see how I handle it I when there’s a layer I don’t like!
When you’re putting the paint on the gel plate, try only putting it on part of the plate. There seems to be an invisible force that pulls my brayer to cover the entire thing, so I have to remind myself to just go part of the way. That will create loose edges and layers of various shapes and sizes. Links to everything used is at the bottom of this post.
When printing words, the stencil goes on the gel plate backwards. That is, if you want the words face the legible way when you take the prints. The bonus of use a gel plate to stencil is that it’s fast and allows you to easily use full words or fragments. Love that flexibility!
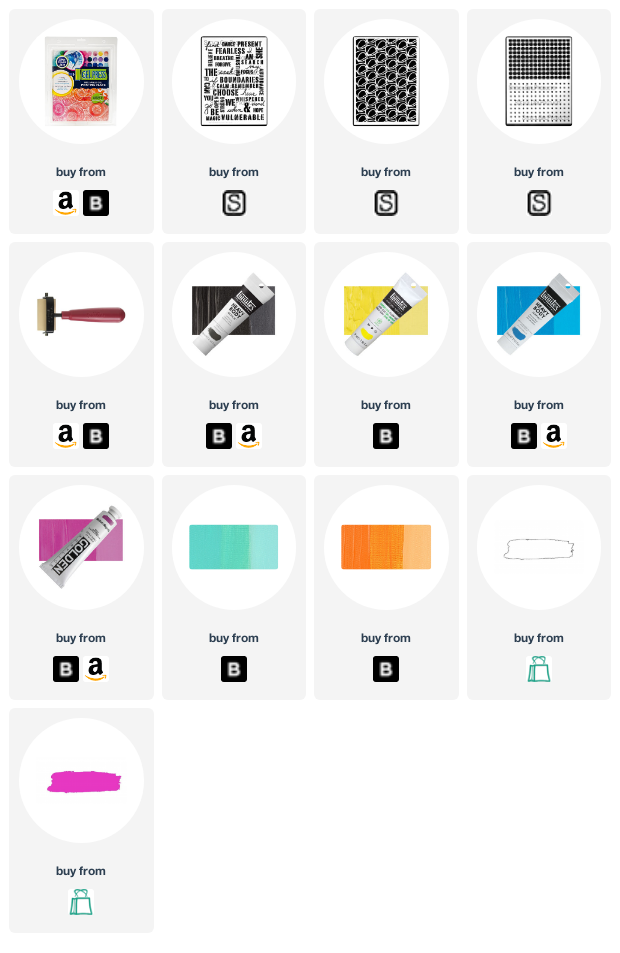
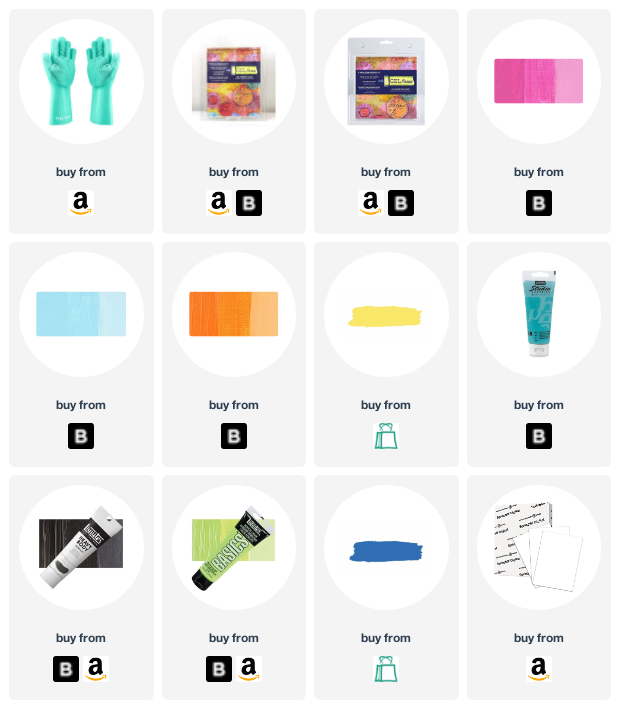
Here are the supplies used. Some of these links may be affiliate links which means I get a small percentage and it doesn’t cost you anything extra! It doesn’t cost you anything extra and you get a really good feeling knowing that you are helping keep the free tutorials coming!
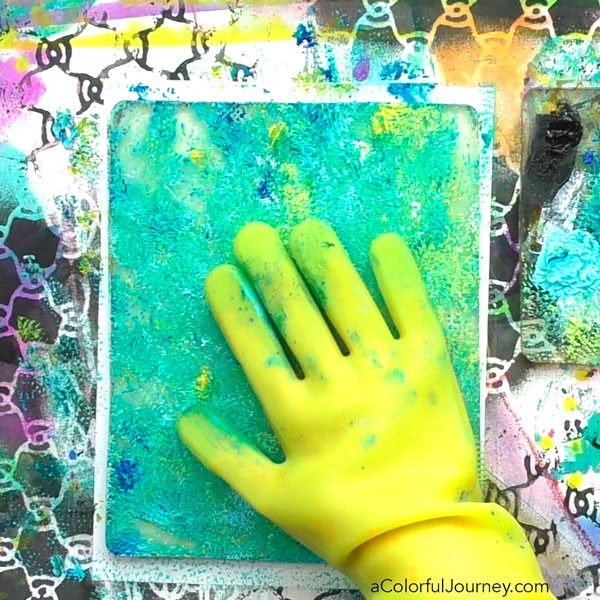
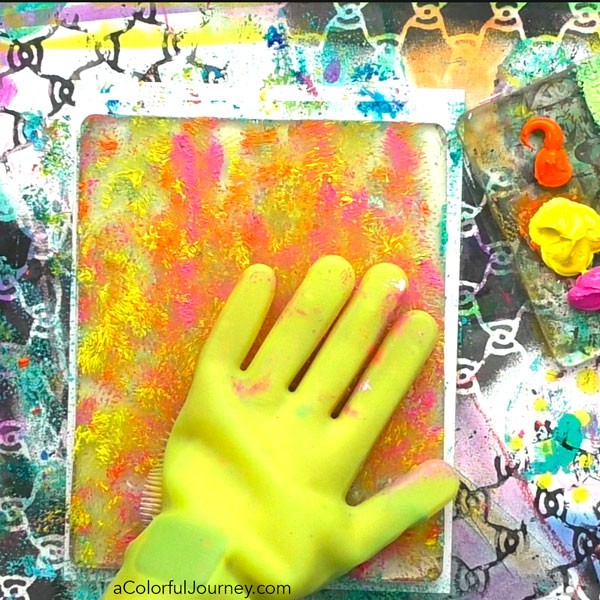
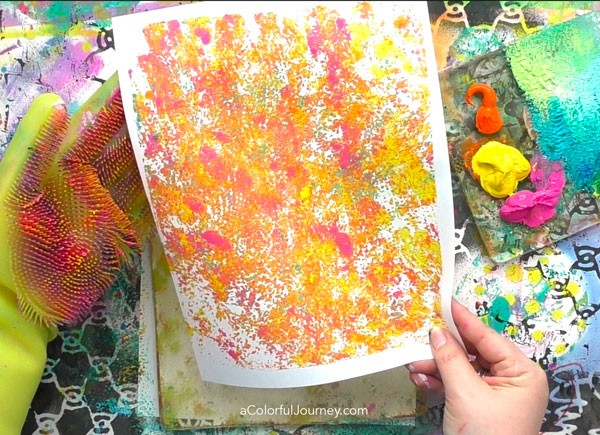
Just about anything can become a gel printing tool! Including dish washing gloves! Yes, you read that right. Dishwashing gloves! These are scrubbing gloves which enables them to create a soft Impressionist style print. Probably not what the manufacturer intended but they do it well! I’ve got the supply list at the end of this post so you can check out what they look like nice and clean.
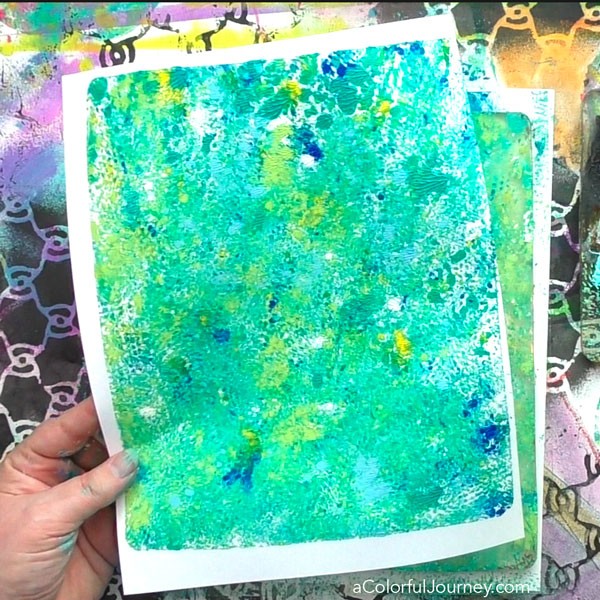
You dip your fingers into the colors from your palette and then pat it onto the gel plate! Naturally, you use anything you have for the palette from wax paper to a “proper” palette. I chose to use a 6 x 6 gel plate as my palette so that when I was done, the leftover paints would make a print.
The more you pat it around, the more the colors blend. The less you pat it around, the less they blend.To keep the colors from getting muddy, stay in cool or warm colors. Here, I’ve used blues, greens, and a touch of yellow.
Only one glove gets used at a time, so that makes it easy to keep one for cool colors and one for warm colors. That way there isn’t any time spent cleaning the gloves when changing colors. You absolutely can clean the glove, but since that doens’t bring me joy, I avoid it whenever possible.
In the photo below you can see the texture that is on the gloves, these fine little scrubbers. They don’t give me much faith for actual dish washing, but for gel printing they are amazing!
This is not the only way you can use a gel plate! There are so many more different looks you can create in your prints when you fully understand how the plate works, why it’s doing what it’s doing, if you want to be able to steer and guide your prints so it’s not random take a look at my gel printing workshops.
Here are the supplies used.
Some of these links may be affiliate links which means I get a small percentage and it doesn’t cost you anything extra! It doesn’t cost you anything extra and you get a really good feeling knowing that you are helping keep the free tutorials coming!
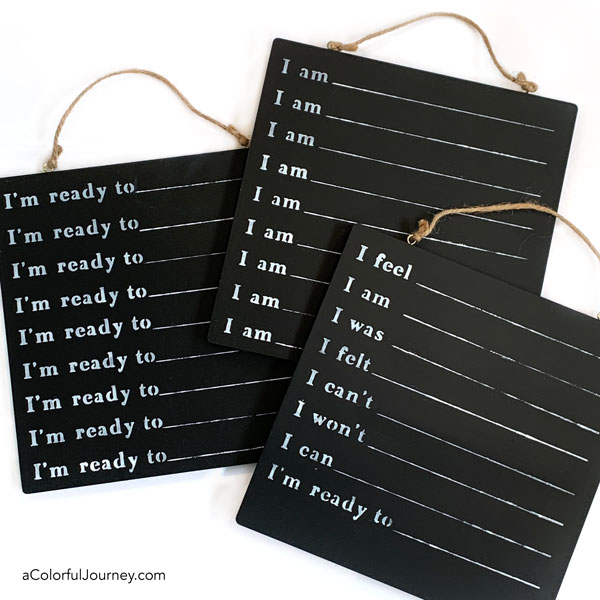
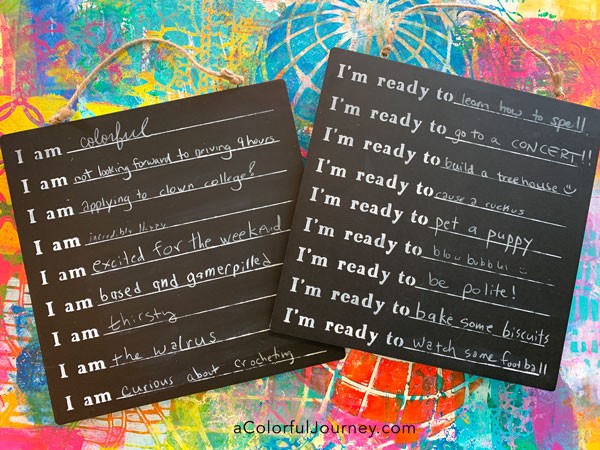
Interactive murals are those that have chalk (or markers or paint) nearby so that everyone and anyone can participate. My favorite are the big fill in the blank kinds. But that isn’t practical to create indoors, so I created mini ones. It will have the look of chalk, but there is zero chalk involved (so no chalk dust) or special paint!
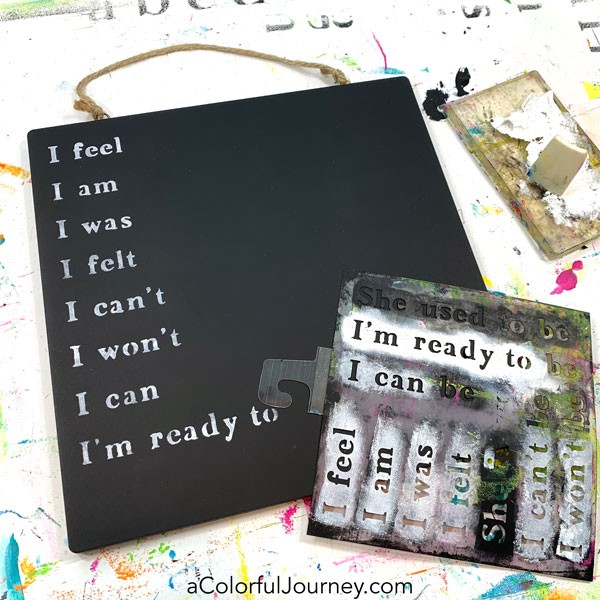
How do I use these? When family and friends are over, they write on the lines- it’s a great conversation starter and I’ve learned so many unexpected things about them this way! At the end of this post you can see a few filled out by recent guests.
Start with a piece of wood painted matte black. It doesn’t need to be chalkboard paint, just something matte (not shiny or glossy) black. I ran across these already painted and with twine to hang it in the dollar spot at Target so I started with these. These are seasonal, so depending on when you are reading this, you might not be able to find them there so you substitute with any wood panel or piece of wood you have. Just paint it matte black.
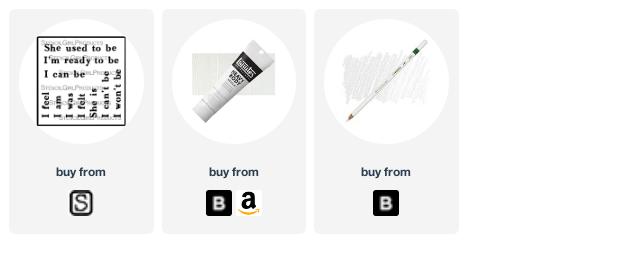
Stencil the words you want on there. I did three of these using my Journal Starters stencil from StencilGirl. You can choose something different for each line or repeat the same one over and over. So many options for you with the one single stencil!
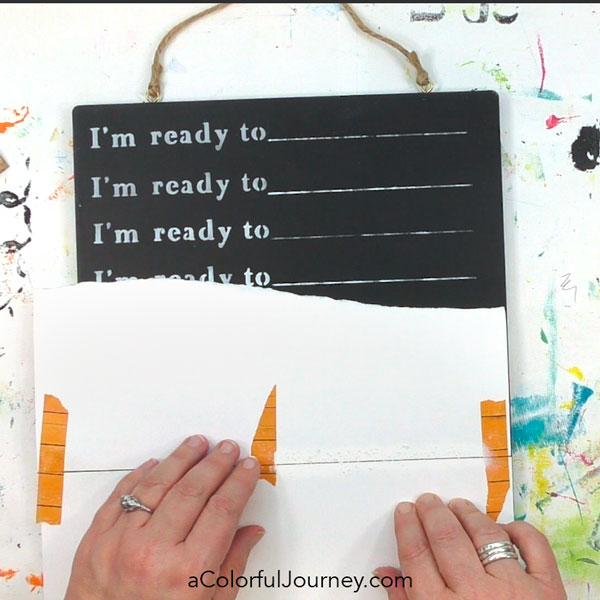
Why use a heavy body white paint to stencil this? Because it is very opaque so it makes it easy to see the white stenciling and it also helps keep the lines crisp. Thicker paints are less likely to run under the stencil so if you’re an impatient stenciler like me you can still get crisp lines. In the video, you’ll see how I lined these up without careful measuring too.
To create the lines for people to write on you have choices. You can paint them on with a paint brush or draw them on with a white paint marker. I chose to stencil them so they would have the same look as the stenciled words. It was an adventure of a process that words won’t do justice. Let’s just say, I made it so much harder than it had to be! Check it out in the video.
Even though the lines were giving me fits, I was still having fun. How? Because it has to do with the spirit of play! Want more of that when you’re creating? Then check out my free weeklong workshop, Permission to Play!
Once you’ve got your words and lines on there, you need to let it dry. For days. The paint needs to be fully dry before you start using it. If you use it too soon, the paint may wipe off. I gave this paint about 4 days to dry before we used them.
Even though it looks like chalk there, it was actually a water soluble pencil. That means zero chalk dust. To erase the writing, you just need water and a paper towel. It comes right up! So you can use it over and over.
Here are the supplies used. Some of these links may be affiliate links which means I get a small percentage and it doesn’t cost you anything extra! It doesn’t cost you anything extra and you get a really good feeling knowing that you are helping keep the free tutorials coming!
The black wood base was from Target in their dollar bin area- and you can substitute with any piece of wood painted matte black.
This website uses cookies to improve your experience while you navigate through the website. Out of these cookies, the cookies that are categorized as necessary are stored on your browser as they are essential for the working of basic functionalities of the website. We also use third-party cookies that help us analyze and understand how you use this website. These cookies will be stored in your browser only with your consent. You also have the option to opt-out of these cookies. But opting out of some of these cookies may have an effect on your browsing experience.
Necessary cookies are absolutely essential for the website to function properly. This category only includes cookies that ensures basic functionalities and security features of the website. These cookies do not store any personal information.
Any cookies that may not be particularly necessary for the website to function and is used specifically to collect user personal data via analytics, ads, other embedded contents are termed as non-necessary cookies. It is mandatory to procure user consent prior to running these cookies on your website.