
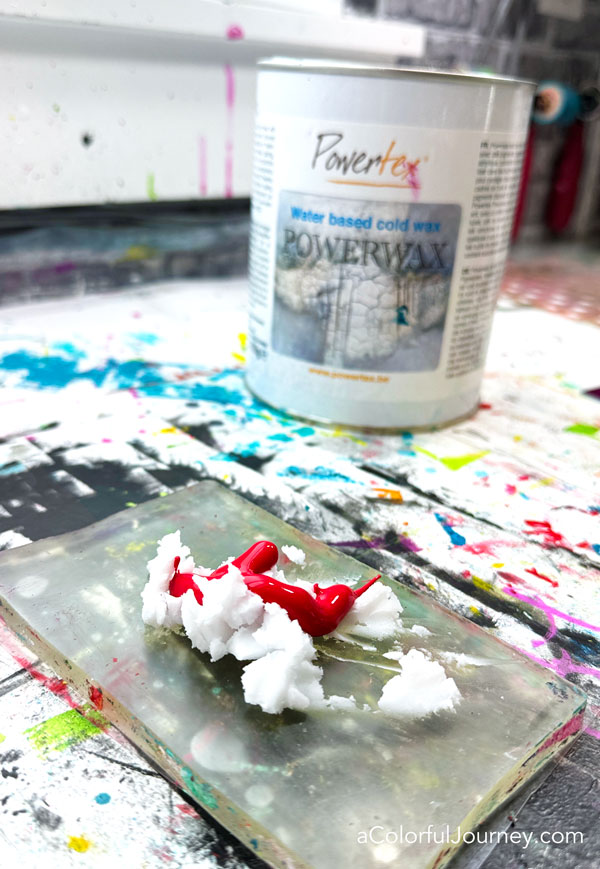
There’s a new Powerwax that’s slightly different from the previous Powerwax and I was curious how different it was. That’s what led to making collage papers with stencils and Powerwax. Mixing Powerwax with paint allowed me to do things that I couldn’t do with just paint.
Powerwax is water based. How a wax is water based is hard for me to wrap my brain around, but it does mean that it’s water clean up!
This is a very very forgiving process. There’s no measuring or exact ration needed when mixing Powerwax with acrylic paint. Just some and some. If you mix it together and want more color in it, simply mix in more paint.
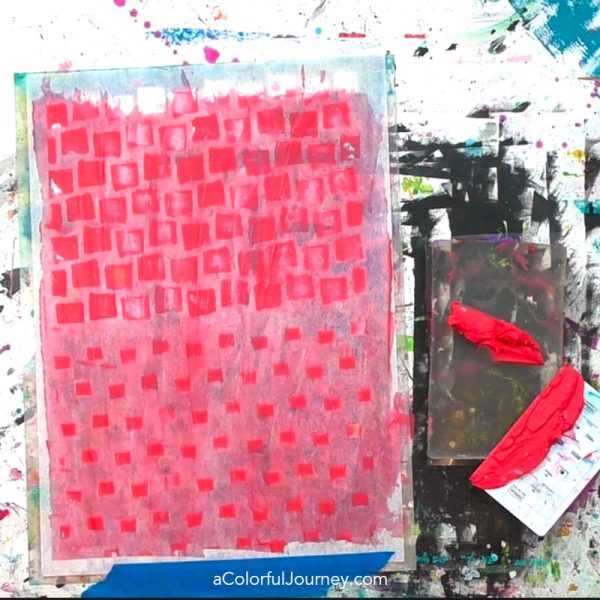
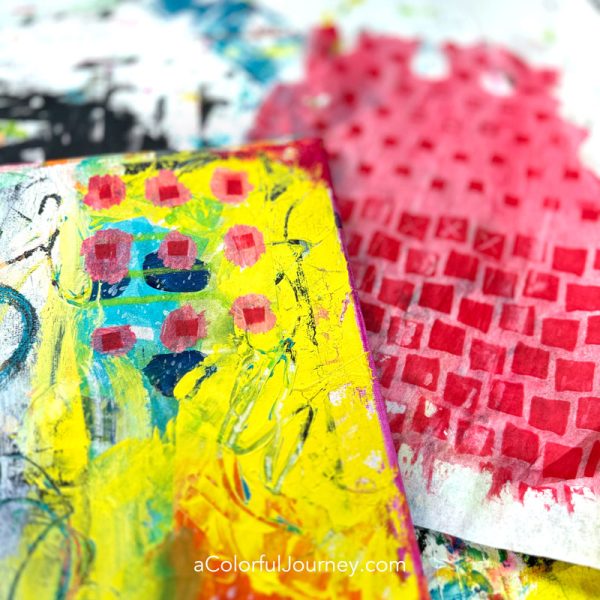
To create the collage papers, put a piece of tissue paper on TOP of a stencil. Use some repositionable tape such as painters tape or washi tape, to hold the tissue paper in place. This is the Squares Layer Me stencil from StencilGirlProucts.
Then squeegee on the Powerwax and paint mixture. I used a very fancy tool to do this, an old hotel key card.
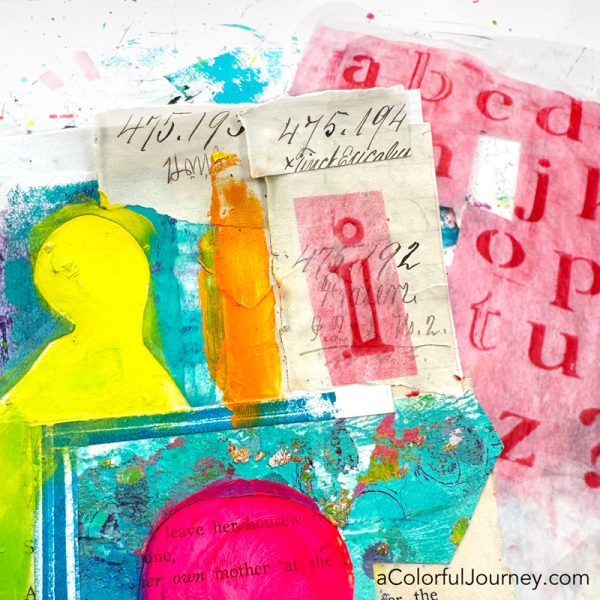
Since Powerwax is a wax, once it’s dry you can carve into it, like I did with the letter i below. That collage paper was created with the Feelings and Emotions Alphabet stencil from StencilGirl Products.
Could I just do this with paint? Nope. Paint only is very juicy and if only using paint, you have to scrape away or remove any areas while it’s wet. That means the tissue paper is fragile and will tear very easily. With Powerwax, there’s no time pressure. After it’s dry, anytime in the future it can be carved into. So a month or a year from now, I can scratch any pattern, line, or mark into the collage papers. Oh the freedom!
Another thing I noticed is that I can do very small details or have sharper lines when carving into the Powerwax and paint compared to just doing it in wet paint only.
But there’s more you can do with Powerwax.
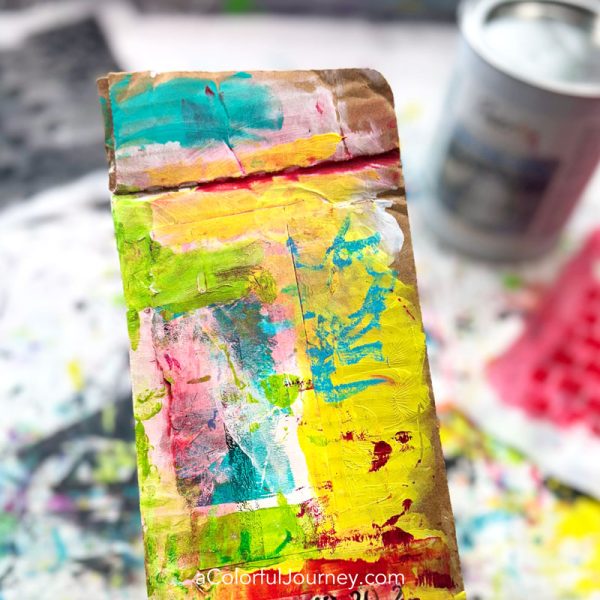
Powerwax can be used to highlight texture or fill in cracks. I grabbed a piece of colorful cardboard and played around as I used up the leftover red Powerwax. Leave a thick layer on and it’s very opaque (the top red line), wipe most of it off and you get a translucent look (bottom left).
To make it even easier to tear in a specific shape, like the circles here, I brushed water in a circle on the BACK of the tissue paper. Why the back? Since the front has a thin layer of wax on it, it repels the water somewhat. But the back of the tissue paper will quickly absorb the water to create an easy way to tear little circles.
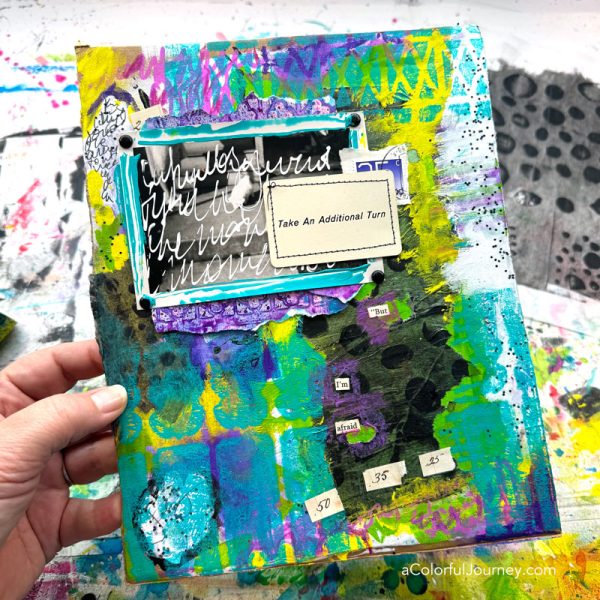
Along with using little pieces of the collage papers, bit pieces work too! The black Speckles and Spots were glued down as an early layer on this play.
The differences I noticed between the old Powerwax and the new Powerwax:
- The old version was juicier, wetter and the new is a bit firmer. They look different in the jar but when mixed with paint, they are both creamy. A perk of the firmer new formula is that it will be less likely to run under stencils the way it did for me when I did the words on the page below.
- The new formula takes a bit longer to dry. How fast it dries depends on how thick of a layer you’ve put on there, how humid or arid your climate is, etc. This does mean ample open work time, which has its benefits.
- The old formula had a bit of a glossy finish to it. The new is much more matte and I didn’t realize how much I liked that until I tried it.
- There is more of a smell to the new formula. I only notice it when I take the lid off the jar, and there is no smell on the Powerwax once it’s dry.
Below is the video where I explored what the old Powerwax could do in an art journal. What I did with the old Powerwax, I can do with the new Powerwax (and in some ways, the new is better!)
I’ll be playing more with Powerwax in the future and if you want to be in the know, then get signed up for my weekly newsletter.
Here are the supplies used. Some of these links may be affiliate links which means I may get a small percentage and it doesn’t cost you anything extra! And you get a really good feeling knowing that you are helping keep the free tutorials coming!


Wow – thankyou – just stopped scrolling and popped into your video about Power wax – yea…I bought some with gift money from granddaughter and have been wondering how I will use it. I did coat a painted WC paper journal cover and was pleased with finish. This technique of yours is great – can’t wait to try. Thanks