How can you create a metallic look on an image transfer? By using mirrored cardstock as the base. The look it creates reminds me of foil wallpaper from years ago.
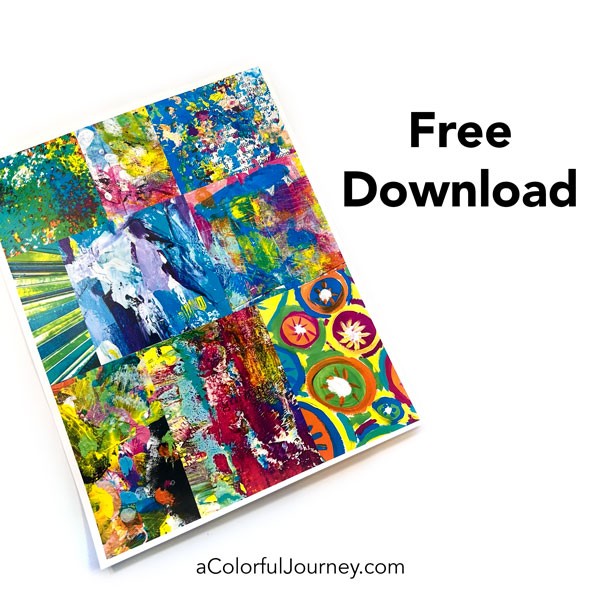
If you’d like to play around with the collage image I used in the video, you can get it below. Want to see a more in depth video of the InkAid image transfer process? I’ve got a step-by-step, everything you need to know to get started video for you.
Making an InkAid Image Transfer
- Printing your image onto the Transfer Film using an inkjet printer with pigment inks. Wondering how know if your printer will work with this? I’ve got a getting started video for you here.
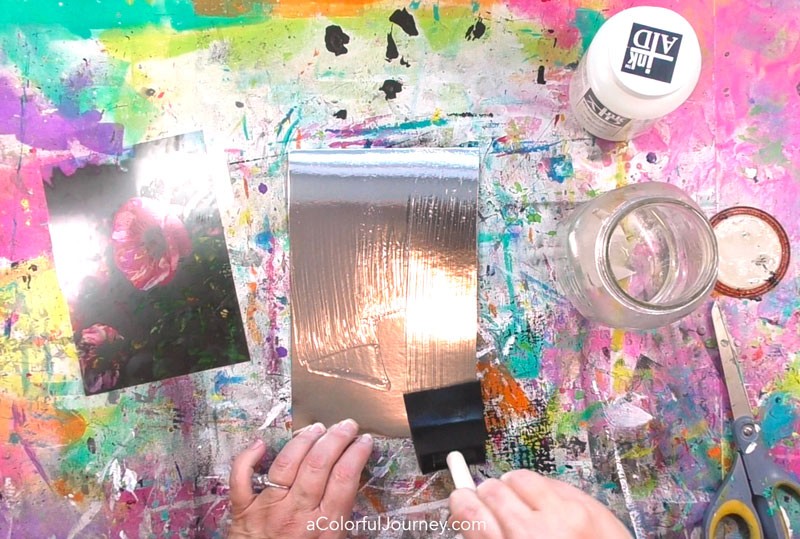
- Add a juicy layer of Transferiez solution to the mirror cardstock.
- Place the image you printed on the Transfer Film printed side down on the mirror cardstock.
- Brayer it down to remove any air bubbles.
Then comes the hard part. Wait 2 MINUTES. Yes, I know, waiting is hard, but when you wait the 2 minutes, it allows the coating on the Transfer Film and the Transferiez solution to do their magic.
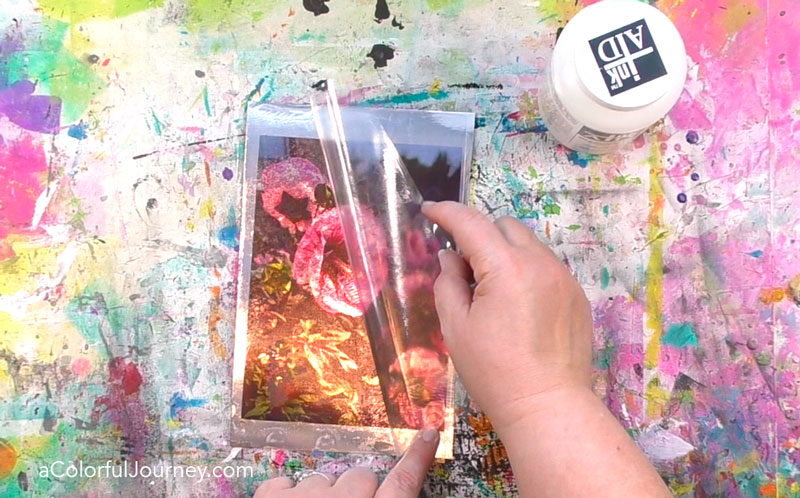
The last step is to slowly and gently lift the Transfer Film.
Where to Find Images
Photos you’ve taken are a great place to look for images to transfer. Many museums, like the Smithsonian in Washington, D.C. have online collections that are available for you to use.
Another place is Sparks of Art-spiration. Each week, I send a new free Spark for you to download in my newsletter. You can get signed up here and right now you’ll get the the collage of Sparks I used in the video sent to your email.
Ways to Use Them
Use the full image to create a quick and personal card to send to a friend. Oh the possibilities of using these for a wedding announcement or a holiday card!
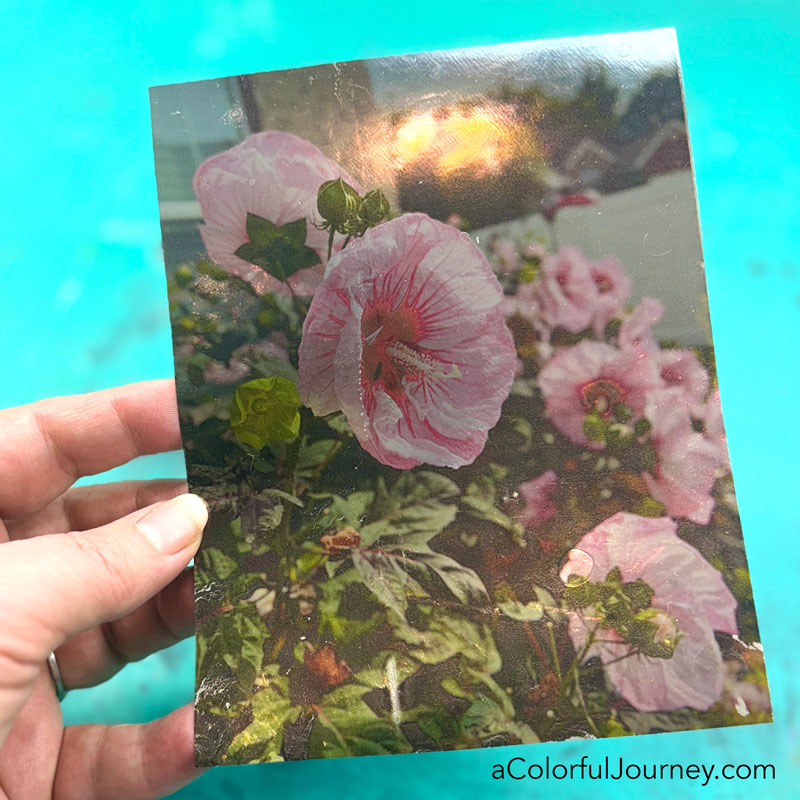
Another option is to cut them up into various shapes to add a metallic touch to a collage or other mixed media play. In a photo, it’s hard to capture how noticeable the metallic pieces are, but in the video at the start of this post you can see it much better.
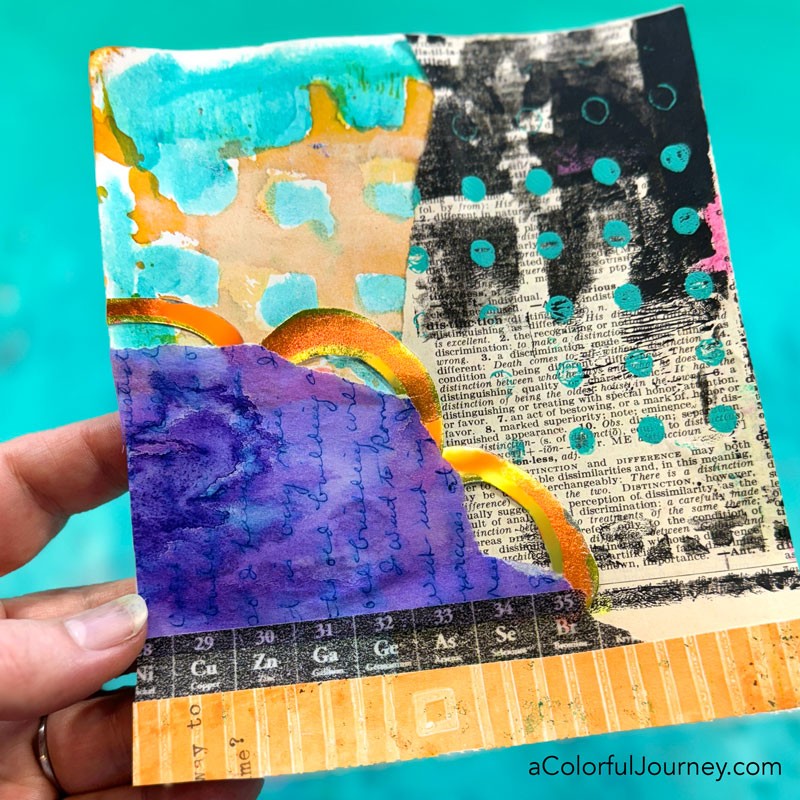
Now you know how to turn any image into a reflective one in about 2 minutes!
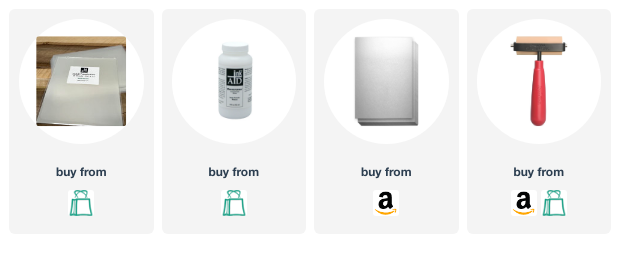
Here are the supplies used. Some of these links may be affiliate links which means I may get a small percentage and it doesn’t cost you anything extra! And you get a really good feeling knowing that you are helping keep the free tutorials coming!
