
Reverse stenciling enables you to get a very different look from your stencils. But it can be a persnickety technique if you don’t know the three important factors that dramatically impact your print.
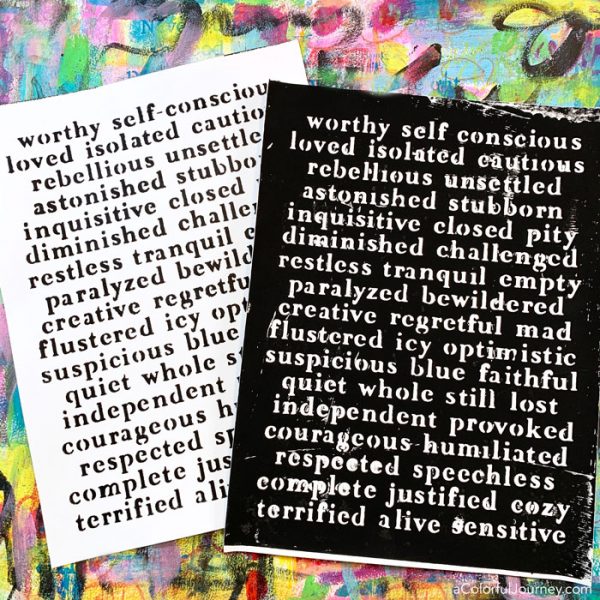
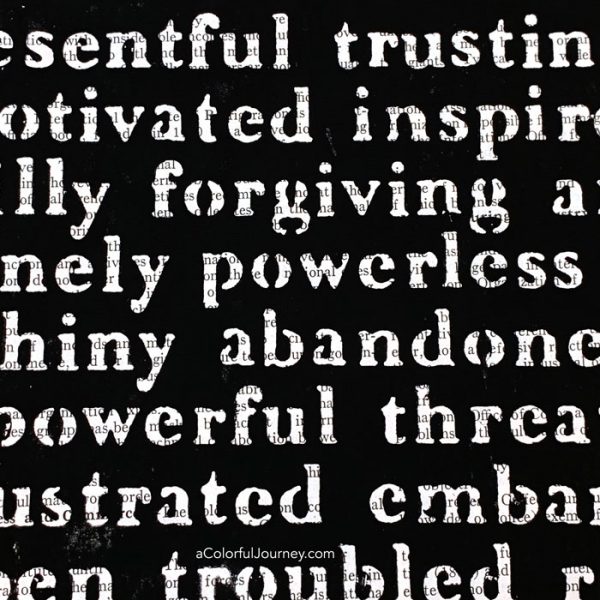
Below is an example of the Feelings and Emotions 1 stencil used the standard way on the left and reverse, or negative, stenciling on the right. What do you need to know to get that dark reverse print? Keep reading!
The video shows the process much better and with more detail, but the gist of it is you put the paint on the back of the stencil and the press it onto paper to get your print.
Loading your stencil up with paint can be done on any kind of paint palette but I prefer to use a Gel Press plate because it enables me to use the leftover paint so it doesn’t get wasted. I’m using the 12×12 size here but you can use any size you’re comfortable with.
The first big factor to keep in mind is pressure. You’ll need to make sure you’re using ample pressure to get the paint to transfer onto your paper. Below is an example of what it might look like if there is too light of a pressure.
The second factor is the kind of paint you’re using. I’ve done this technique will all sorts of acrylic paints and medium concoctions and it tends to be a pretty persnickety technique. But then I found the Flashe paint and wow- what a different it made!
Is it because it’s a vinyl paint? Or is it because it’s made by a 300 year old French company? I don’t know but I do know that there’s something different about this paint compared to acrylic paints when you’re reverse stenciling.
The paint behaves like an acrylic in terms of how you apply it, how it clean ups with water, and it dries with a magnificent matte finish.
The third factor to keep an eye on is how much of the paint you’re using. When you are doing a print on heavier papers, like cardstock, you’ll need more paint. When you’re doing a print on thinner paper, like the encyclopedia page above and blow, you need less paint because the paper is more absorbent.
When you’re using tissue paper with this technique, you need a lot less paint and the super thin paper is delicate and prone to tearing. After all, it’s tissue paper and it gets wet from the paint.
If you don’t have or want Flashe paint, you can do this technique with acrylic paint but you’ll have an easier time with it if you use thinner papers like thin book paper or tissue paper. You’ll have to experiment with the amount of paint and pressure to see what works best with the paints you have on hand.
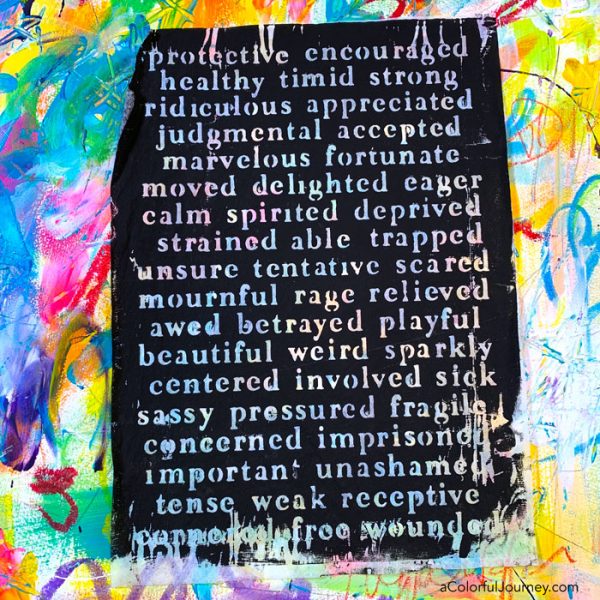
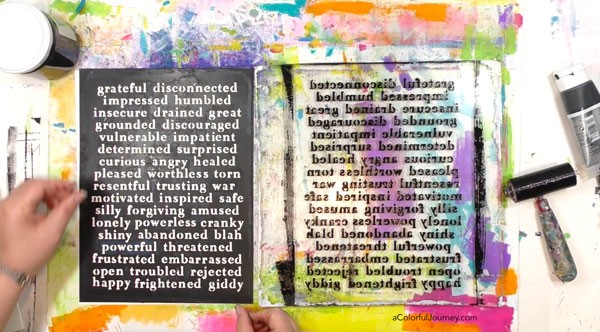
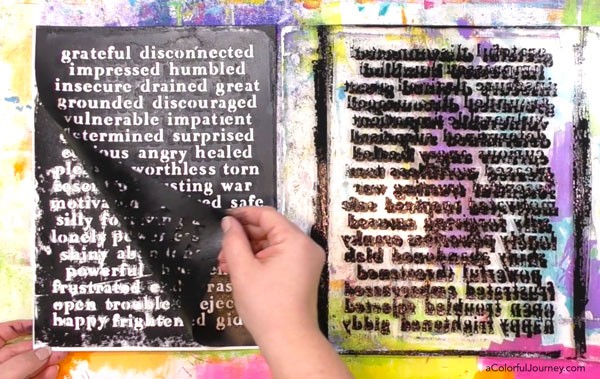
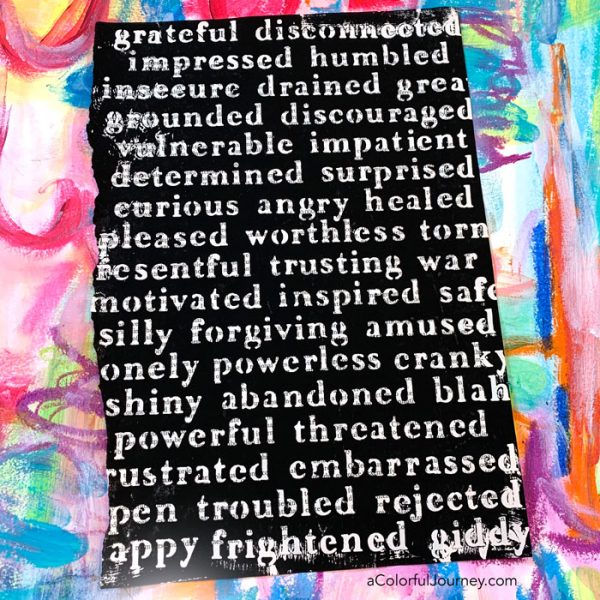
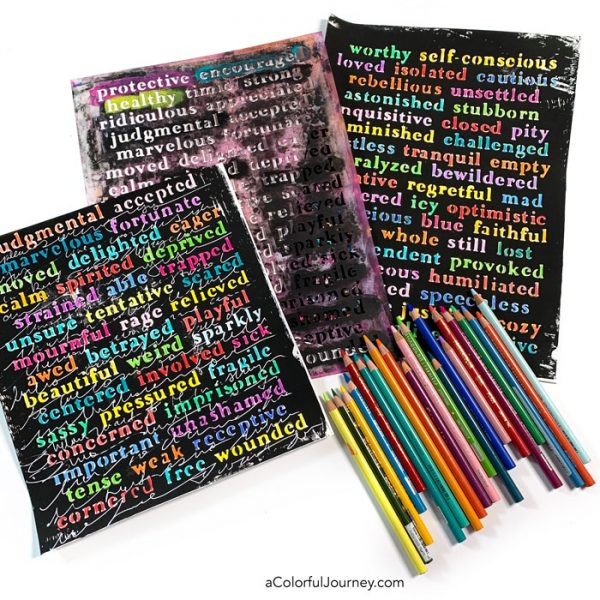
What about all the leftover paint on the palette? If you’ve used a Gel Press plate, then you can use that to make some quick prints. That’s how I built up a stash of these letters using my Feelings and Emotions Alphabet stencil.
Once you have your reverse stenciled words, you can fill them in with whatever you have on hand. Here, I used colored pencils add the rainbow. One of these will stay a full page, but the other is destined to be cut up so I can use the words invidually.
Now that you know the three big factors to keep an eye on when reverse stenciling, you understand more of how it works. Which means you can tell what’s happening and why when you are doing a reverse stencil print.
If this was helpful to you, you might enjoy my workshops where I show you techniques step-by-step. All my workshops are designed to help you have more fun while you’re creating. After all, that’s the power of understanding why an art supply does what it does!
Naturally, my workshops go deeper than my free tutorials but you probably guessed that. Check out all my current workshops here.
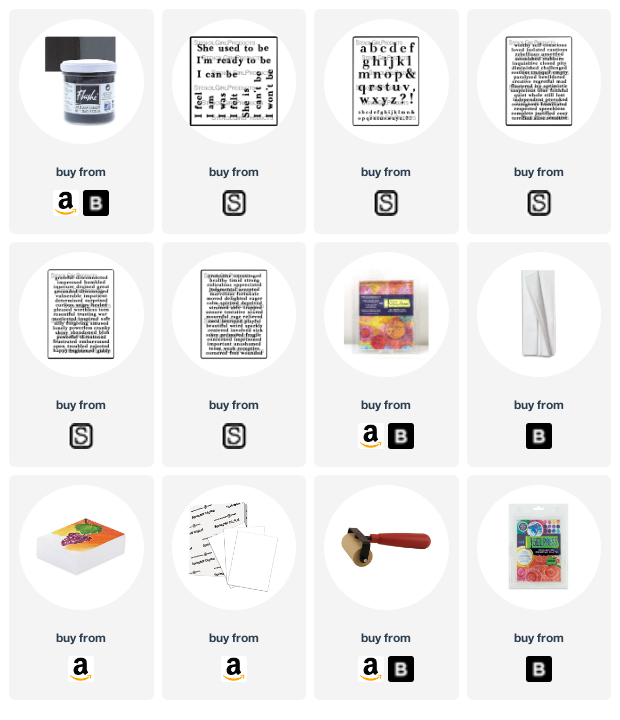
Here are the supplies used. Some of these links are affiliate links which means I get a small percentage. For example, I’m an Amazon Associate & I earn from qualifying purchases. It doesn’t cost you anything extra and you get a really good feeling knowing that you are helping keep the free tutorials coming!

Thanks for the helpful video! I was stencilling onto some old gelli plate papers today and was thinking how much I would like the stencil to be printed in the reverse. I know what I will be doing tomorrow! You were there at just the right time!
Loved the video and the paint. Your new stencils are on my wish list
I so enjoy your teachings. Your timing is so good, not a lot of filler or chit chat. So many people in your field stop working and talk as filler, which is annoying. You’re a pro. I’ve learned so much from you and you keep inspiring me.
Thank you, Carolyn,
That was very interesting.
I enjoyed reading and
understanding Reverse
Stenciling. Maybe I’ll give
it a try. Happy Thanksgiving
to you! Kathy
Extremely interesting and well explained, thank you. Coming to this as year after you originally posted, I was curious, the moment you explained that the Flashe paint was extremely matte compared to ‘ordinary’ acrylic, whether you’ve tried this technique with the new Golden Matt series? And if you have, did they perform the same way as the Flashe, or worse, or better…or just different? Always recommend your videos because your approach is so welcoming to all skill levels and explain things so clearly. Much appreciated!
Loved this. You are my fav.