≡ Menu

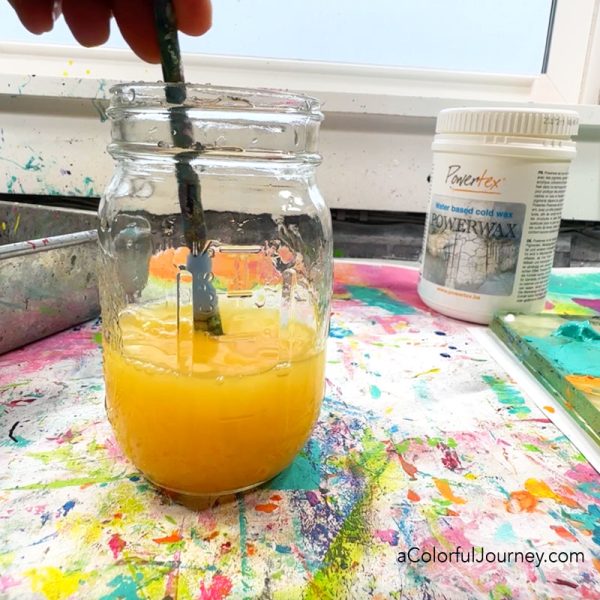
What is Powerwax? It’s a cold wax that is water based from Powertex. That water based part is huge to me. The whole reason I haven’t even tried cold wax before this was simply because it required oil paints. 

But Powerwax plays with acrylics! So I turned on the camera and  jumped in. During the play there were 9 things I learned.

Oh and Powerwax is non-toxic and no VOCs! So no smell! Since it is a cold wax, all you have to do is open the jar and you’re ready to get started!

9 things I learned playing with PowerWax

1. No exact ratio needed. Just mix some of the PowerWax with some acrylic paint.

The more paint you use, the stronger the color will be. Want just a whisper of color, a hint, a trace of it? Then add just a wee bit of paint to the Powerwax. Want full color intensity like what comes out of the paint tube? Then add more paint to the PowerWax. It’s really that simple.

Powerwax looks white in the jar, but it dries clear so when you mix it with paint it won’t change the color the way white paint does.
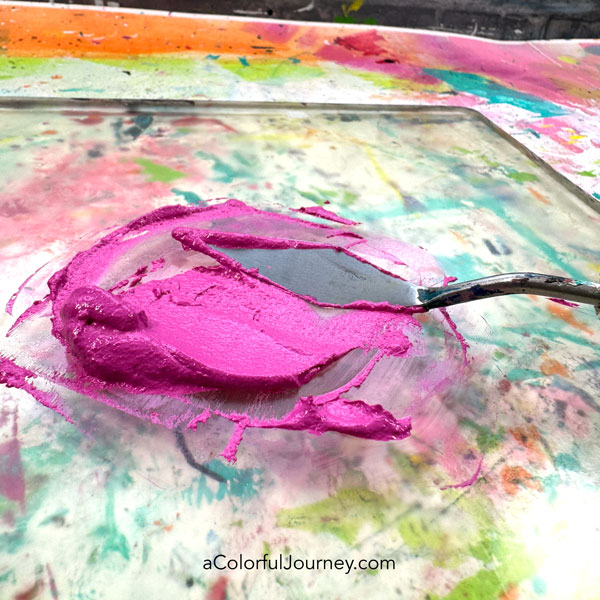
2. Easy to alter the opacity two ways. First is by how much paint you mix with the PowerWax and the other is how much of the mixure you apply. A thicker layer will be more opaque and a thinner layer will be more translucent. You can see this in action at 4:48 in the video.
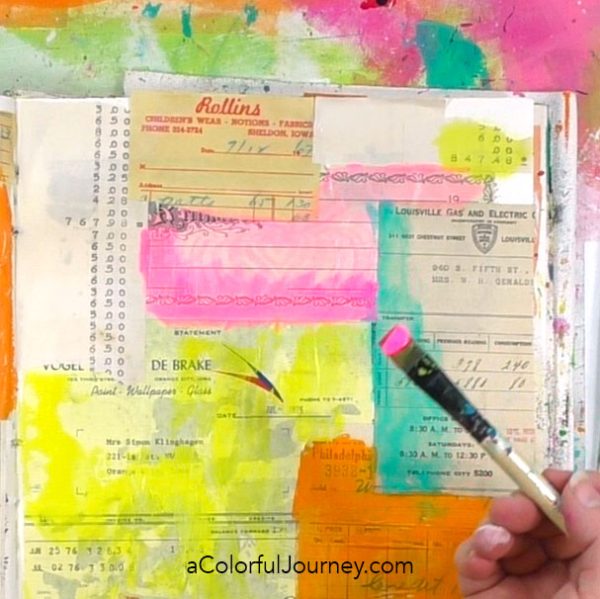
3. It’s forgiving. Wipe up what you don’t want while it’s creamy and after it dries, you can simply scratch off what you don’t want! Great for when I change my mind!
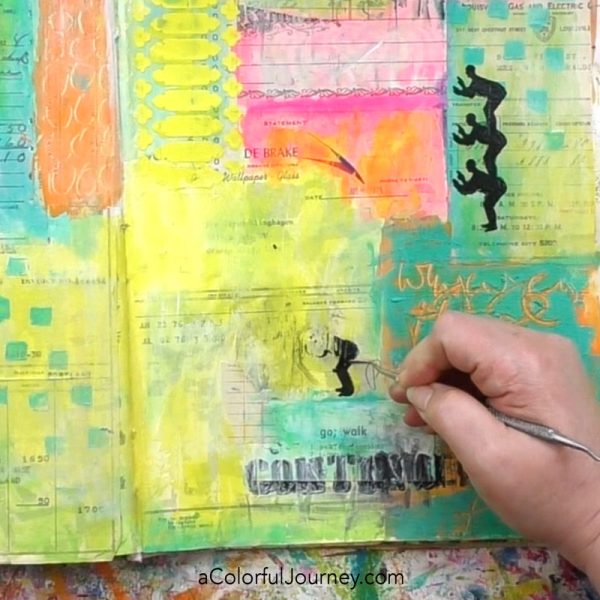
4. The tactile impact of Powerwax. It feels waxy, which is reasonable since it is a wax. That’s hard to capture in a photo since we don’t have touchable images on our computers yet!

5. PowerWax plays well with other supplies I already have like acrylic paints and stencils. The more an art supply works with other supplies I already have on hand, the more use I’ll get out of them all!

By using Powerwax with a stencil it gives a different look than what I could get with paint alone. The raised design created with the Cathedral Wrought Iron stencil is scrumptious touchable texture and that leads us right into #6.
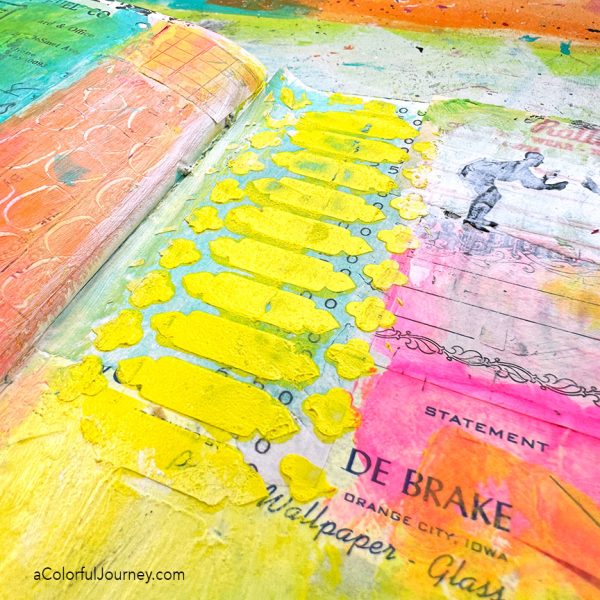
6. It’s fantastic for creating textures. PowerWax will hold a shape, mark, or design. I found both scratching into it and using stencils created touchable texture. The more PowerWax you use, the more pronounced your textures will be.

The scribble writing below had lots of PowerWax so it’s a more noticeable texture. Such a simple way to control the look, use more or less Powerwax!
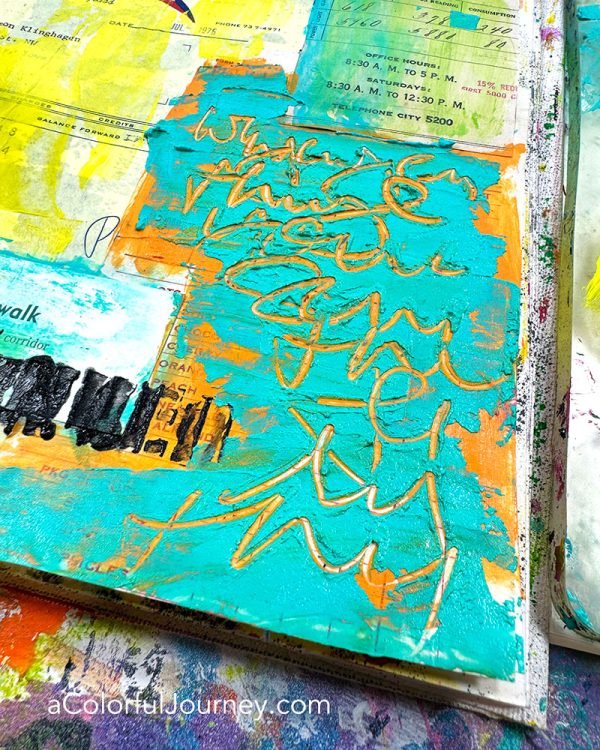
If you’ve got a thin layer of PowerWax, the marks and texture are more subtle. When stenciling with Squares Layer Me, I used a small amount of the Powerwax and paint mixture. That’s why the little inner squares I scratched into it are very subtle. That wax holds even fine details!
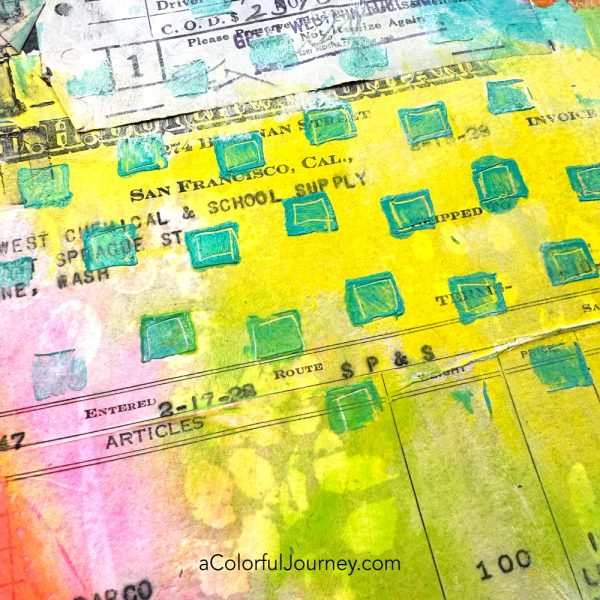
7. You’ve got easy color blending options. Layer the colors on top of each other and buff it with a paper towel, blend it with a paintbrush, use your finger or any other way that calls to you! That swipe of yellow on the pink made the most luminous orange!
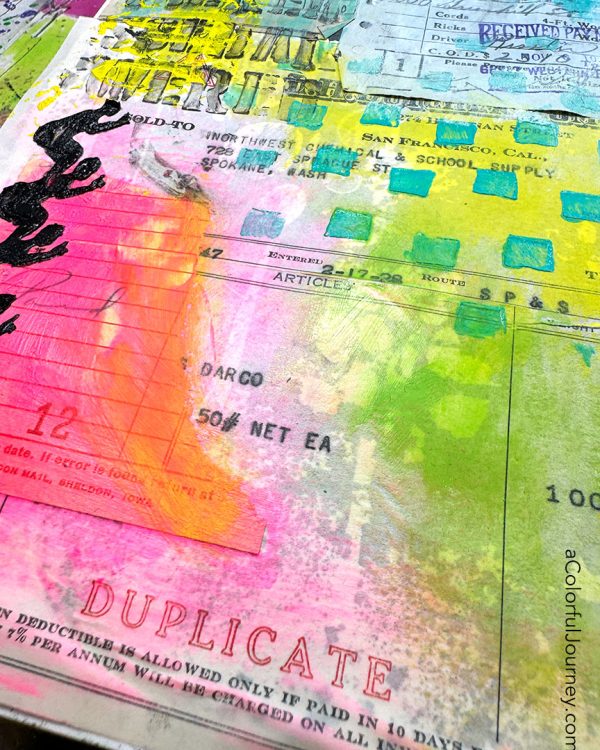
8. Cleaning is easy. The label said it was water clean up, but it’s hard for my brain to process that it’s wax but cleans up with water. It really does! This is a huge deal to me and why I steer clear of most oil based art supplies and anything that requires a solvent based cleaner.
9. It kept pages from sticking together. I did a little experiement to see if Powerwax would keep pages from sticking and it does! You can see the experiment at 18:33 in the video.

What I’m curious about next

This is just the beginning for my play with Powerwax. I’ve just been using it with paint here, but the label says it works with pigment powders, metallic pigments, sand, colored sand, dyes, and more. So the possibilities are wide open on what else in my stash they work with!

Of course I’ll be sharing what I learn through the play and if you want to be in the know, get signed up for my weekly newsletter. That way you won’t miss a moment of the fun!

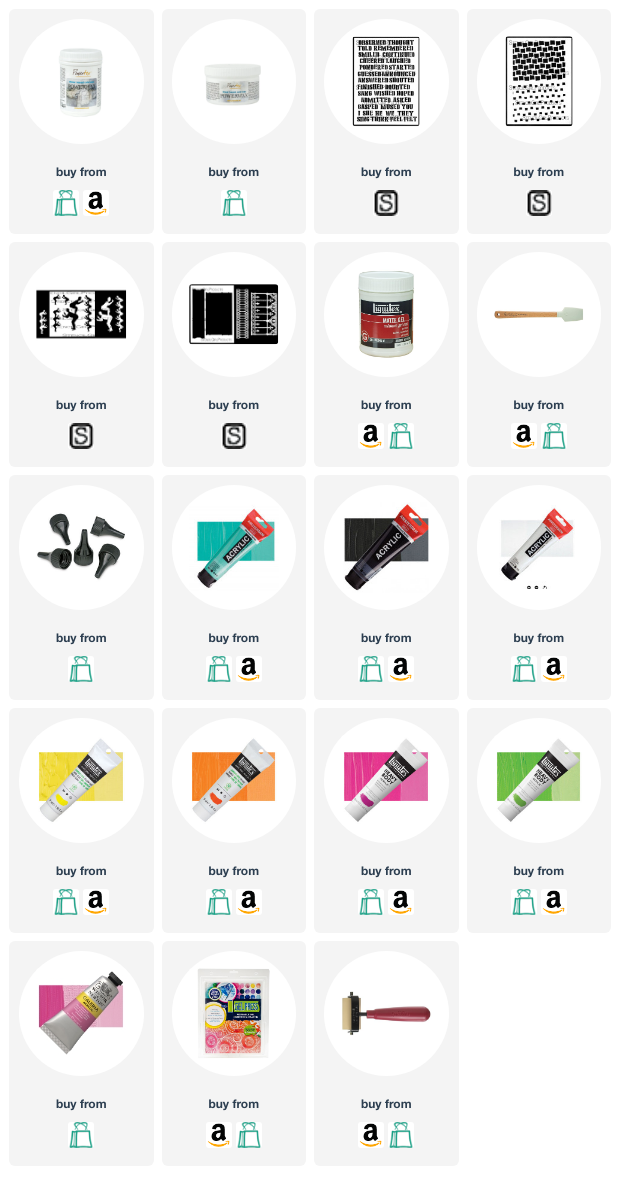
Here are the supplies used. Some of these links may be affiliate links which means I may get a small percentage and it doesn’t cost you anything extra! And you get a really good feeling knowing that you are helping keep the free tutorials coming!

Powerwax comes in two sizes and in the video I’ve got the larger one (700g)
{ 14 comments }

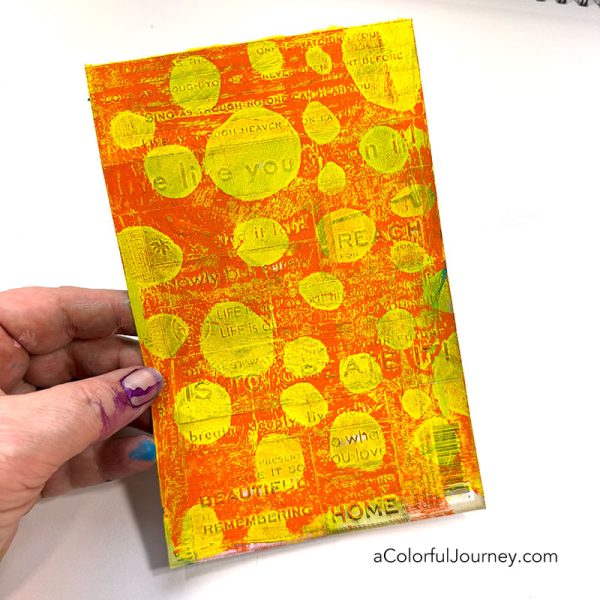
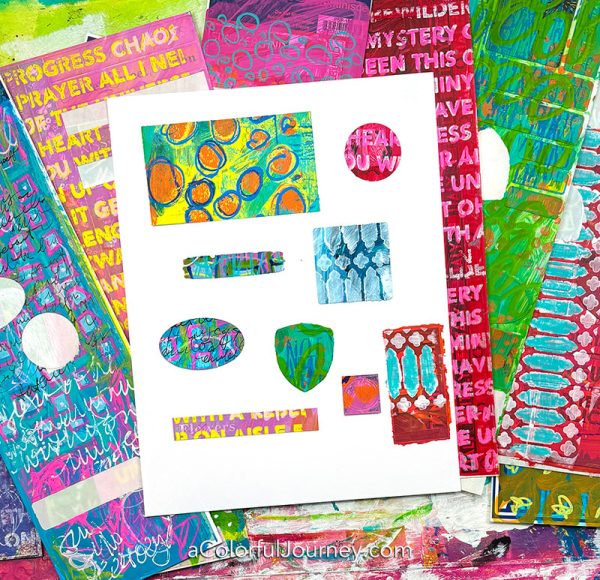
Why am I not using some of my art supplies? A big box of stickers has been on the shelf, and unused. Was it was time to donate them? I loved these stickers for their words, for their shapes, for their patterns but I had to face the hard truth that I hadn’t used them in years.

If I loved them, why hadn’t I used them? Was I hoarding? Nope. These are wonderful but not precious to me. The reason I hadn’t hadn’t used them is they don’t match the colors or the vibe of what I’m enjoying creating now.

Lightbulb moment! If that’s the reason I hadn’t used them, then I can add paint to them and then they’ll have the colors that I love! There are some practical questions about this, but I figured it out as I went!

Will the paint stick to the stickers? Most of what I used were cardstock stickers, so they were matte and took the paint well. If a sticker was very glossy, then it didn’t take the paint quite as well, but it did still take the paint! So this worked with everything I had.

Alternate idea: If you want to try this but don’t have old stickers, another option is to use blank, self adhesive address labels. They come in all sorts of sizes and shapes.

When adding the layers, there was always some of the original sticker peeking through. If I wanted to see more of it, then I used less paint. When I wanted to make the original sticker layer more subtle, all I did was add more paint or layers.

The general steps I followed were:

  • Add a layer of paint.
  • Add some pattern with stencils.
  • Use the art supplies on hand to make marks on top of and around the patterns from the stencils.

Stencils are quick way to get patterns, designs, and text into your layers but what I’ve shared here is just the tip of the iceberg of what they can do! If you’re looking for ideas, the how and the why, to get even more out of your stencils then check out my online workshop, Joy of Stenciling.

The biggest practical question I had was will the edges of the stickers peel off neatly or will it be torn and ripped bits of paint. So on some of the sticker sheets, I removed the excess paper around the stickers before adding the paint. But just on some, since I was experimenting and testing out the idea.

After all the layers were dry, the stickers came up easily. On the sheets of stickers that the excess paper still on there, they easily peeled off with crisp edges. On the sheets where I had removed the excess paper before painting, those had very jagged, irregular edges. But it was an easy fix with just my fingers to smooth it back out.

What will I do with the stickers I’m now excited to use? I’ve got an art journal page in process and you bet, I’ll be sharing it here when it’s ready! Get signed up for my newsletter to be in the know when the video is posted!

If you happen to have any old stickers around that you don’t love, try adding a layer of paint and pattern to it!

Here are the supplies used. Some of these links may be affiliate links which means I may get a small percentage and it doesn’t cost you anything extra! And you get a really good feeling knowing that you are helping keep the free tutorials coming!

{ 7 comments }

It evokes a strong reaction for some, the controversial thing I’m doing in this video. When I started art journaling, I was scared to cover up layers. OOPS, guess I just spoiled where I come down on this controversy now. Along with this “controversial” move, I’ll be using a gel plate for speedy stenciling because it creates an irregular, dare I say, organic element as this art journal comes together.

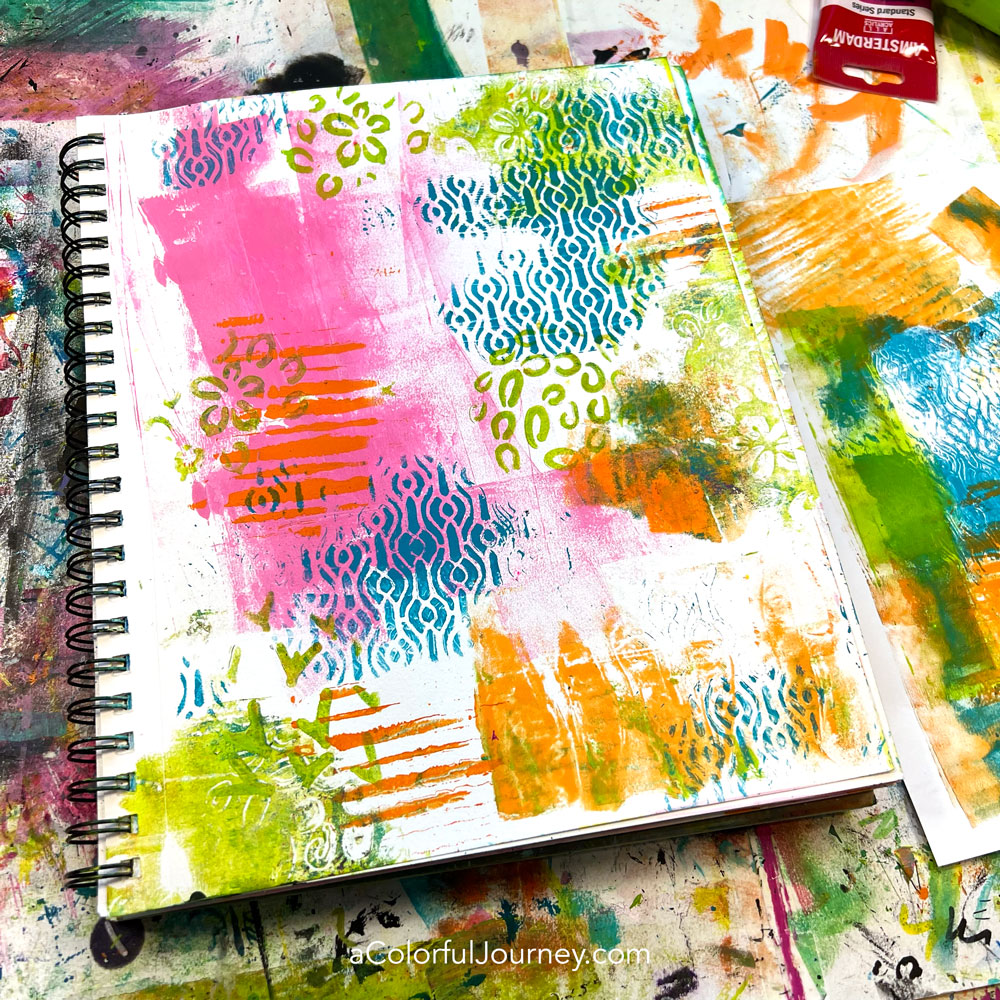
First layers are a great place to let loose and play! This isn’t carefully planned or meticulously. It’s just using a gel plate to quickly stencil. Yes, impatient me appreciates the speed! The organically irregular edges to the stenciled areas is all courtesy of the gel plate.

Is this the only way to use a gel plate with stencils? Absolutely not! There are loads more techniques- so many I’ve got an entire workshop dedicated to it because getting the look you want when gel printing can feel like random luck.

But it’s not luck. It’s about understanding how and why stencils and a gel plate work together. Anyone, including you, can make prints these when you understand how stencils interact with paint and color on a gel plate. That’s why I created Stencil-rific Layers, to take the guessing out of gel printing with stencils! You can check out all the details here.

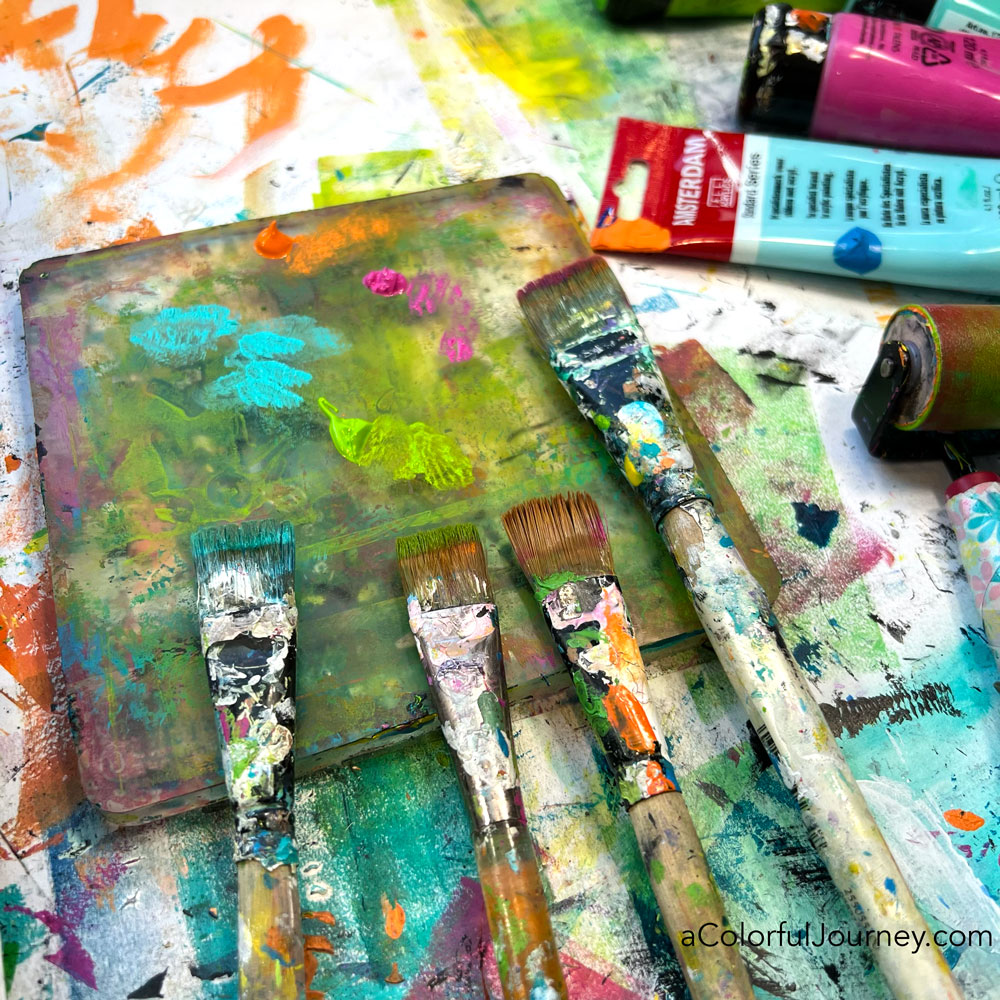
What’s the best paint brush for art journaling? There isn’t any one brush that is “the” brush to use. It’s a very a personal decision, so I’ll share why I choose the brushes I do.

It’s a hard life for brushes with me – I’m not a fan of carefully cleaning and I’m happy to let them soak for days. So for that reason, I go for inexpensive brushes. Having an expensive brush is just pressure to take good care of them. I prefer to avoid pressure when playing.

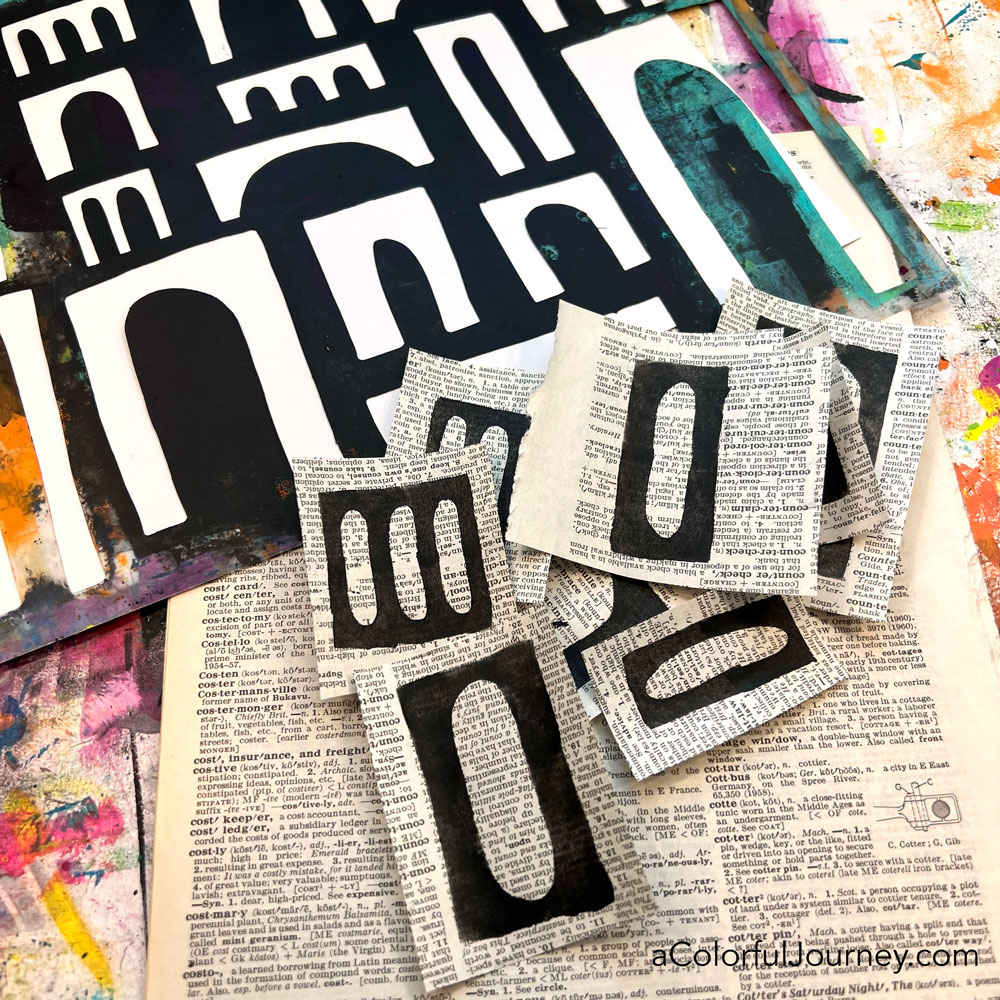
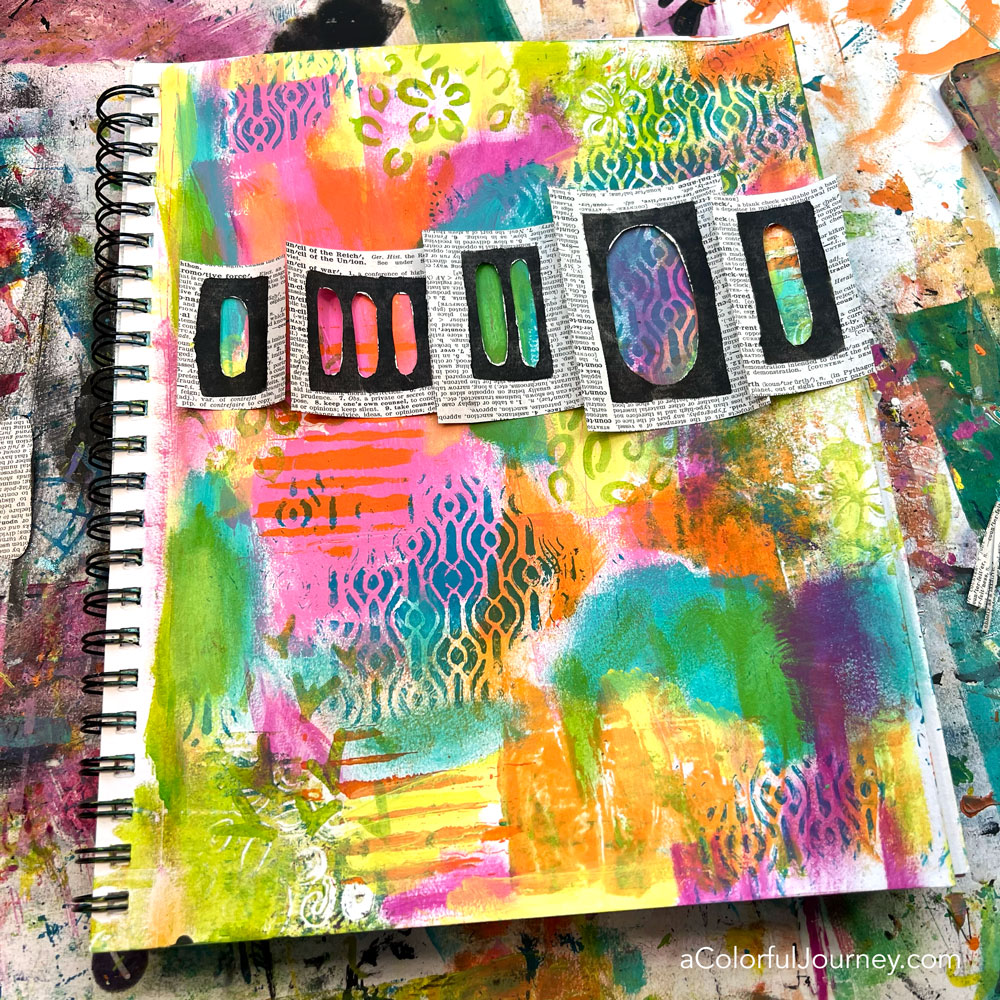
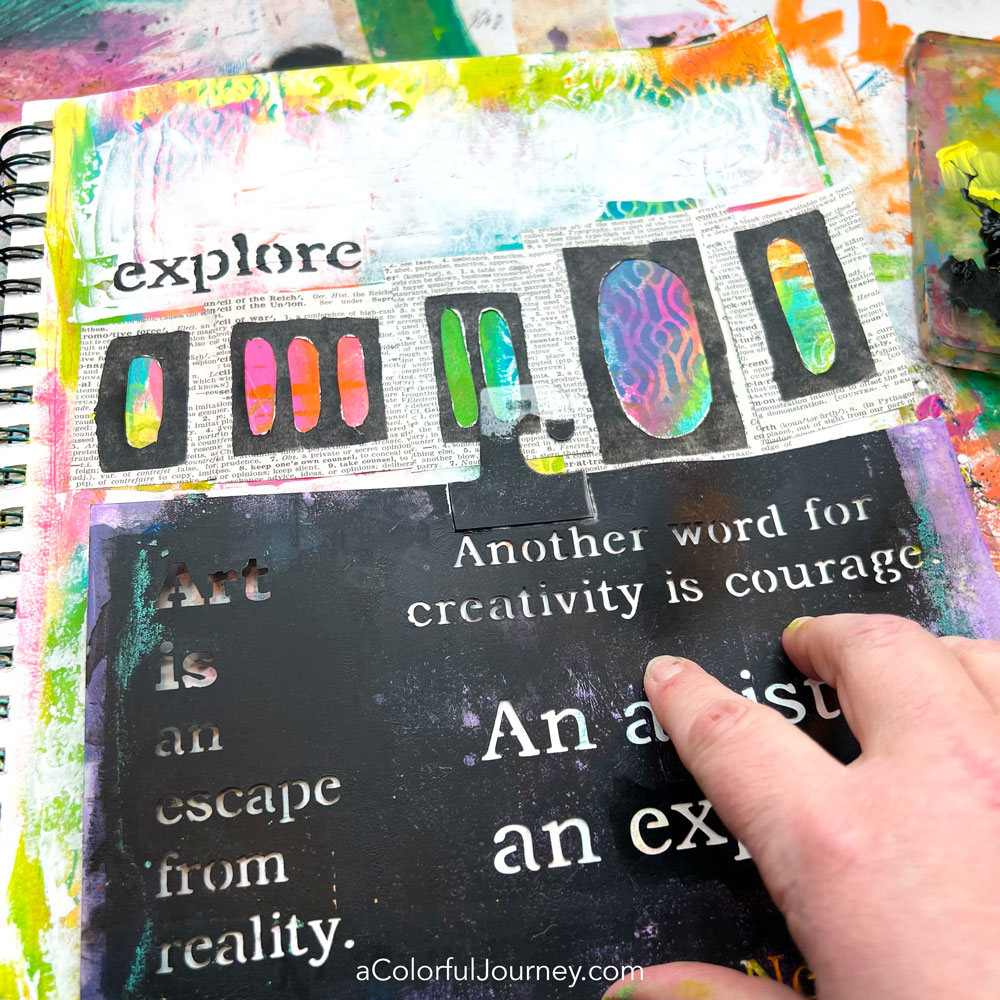
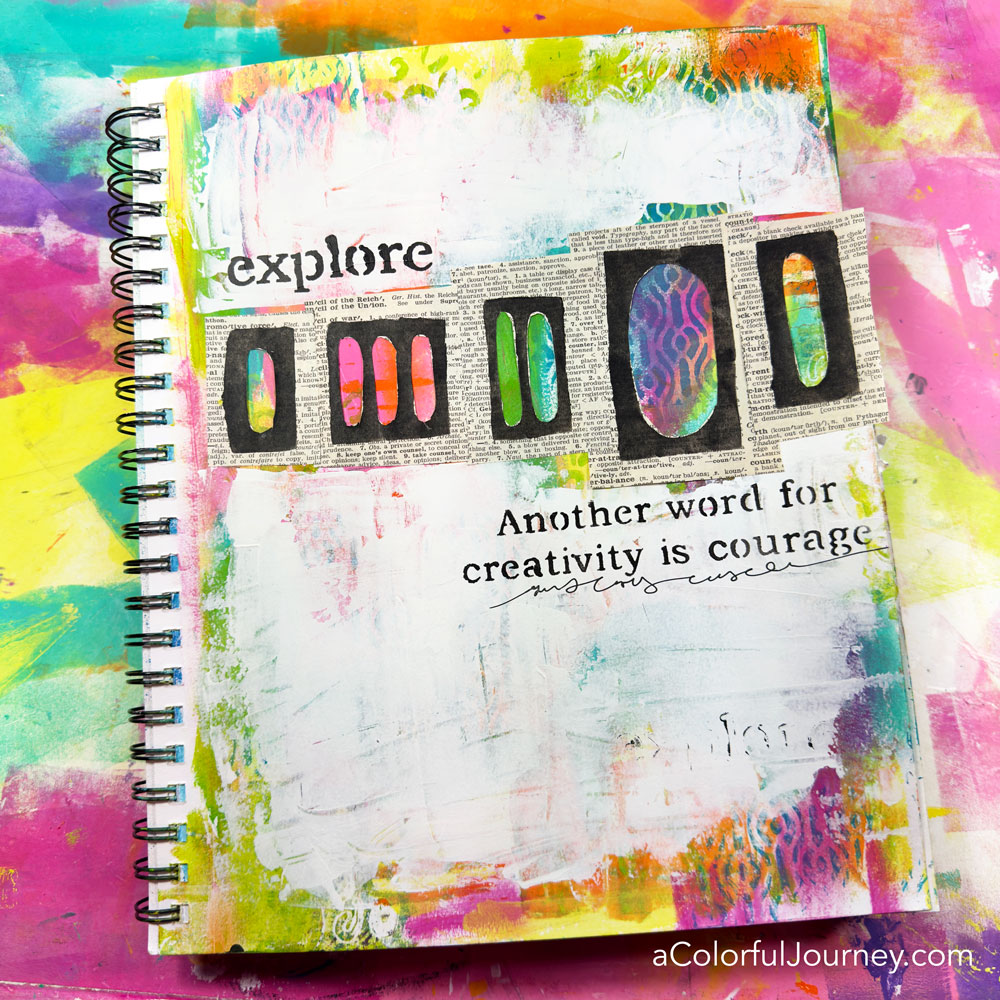
The oval shape has been pulling at me lately, so on book text, I used the Arches stencil to create ovals. I love that stencils are so versatile! In the video, you’ll see how it’s just a simple flip and how to create a variety of sizes from one arch.

Submarines. Once the ovals were cut out, they reminded me of the portholes on a submarine. What a colorful view from these windows too!

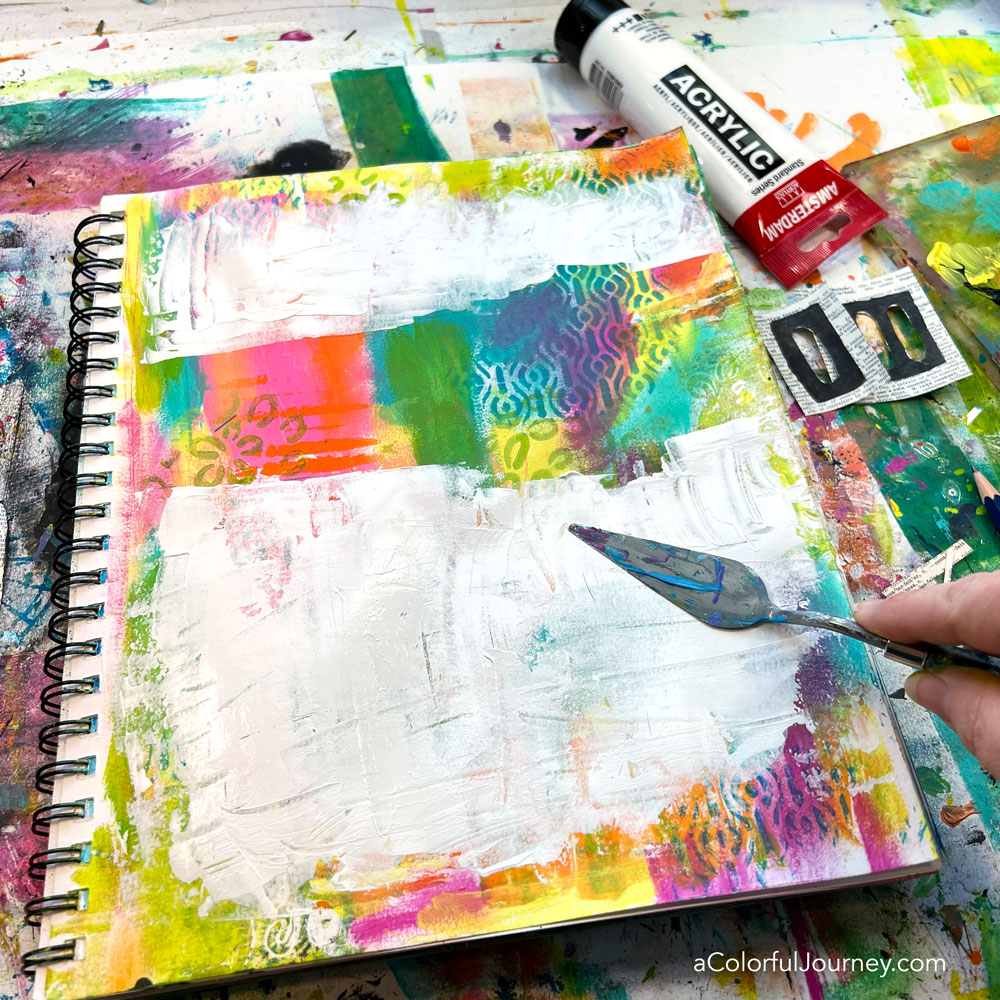
This is where things get controversial. By covering up most of that layer, some feel that it is being wasteful. I am not in that camp. For me, the process of creating the layers was fun and that’s enough reason for it to never be wasteful! Also, the layers are never fully covered with some peeking through the white paint and that wonderful color on the edges.

With the colorful portholes, the word explore called to me. Imagine seeing these kinds of colors looking out from a submarine!

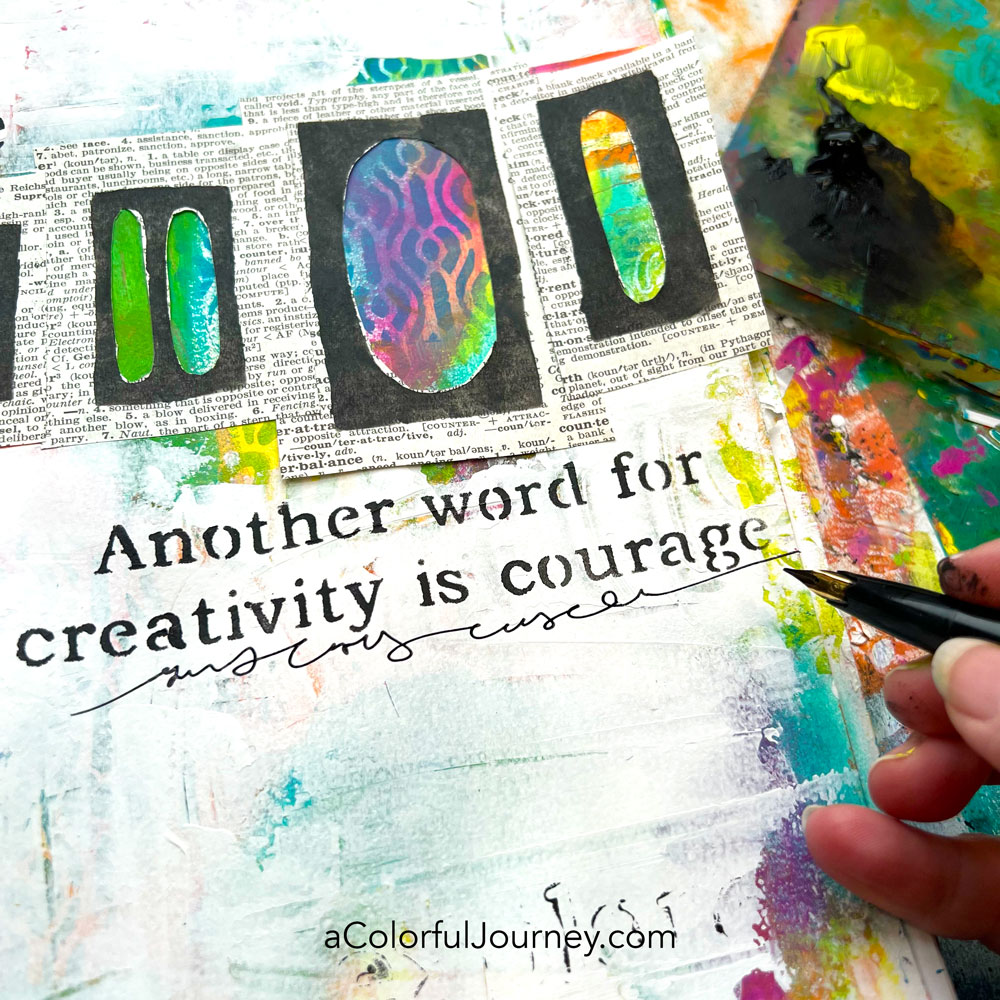
Several quotes by Matisse on this stencil would have easily worked but I chose the one about courage because it takes courage to dive in a submarine and it takes courage to create. Every time you make a page in your art journal, you’re putting some of yourself out there. That’s vulnerability, and it definitely takes courage! To people who don’t art journal, they may wonder how it takes courage to stencil or move paint around, but it really does. Guess that’s another potentially controversial idea.

The last touch is some scribble journaling. When writing this way, I am writing actual words but nobody can actually read them. This way there’s no pressure to spell things correctly or to write neatly.

Here are the supplies used. Some of these links may be affiliate links which means I may get a small percentage and it doesn’t cost you anything extra! And you get a really good feeling knowing that you are helping keep the free tutorials coming!

{ 3 comments }